Page 24
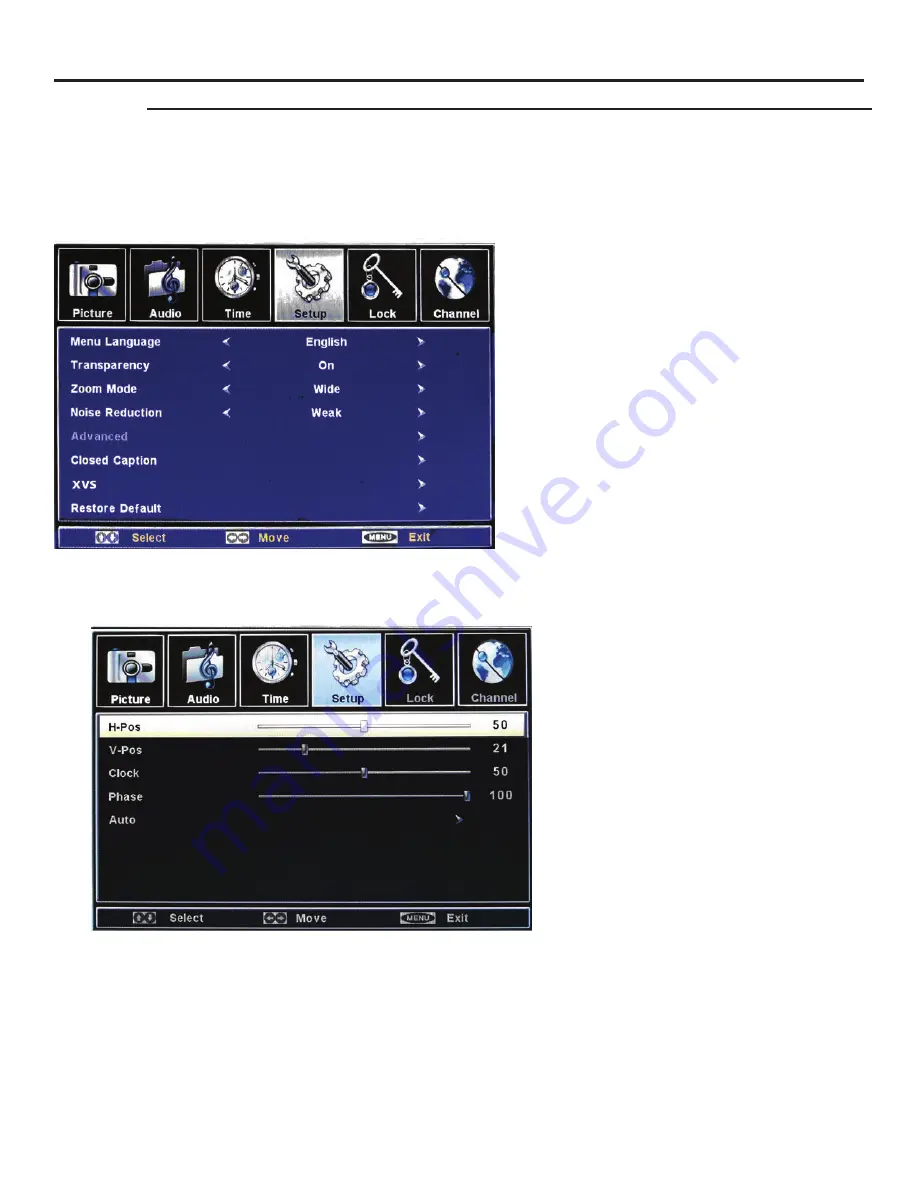
Adjusting On-Screen Displays – Setup Menu
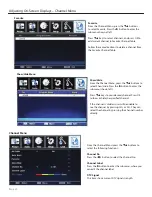
Setup Menu
1. Press
qp
buttons to move the cursor to the item to be selected.
2. Press
t
u
buttons to make the desired adjustments.
3. When you are satisfied with your adjustments, press MENU or EXIT
to exit the main menu.
Menu language
Press
qp
buttons to Menu Language, then use
t
u
buttons to select menu language, the options are
English / French / Spanish.
Transparency
Press
qp
buttons to Transparency, then use
t
u
buttons to select Transparency ON or OFF.
Zoom Mode
Press
qp
buttons to Zoom Mode, then use
t
u
buttons to select current zoom mode, the options are
Normal / Wide / Zoom / Cinema.
Noise Reduction
Press
qp
buttons to Noise Reduction, then use
t
u
buttons to select current noise reduction level, the
options are off / Weak / Middle / Strong.
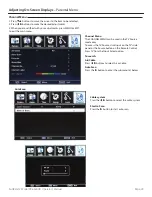
Advanced
Press
qp
buttons to Advanced, then press
u
button
to enter the Advanced Sub Menu shown below
Note: This item is only available in VGA source input.
H-Pos
Press
qp
buttons and then use
t
u
adjust the
horizontal position of the picture (this function
is to adjust the picture to Left/Right as to your
preference).
V-Pos
Press
qp
buttons and then use
t
u
adjust
the vertical position of the picture (to adjust the
picture to Left/Right as to your preference).
Clock
Press
qp
buttons and then use
t
u
to adjust
the clock of the picture. (This function is to
minimize any vertical bars or stripes visible on
the background screen. The horizontal screen
size will also change.
Phase
Press
qp
buttons and then use
t
u
to adjust
the phase of the picture. (This function allows
you to remove any horizontal noise and to
sharpen the image of characters).
Auto
Press
qp
buttons and then press OK button
to perform the Auto Adjust function that
automatically adjusts the available options for
the best viewing configuration.
Advanced Sub Menu
Setup Menu

