MODEL: S2142XS
Version: V1.2
ROMAN WATERFALL BATHTUB FAUCET
MODEL
FINISH
S2142CS
CHROME
S2142NS
BRUSHED NICEKL
S2142DS
MATTE BLACK
S2142BGS
BRUSHED GOLD
HOT LINE: +1-866-203 0866
Page 1: ...MODEL S2142XS Version V1 2 ROMAN WATERFALL BATHTUB FAUCET MODEL FINISH S2142CS CHROME S2142NS BRUSHED NICEKL S2142DS MATTE BLACK S2142BGS BRUSHED GOLD HOT LINE 1 866 203 0866...
Page 2: ...questions regarding this product call 1 866 203 0866 or email to supports sumerain com Sincerely SUMERAIN customer service department 1 Unpack your new product and ensure that all the parts are conta...
Page 3: ...commercial products THIS WARRANTY DOES NOT COVER AND SUMERAIN WILL NOT PAY FOR A Conditions malfunctions or damage not resulting from defects in material or workmanship B Conditions malfunctions or da...
Page 4: ...ght 5 1 8 Max deck thickness 1 1 4 Valve Type Ceramic Disc Valve Valve Body Material Brass Spout Material Stainless steel Net Weight 4 18lbs 1 9KG Gross Weight 5 07lbs 2 3KG Working water press 0 2 0...
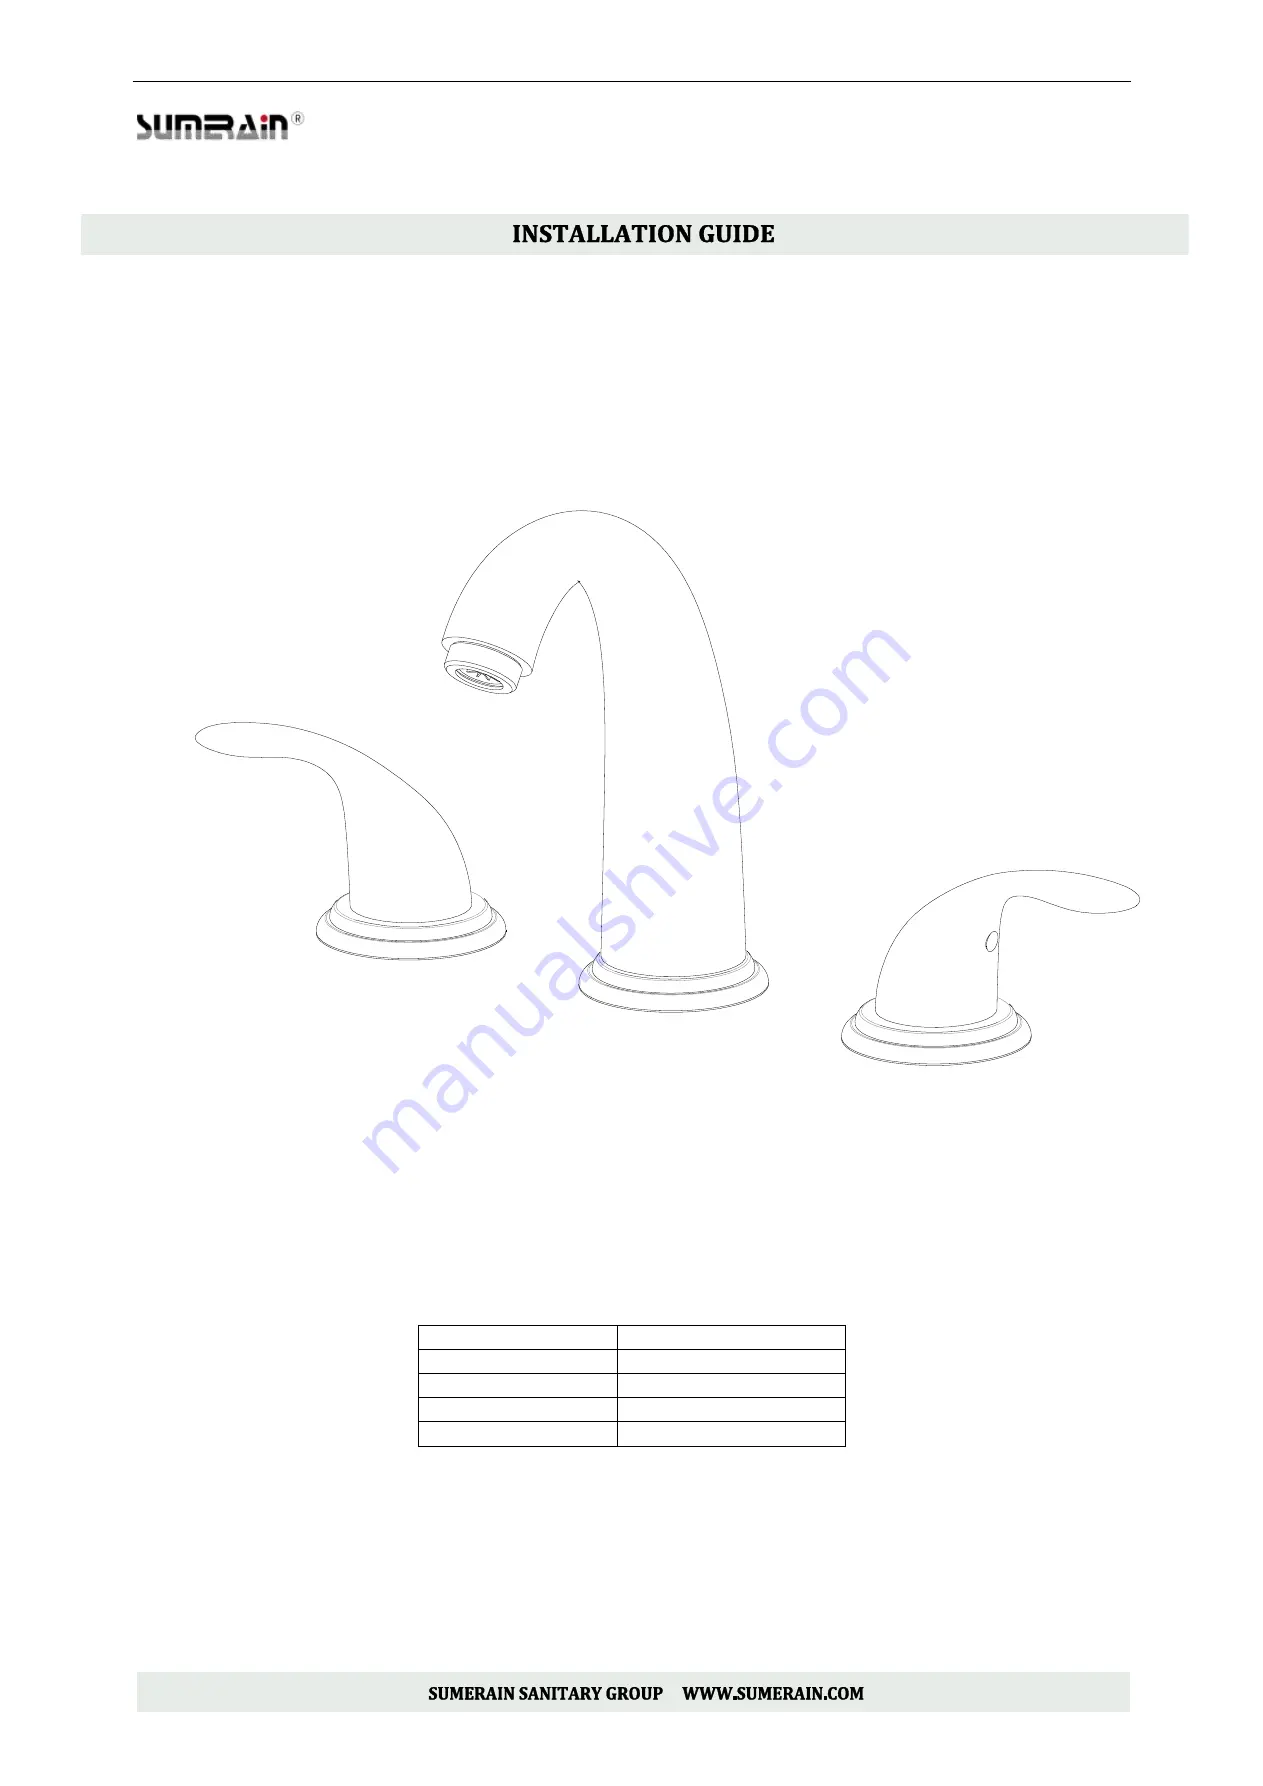
Page 5: ...Front view of faucet...
Page 6: ...re that all the following items are included If any of these items are missing please contact SUMERAIN consumer service by email to supports sumerain com CODE ITEM NAME QTY CODE ITEM NAME QTY 2142001...
Page 7: ...4 INSTALLATION HOLES INSPECTION Verify that the hole sizes and positions in the wall are correct the optimal diameter of mounting hole optional is 1 1 4 the max deck thickness is 1 1 4...
Page 8: ...ipe before connect to the faucet allow the water flush 3 5 minutes to flush out dirt and debris Shut off the water supply again after finish 5 2 Position spout onto the hole of mounting surface attach...
Page 9: ...de set screw by Allen wrench anticlockwise disassemble the handle from the valve assembly Valve assembly 5 4 Place the valve body onto mounting surface attach the rubber washer and locknut from undern...
Page 10: ...5 5 Attach the rubber washer into the T tee for water leak proof 5 6 Screw on T tee onto the spout shank...
Page 11: ...ector and cold water valve inlet connector to stop valve separately with flexible hose The water inlet connecting of hot and cold Valve body is G1 2 1 2 BSPP US CA customers may require NPT cover to B...
Page 12: ...6 INSPECTION 6 1 Turn on hold and cold water supply and check all connection for ensuring no leaking anywhere INSTALL FINISH...
Page 13: ...he faucets might have some rusty if your faucet under hard water condition please rub it with aluminum foil dipped in water until the surface is nice and smooth and wipe it use a small amount of chrom...