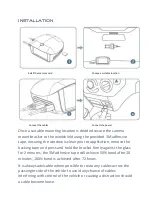
Ensure that the remote base unit is located in a secure place where it
will not easily become dislodged in the event of an accident.
For best results adjust the angle of the lens ensuring that the camera
lens is aimed slightly down from the horizon (40% sky, 60% road),
this will improve the results of the auto white balance function.
Settings
The DVR is pre-set with logical default settings and is ready to
operate with minimal adjustment required, when powered on the
internal capacitors will charge, the DVR will then power up and
recording will commence.
[Note] The DVR does not contain a battery and will need to be
connected to a power source to configure settings,
connecting to a
computer USB port is not supported.
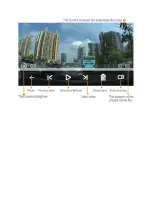
The DVR uses a touch screen interface with simple icons to select
each menu option, before using the DVR it is important to adjust the
time and date settings, to set the time and date connect the DVR to
power, stop any active recording by pressing the touchscreen display
then press the menu icon to enter the
menu.
Press the setup icon then enter the Date Time submenu and adjust
accordingly, each field can be selected by touching the screen.
Summary of Contents for SGZC12RC
Page 1: ...Digital video recorder SGZC12RC User manual ...
Page 4: ...Camera layout Overview ...
Page 11: ......


