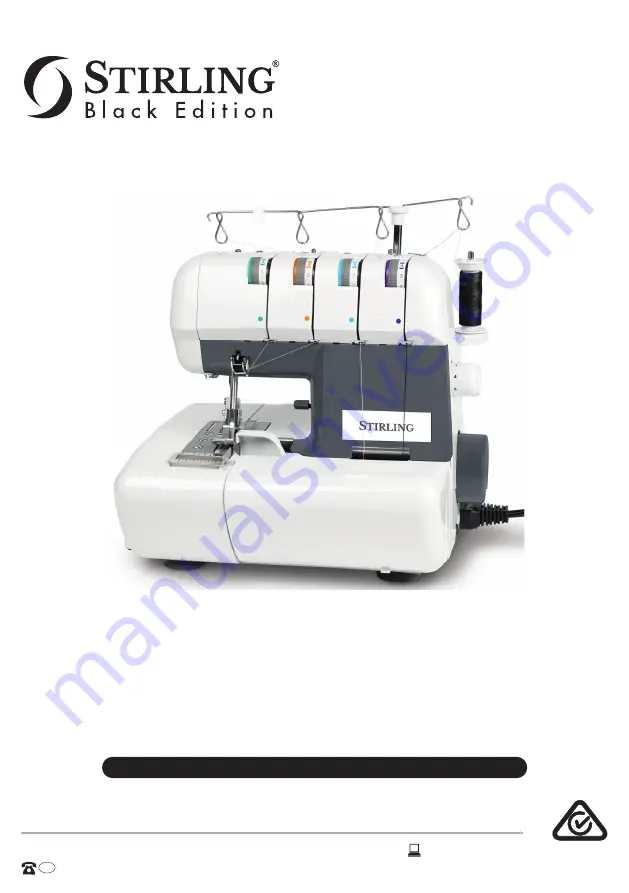
INSTRUCTION MANUAL
AFTER SALES SUPPORT
AUS
1300 884 987
www.medion.com.au
Overlock Sewing Machine
Model Number MD 18610
MODEL: MD 18610 PRODUCT CODE: 701495 09/2020
Page 1: ...INSTRUCTION MANUAL AFTER SALES SUPPORT AUS 1300884987 www medion com au Overlock Sewing Machine Model Number MD 18610 MODEL MD18610PRODUCTCODE 701495 09 2020...
Page 2: ...1 2 3 4 5 6 7 8 9 10 11 12 13 14 15 16 17 18 19 20 Main components...
Page 3: ...ol pin 7 Stitch length dial 8 Di erential feed dial 9 Hand wheel 10 Socket for foot control 11 On O switch 12 Front cover 13 Free arm 14 Cutting width adjustment knob left hand side of machine 15 Leve...
Page 4: ...fting presser foot 22 Needles 23 Presser foot 24 Lever for thread cutter 25 Upper looper 26 Lower thread guide 27 Accessory compartment 28 Lower looper 29 Needle plate 30 Knife mounting 31 Lower knife...
Page 5: ...22 32 23 33 24 25 26 27 28 29 30 21 31 Sewing mechanism...
Page 6: ...Handling the appliance with care 12 Cleaning and storage 13 Package contents 13 Before use 14 Accessories 14 Setting up the telescopic thread guide bar 15 Spool holder 15 Spool caps 15 Spool net 16 C...
Page 7: ...31 Hand grip for carrying 31 Setting the stitch length 32 Setting the stitch length 32 Setting the cutting width 32 The correct cutting width 33 Reducing the cutting width 33 Increasing the cutting wi...
Page 8: ...ser foot pressure 46 Sewing with cord decorative yarn 47 Troubleshooting 48 Storage 49 Cleaning and lubrication 49 Disposal 51 Technical specifications 51 Privacy statement 52 Service information 53 L...
Page 9: ...2010 and similar state and territory laws Our goods come with guarantees that cannot be excluded under the Australian Consumer Law You are entitled to a replacement or refund for a major failure and f...
Page 10: ...duct Key to symbols If a block of text is marked with one of the warning symbols listed below the hazard described in that text must be avoided to prevent the potential consequences described there fr...
Page 11: ...ic The fabric can be made of textile fibres composite materials or lightweight leather The appliance is only intended for private use and not for industrial commercial use Please note that no liabilit...
Page 12: ...ation of conformity Medion AG hereby declares that the product conforms to all relevant Australian requirements 9 AFTER SALES SUPPORT AUS 1300884987 www medion com au MODEL MD18610PRODUCTCODE 701495 0...
Page 13: ...low children under 8 years of age near the appliance and its power cord DANGER Choking and suffocation hazard Plastic packaging can be swallowed or used improperly creating a risk of suffocation Keep...
Page 14: ...e or the mains power cord WARNING Risk of electric shock Improper repair of the appliance can create the risk of electric shock Under no circumstances should you attempt to repair the appliance yourse...
Page 15: ...machine Do not use any other liquids When sewing ensure that you do not put your fingers under the needle holder Take care when operating the moving parts of the machine particularly the needle and kn...
Page 16: ...heck your purchase to ensure that all items are included If anything is missing please contact the customer service see Service information on page 53 Overlock sewing machine Foot control type HKT72C...
Page 17: ...wdriver small 46 Accessories bag 39 Screwdriver large 47 Dust cover 40 Hexagon wrench key 48 Brush 41 Spare upper cutter 49 Thread net 4 Accessories not shown Thread spool 5 4 pre mounted Thread spool...
Page 18: ...with the wide end upwards When using spools with smaller diameters place the spool holder with the narrow end upwards Use the spool discs in all cases to guarantee the stability of the spool Spool cap...
Page 19: ...g for the supplied foot control into the socket 10 on the machine and then plug the mains plug into the power point and switch the power point on The On Off switch 11 switches on both the machine and...
Page 20: ...iner The waste container catches scraps as you sew to keep your workspace tidy Insert hook A into the upper of the two openings D then put hook B into slot C After you have finished sewing detach the...
Page 21: ...possible to the right and then pull the front cover towards you Edge guide When the edge guide 16 is used the fabric is trimmed and sewn at a consistent distance from the fabric edge Adjust the width...
Page 22: ...Leave approx 15 cm of thread hanging behind the eye of the needle Free arm The free arm 13 must be opened in order to thread the machine Now press the release lever 15 forwards and swing the free arm...
Page 23: ...and to prevent the thread from breaking A practical guide to threading is located behind the front cover 12 The thread guides are also marked in different colours There is a pair of tweezers in the a...
Page 24: ...position for threading 3 Pass the thread through the eye on the telescopic thread guide bar 5 Fig A 4 Now pass the thread first through the corresponding thread guide Fig B 5 Place the thread between...
Page 25: ...thread guide diagram in the machine Fig D 7 In order to thread the rear eye of the looper turn the hand wheel until the point when the rear part of the looper appears on the left hand side of the mech...
Page 26: ...ig G 3 Place the thread between the two discs on the thread tensioner 3 Fig H 4 Place the thread in the lower thread guide From this point follow the thread guide diagram in the machine Fig I 5 To thr...
Page 27: ...you until the needles 22 are at their highest position 2 Pass the thread through the eye on the telescopic thread guide bar 5 Fig K 3 Now pass the thread through the corresponding thread guide Fig L K...
Page 28: ...illustrated Then pass the respective thread behind the thread guide of the needle holder as illustrated and then from front to back through the corresponding needle eye Fig O 7 Pull around 10 cm of t...
Page 29: ...titches without the fabric to check whether the threads are tangled Place the fabric for the test run under the presser foot 23 lower the presser foot and begin sewing slowly The fabric is fed through...
Page 30: ...the thread tension selector 1 4 to a lower number the tension is reduced Turn the thread tension selector 1 4 to a higher number the tension is increased Correct thread tension Increase thread tensio...
Page 31: ...Front side Rear side Front side Rear side Front side Rear side Front side Lower looper thread is too tight and or upper looper thread is too loose Reduce lower looper thread tension and or increase u...
Page 32: ...atiste gingham cotton no 100 for general sewing type 130 705 H no 90 for light fabrics type 130 705 H no 75 2 0 3 5 mm standard 2 5 mm A 2 4 B 2 4 C 2 4 D 2 4 heavy cotton linen Oxford denim cotton ga...
Page 33: ...D 2 4 heavy synthetics taffeta twill denim cotton no 60 polyester no 60 for general sewing type 130 705 H no 90 for light fabrics type 130 705 H no 75 2 5 4 0 mm standard 3 0 mm A 5 7 B 5 7 C 3 5 D 3...
Page 34: ...n Raise the presser foot 23 Move the needles to their lowest position by turning the hand wheel 9 towards you Pull cautiously on the end of the thread until the joining knots have passed through the n...
Page 35: ...titch length Normal seams 2 0 4 5 mm Default setting 3 0 mm Narrow bindings 1 0 2 0 mm Rolled hems 1 0 2 0 mm Picot edge 3 0 4 0 mm Setting the cutting width The appropriate cutting width varies from...
Page 36: ...ncreasing the cutting width Select an increased cutting width if the thread is sewn over the edge of the fabric To do this turn the cutting width adjustment knob anticlockwise Front side Thread pucker...
Page 37: ...ver from the accessory compartment and remove the needle upper screw for the left needle and lower screw for the right needle Push the new needles into the needle holder with the flat side facing back...
Page 38: ...upper knife 32 is at its lowest position 2 Open the front cover 12 and the free arm 13 3 On the upper side of the knife push the mechanism down completely to reach a stable position for the distance a...
Page 39: ...see illustration Close the free arm before checking the gap and open it again to read the value correctly 7 Now tighten the screw of the mounting of the upper knife securely and close the free arm and...
Page 40: ...is not wider than the seam width you have set 1 Switch off the machine and the power point and pull out the plug 2 Open the front cover 12 and the free arm 13 3 Use one hand to hold the free arm in p...
Page 41: ...page 34 4 Take the two thread converter out of the accessory compartment 27 of the front cover 5 Insert the two thread converter into the upper looper 25 see Figure 1 6 To do so insert the hook on th...
Page 42: ...her the left or right needle and the corresponding thread see also Replacing needles on page 34 The machine is now ready to overlock with three threads When using only the right needle the stitch widt...
Page 43: ...When using only the left needle the stitch width is 6 mm Rear side 6 mm Front side 40 AFTER SALES SUPPORT AUS 1300884987 www medion com au MODEL MD18610PRODUCTCODE 701495 09 2020...
Page 44: ...power point and pull out the plug Open the front cover 12 and the free arm 13 Release the stitch finger A with the supplied screwdriver and pull it out Take the second stitch finger B out of the acce...
Page 45: ...12 and the free arm 13 Remove the stitch finger see Stitch finger on page 41 Remove the left needle and the corresponding thread Set up the machine in accordance with the table If required set the st...
Page 46: ...ng How it works The machine has two sets of feed dogs one front set A and one rear set B Both of these sets move independently Due to the feed motion both sets of feed dogs can move at different speed...
Page 47: ...foot preventing the fabric from becoming wavy Negative differential feed With negative differential feed the front feed dogs A do not move as far as the rear feed dogs B This stretches fabric under t...
Page 48: ...Differential feed control Use the following table to select a setting Application Feed type Setting Non wavy seams gathering positive differential feed 1 2 No differential feed Neutral feed 1 pucker...
Page 49: ...ser foot needs adjusting despite this you can regulate it using the dial on the rear of the front cover for regulating presser foot pressure Turn the dial 20 to a higher number to increase the pressur...
Page 50: ...4 Pass the cord either through the front or rear slot on the presser foot 23 depending on the sewing method and lay it under and to the rear of the presser foot 5 Insert the fabric as usual Sew slowl...
Page 51: ...inserted incorrectly Insert the needles correctly in the needle holder 34 Stitches are missed Needles are bent blunt or the tip is damaged Insert a new needle 34 Needles are inserted incorrectly Inse...
Page 52: ...sewing machine Cleaning and lubrication To ensure your machine works properly you must clean the mechanism from time to time using the brush from the accessory box and oil the relevant points Use onl...
Page 53: ...e front cover 5 For test purposes now sew with a piece of test fabric to check that the machine is working correctly The excess oil is eliminated directly without damaging your actual sewing Oil effic...
Page 54: ...es to a collection point for electrical scrap or a recycling centre Contact your local waste disposal company or your local authority for more information on this subject Technical specifications Volt...
Page 55: ...o fulfil your legal warranty rights You have the right to be informed of the personal data concerned as well as the right to rectification deletion restriction of processing the right to object to pro...
Page 56: ...also contact our Service team via our hotline or by post Opening times Hotline number Mon Fri 08 30AM to 06 00PM EST 1300 884 987 Service address MEDION Australia Pty Ltd Chatswood NSW 2067 Australia...
Page 57: ...of reproduction are prohibited without the written permission of the manufacturer Copyright is owned by the company MEDION AG Am Zehnthof 77 45307 Essen Germany Please note that you cannot use the ad...
Page 58: ...goods of the same type of use refurbished parts in the repair process Please be assured though refurbished parts or replacements are only used where they meet ALDI s stringent quality specifications...
Page 59: ...56 AFTER SALES SUPPORT AUS 1300884987 www medion com au MODEL MD18610PRODUCTCODE 701495 09 2020...
Page 60: ...Version 3 2...