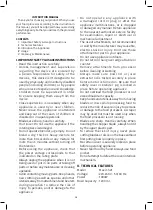
11
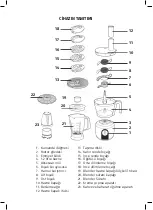
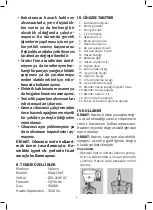
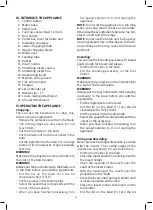
III. INTRODUCE THE APPLIANCE
1. Control button
2. Motor base
3. Safety lock
4. Food processor bowl 1.2 liters
5. Tool holder
6. Protective cover for blade unit
7. Kneading accessory
8. Lower chopping blade
9. Upper chopping blade
10. Bowl cover
11. Feeding tube
12. Pusher
13. Insert holder
14. Shredding insert coarse
15. Shredding insert fine
16. Granulating insert
17. Medium slicing insert
18. Fine slicing insert
19. Stopper
20. Lid of blender jar
21. Blender jar - 1 l.
22. Cream mixing attachment
23. Grinder Attachment
IV. OPERATING THE APPLIANCE
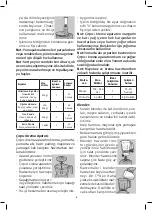
Chopping:
You can use the blade unit to chop, mix,
blend or puree ingredients.
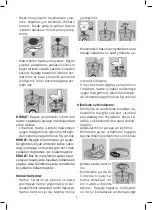
• Remove the protective cover from the blade.
• The cutting edges are very sharp. Do not
touch them.
• Put the tool holder in the bowl.
• Put the blade unit on the tool holder in the
bowl.
• Put the ingredients in the bowl. Pre-cut large
pieces of food intopieces of approximately
3x3x 3cm.
WARNING!
Make sure the projection on the lid locks into
the slot of the bowl handle.
WARNING!
Always put the tool holder with the blade unit
in the bowl before you add the ingredients.
• Put the lid on the bowl. Turn the lid
clockwise to fix it (‘click’).
• Put the pusher in the feeding tube.
• Select the speed that corresponds with the
colour of the accessory.
• When you have finished processing, turn
the speed selector to 0 and unplug the
appliance.
NOTE:
Do not let the appliance run too long
when you chop (hard) cheese or chocolate.
Otherwise these ingredients become too hot,
start to melt and turn lumpy.
NOTE:
Do not use the blade unit to chop very
hard ingredients like coffee beans, turmeric
and nutmeg as this may cause the blade to
get blunt.
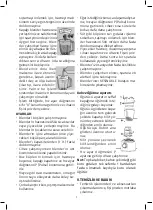
Kneading:
You can use the kneading accessory to knead
yeast dough for bread and pizzas.
• Put the tool holder in the bowl.
• Put the kneading accessory on the tool
holder.
WARNING!
Make sure the projection on the lid locks into
the slot of the bowl handle.
WARNING!
Always put the tool holder with the kneading
accessory in the bowl before you add the
ingredients.
• Put the ingredients in the bowl.
• Put the lid on the bowl (1). Turn the lid
clockwise (2) to fix it (‘click’).
• Put the pusher in the feeding tube.
• Select the speed that corresponds with the
colour of the accessory.
• When you have finished processing, turn
the speed selector to 0 and unplug the
appliance.
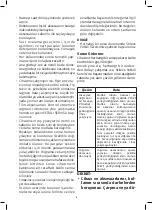
Slicing and Shredding:
Never process hard ingredients like ice cubes
with the inserts. The cutting edges of the
inserts are very sharp. Do not touch them.
• Put the tool holder in the bowl.
• Place the metal shreddin or slicing insert in
the insert holder.
• Place the opening of the insert over the
shaft of the insert holder
• Push the opening of the insert over the
projection on the shaft
• Press the insert onto the insert holder until
it locks in position with a click.
• Place the insert holder with insert on the
tool holder.
• Put the lid on the bowl (1). Turn the lid
Summary of Contents for MAXI CHEF PRO
Page 1: ...1 MAXI CHEF PRO Mutfak Robotu Food Processor Kullanma K lavuzu Instructions Manual...
Page 15: ...15...
Page 16: ...16...
Page 17: ...17...
Page 18: ...18...


