16
17
OTHER FEATURES
HANDLE FEATURES
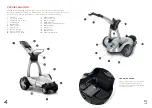
As standard the X10 Remote has:
• Built in scorecard and pencil holder.
• Handset cradle.
• Golf ball and tee holder.
CRUISE CONTOL SPEEDS
Your X10 Remote has two Cruise Control speeds, on buttons 1 and 2. You can program these
for your own walking speeds as follows:
1. Use the speed up and slow down buttons to find your desired walking speed.
2. Press and hold either button 1 or 2 for three seconds. The machine will stop to show that
the instruction has been received. Now release the button and the machine will restart.
Your new speed is now stored.
3. To activate the new speed 1 or 2, just press and release the button as normal.
TRIM ADJUSTMENT
If your motors become unbalanced for any reason, your X10 Remote may develop a bias. If this
happens, you can adjust the trim as follows:
1. Ensure that your machine is on a flat surface and that your golf bag is balanced (no heavy
items in side pockets).
2. Hold down the lower left two buttons (1 and 3) for three seconds. The machine will start
moving forwards.
3. Use the left and right buttons to fine tune the direction until the machine is travelling in a
straight line. Alternatively press the forward button to restore the factory setting.
4. Press STOP to store the new setting.
FAQ
How should I clean the X10 Remote?
After your round, clear grass, leaves and dust etc from the machine using a soft cloth/brush or
compressed air. Clean your X10 Remote using standard furniture polish and a soft cloth.
NEVER
use a hose or pressure washer to clean the X10 Remote: faults caused by water ingress
will not be covered by the warranty. Water cannot enter the motors or electronics in normal use.
Is the X10 Remote OK to use in the rain?
Yes. The X10 Remote is designed for use in all conditions appropriate for golf. The design of the
X10 Remote protects the major components from rain, so water ingress cannot occur during
normal use. You should avoid any situation where moisture or water could reach the electronics
or motors. Some examples of this are:
• Driving through puddles or standing water.
• Submerging the machine in a river or lake.
Faults caused by water ingress will not be covered under the warranty.
How do I get the X10 Remote up a step or kerb?
Firstly exert downward pressure on the handle to lift the front wheels onto the higher level.
If the natural traction of the rear wheels do not carry the rear of the machine onto the higher
level, lift from the top of the main support.
How many holes will the battery last for?
We expect any genuine Stewart Golf battery to last 18 holes on a ‘normal’ course, with a ‘normal’
weight bag and in ‘normal’ conditions.
However... a hole of golf can be anywhere between 100 and 600 yards long, so is not a reliable
unit of measurement. Terrain, ground condition, bag weight and a number of other factors can
make a difference. How you play will also affect power consumption; you’ll cover less ground
shooting 65 than you will shooting 120.
Can I improve the battery life?
Yes, there are a number of things you can do:
• Don’t overload your golf bag.
• Steering is a big source of power consumption, so use Remote steering and Follow less if
you want to conserve energy.
• Accelerate slowly, in the same way you would in a car if you were trying to be efficient.
Can I use the X10 Remote without the handset?
No. The X10 Remote can only be operated via the handset (unless the wheels are in freewheel).
Can the X10 Remote cope on hills?
Yes. The X10 Remote chassis has been designed with stability in mind. The machine may tip
onto the rear stabiliser, but if this happens don’t worry - that’s what it’s there for.
Bag weight and weight distribution makes a big difference here, a light and/or top heavy bag
will not put enough weight on the front wheels and therefore it may tip easily. You will find out
which hills work with your particular setup through experience. Please refer to P14 for more
information.
When going down hill using remote control, the X10 Remote may speed up under gravity. Hold
the handle if on a path or allow the machine to travel safely away from you, then use the red
‘STOP’ button to apply the brake. Always park at 90 degrees to a slope.
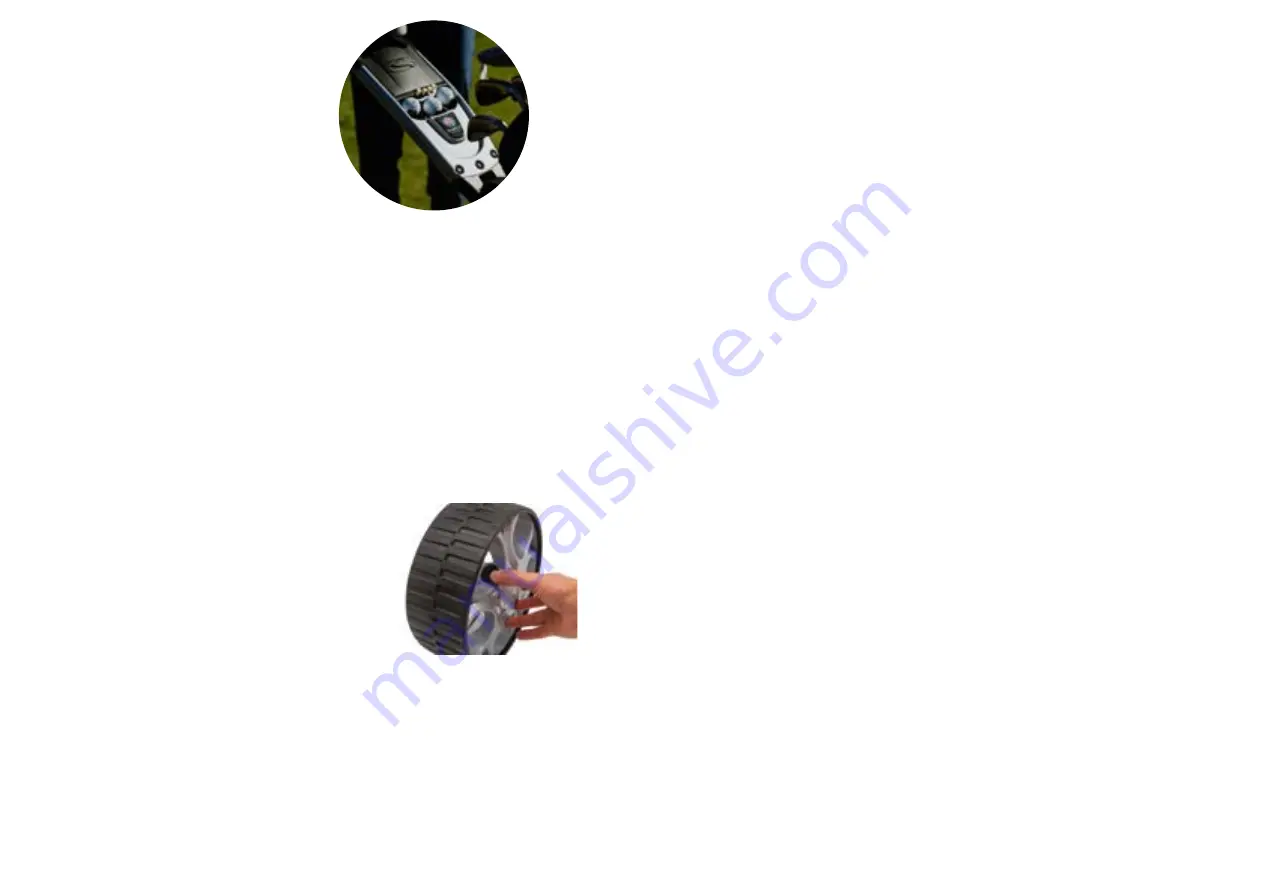
QUICK-RELEASE REAR WHEELS
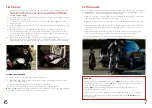
To remove a wheel:
1. Tilt the machine (holding the main support)
so that one wheel is off the floor.
2. Hold the centre of the wheel and press the black
button with your thumb, and pull the wheel away.
FREEWHEEL
The X10 Remote has a freewheel setting which allows you to complete your round even in the
unlikely event of a fault. To engage this mode:
1. Tilt the machine so that one wheel is off the floor (hold the main support).
2. Press down on the black button in the wheel centre and slide the wheel 25mm (1”) away
from the motor, but still on the axle.
3. Rotate the wheel 45 degrees, and push it towards the motor until it stops, engaging the
wheel on the outer ring of the axle.
4. Release the black button and the wheel should now be locked on to the shaft, but not
engaged onto the drive dog. You may find it easier to pull the X10 Remote than push it
when in freewheel.
Summary of Contents for X Series
Page 1: ...1 OWNER S MANUAL ...
Page 11: ...20 ...


