16
17
3.3 CobraNet
The CVA 100-2 has an optional CobraNet card that allows it to receive
two channels of digital audio from a CobraNet network.
3.3.1 CobraNet FAQ
Q: How do CobraNet devices communicate on the network? Do they
receive an IP address?
A: CobraNet devices operate without the need for an IP address. Many
configuration applications for CobraNet devices will assign an IP ad-
dress for organizational purposes. However, CobraNet devices operate
using data channels called “bundles”. In order to connect a transmitter
and a receiver in a CobraNet network, both devices simply need to be
set to the same bundle number. There is no need for a DHCP server (a
router for example).
Q: How do I configure the bundles of the CVA100?
A: Bundle settings should be configured using Cirrus Logic’s CobraNet
Discovery Utility. Instructions for downloading and operation can be
found in
section 3.3.2
.
Q: Why is the CobraNet Discovery Utility not detecting any devices?
A: First, ensure that your computer has an IP address. If you are operat-
ing without a DHCP server (ie in a switch-only network) then you will
need to manually set an IP address in the Network Configuration sec-
tion of Windows. Next, go to Tools > Options in the top menu and
make sure the proper network device is selected in the top dropdown.
Q: Can the CVA100 transmit the input channels to other CobraNet de-
vices?
A: No, the CVA100 is designed only to receive audio .
Q: What submap channels do the CVA100 use?
A: Since the CVA100 is a 2-channel device, only the first two submap
channels are valid (channels 1 and 2). Data sent on channels 3-8 will be
ignored.
3.3.2 Using CobraNet Discovery Utility
The CobraNet Discovery utility can be downloaded from the Cirrus Log-
ic website at: http://www.cobranet.info/downloads/disco
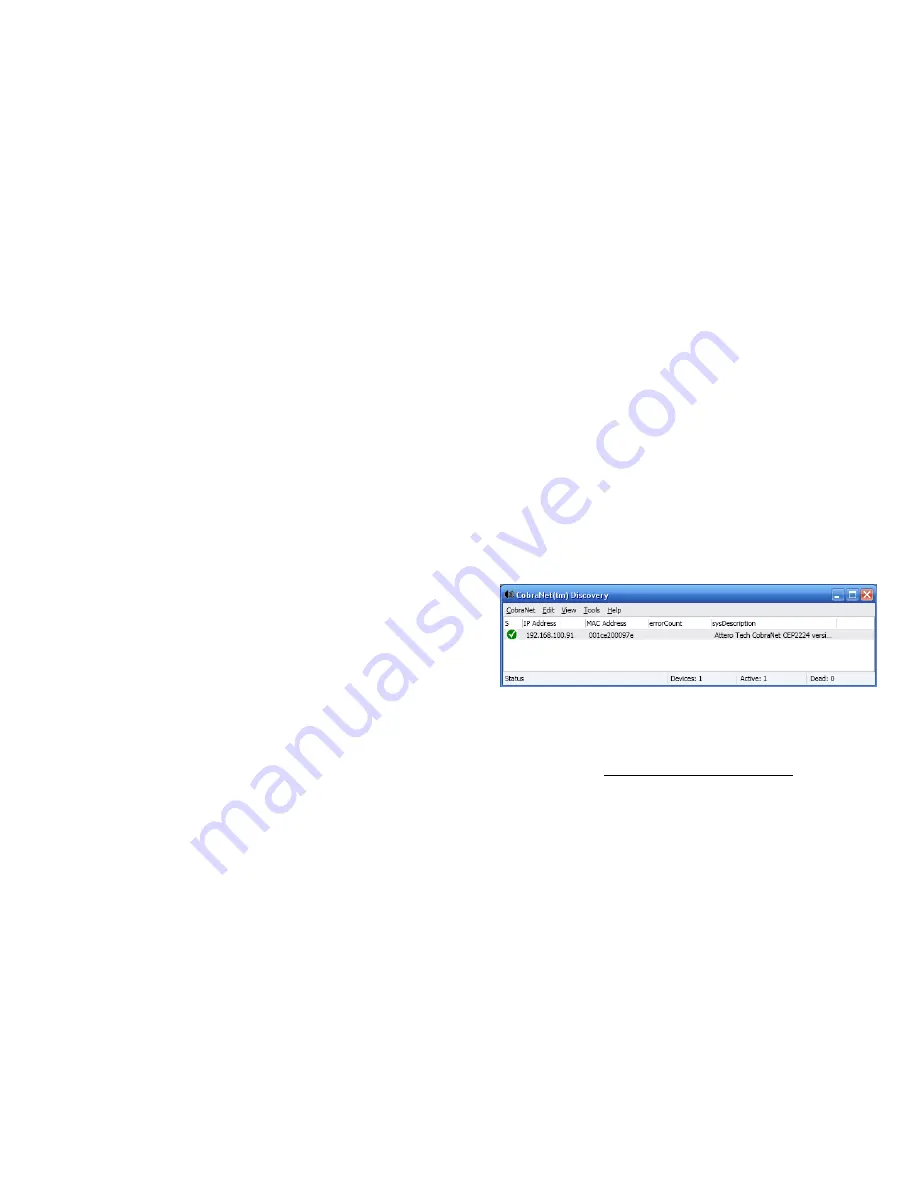
Once installed, it should be launched from a computer on the same
network as the CVA100. After the program launches it will search for
CobraNet devices. The CVA100 will appear as “Attero Tech CobraNet
CEP2224”. If this is the first time you are setting up this device, or the
device has been power cycled, the IP address will appear as 0.0.0.0. To
set an IP address for easier recognition, right-click the device and se-
lect “Update IP Address”. To ensure visibility, assign it to the same
subnet as the computer you are configuring it from.
3.3.2 Setting Up Bundles
To open up the bundle configuration window, double-click on the de-
vice listed in the screen above. You will see 2 Tx and 2 Rx bundles
ready to configure. Do not configure the two Tx bundles. Single-click on
each of the Rx bundles (shown as 300 and 301 in the screen capture
on the next page) to make the fields editable. From here you can enter
a new bundle numbers.


