


Hull Construction Continued
☐
Working back from the bow of the boat bond
all intersections of formers, ribs, and hull
bottom aft of former F2.
☐
Cut the provided 1” length of aluminum tubing
to 15/16” and install at the transom within the
circular cutouts of F10 and F11 as illustrated
below. Note that tube will protrude ~ 1/16 in.
above the plywood F10 former. Bond with
medium CA to retain part within assembly.
☐
Join parts D1a and D1b along the dove-tail
joints to create the “D1” upper decking. Bond
with thin or medium CA glue along the seam.
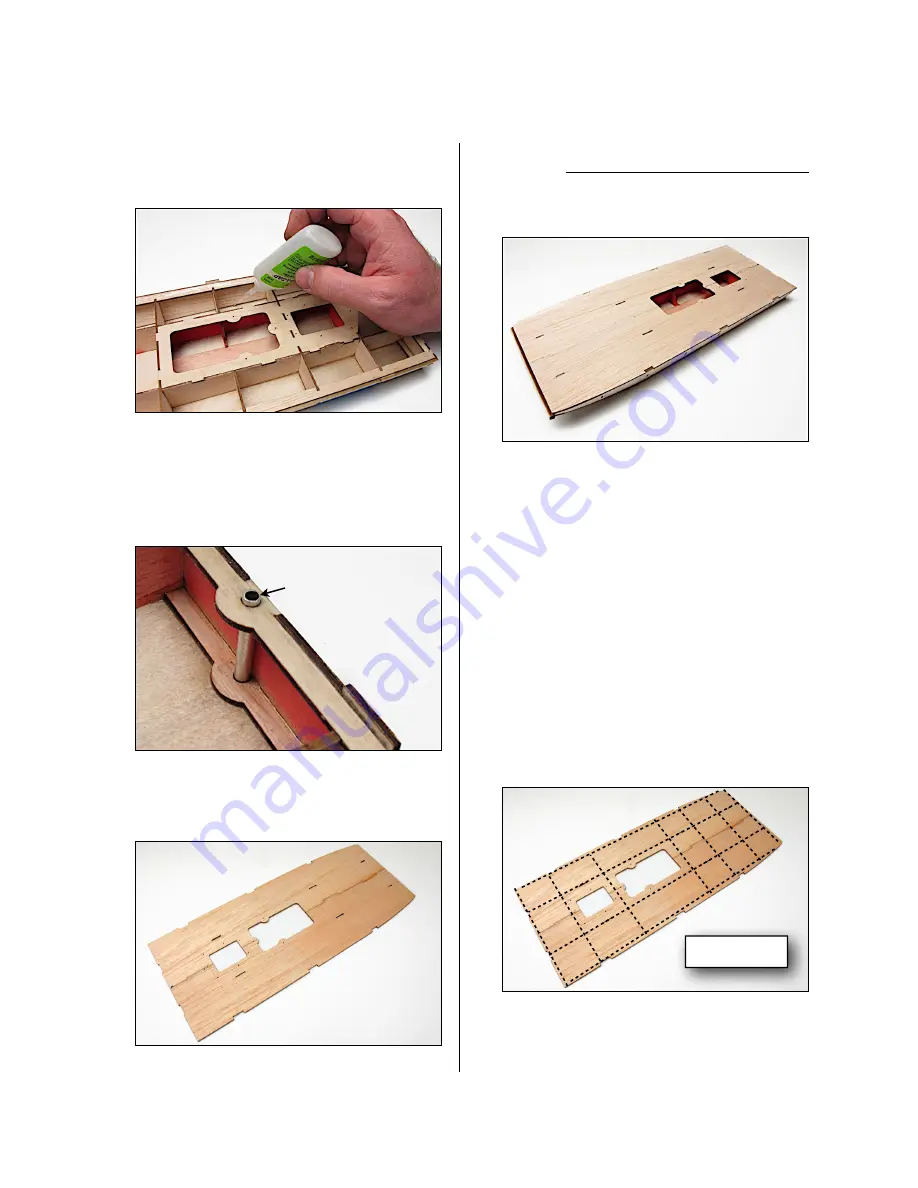
☐
Test fit the D1, upper decking assembly, to
the hull
with the dashed etch lines down.
Make any adjustments to the tabs and
notches to ensure you can quickly drop this
part into position atop the hull assembly.
☐
Remove the D1 decking and lay on your
worktable etch side up.
You’ll need to work quickly on this step. Thick
CA glue or 5 min. epoxy will ensure proper
working time. Apply glue along the perimeter
of part D1, around the radio access hatch
holes, and along each of the dashed lines
etched on D1.
Key the pre-fit, and now glue covered, D1
balsa top deck (glue/etch side down) to tabs
along side of boat and at ribs and set into
position. Pinch around top decking and F9
sub deck to make certain you have achieved
a proper bond. Especially in the area of the
electronics access hatch, go over all joints
and edges and make certain the deck is
properly seated.
Build Instructions
© 2013 Stevens AeroModel all rights reserved.
Page 11 of 25
Bottom View
Transom
1/8” Diameter x 15/16”
Length Aluminum Tubing


