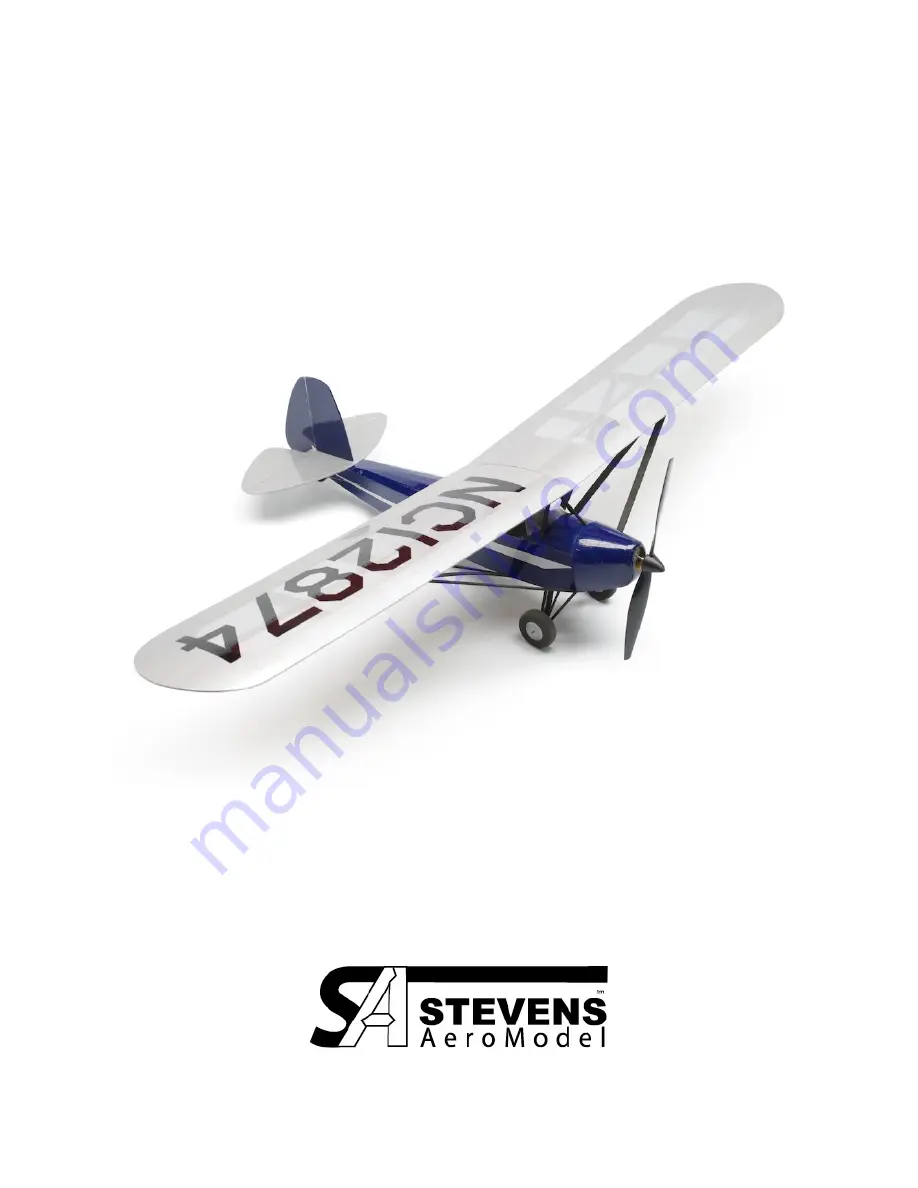
Stevens Aero Model Heath LNB-4 UM Build Instruction Manual Download Page 1

Heath LNB-4 UM

Pioneer of the Homebuilt Movement

Wing Span: 22 inches | Wing Area: 67 inches

2

 | Average Flying Weight: 1.3 ounces

Version 1.0 (revised 10.03.2012)

Build Instructions                                                                                                            

Heath LNB-4 UM Parasol Build Instructions.  © 2012 Stevens AeroModel all rights reserved.

!

Page 1

Summary of Contents for Heath LNB-4 UM

Page 1: ...mebuilt Movement Wing Span 22 inches Wing Area 67 inches2 Average Flying Weight 1 3 ounces Version 1 0 revised 10 03 2012 Build Instructions Heath LNB 4 UM Parasol Build Instructions 2012 Stevens Aero...

Page 2: ...to return this kit immediately in new and unused condition to the place of purchase THIS PRODUCT IS NOT INTENDED FOR CHILDREN 12 YEARS OF AGE OR YOUNGER WARNING This product may contain chemicals know...

Page 3: ...stic Wheels SIGSH540 Taped to back of the wood parts brick 1 0 032 in x 12 in wire Landing Gear 2 0 015 in x 12 in wire Pushrods Hardware Bag 1 2 in length of Heat Shrink Tube 1 Nylon Receiver Clip 1...

Page 4: ...nt Suggestions While not required it is suggested that a high quality lacquer based clear sealant be applied SPARINGLY to seal and protect the wood grain in humid environments One single light misting...

Page 5: ...Sheet Wood Inventory 1 of 1 Build Instructions Heath LNB 4 UM Parasol Build Instructions 2012 Stevens AeroModel all rights reserved Page 5...

Page 6: ...Builders Notes Build Instructions Heath LNB 4 UM Parasol Build Instructions 2012 Stevens AeroModel all rights reserved Page 6...

Page 7: ...alcohol and a disposable towel Bonding the assembly As this product tabs notches and otherwise interlocks like a 3D puzzle we suggest that when fitting parts you dry fit use no glue the parts togethe...

Page 8: ...a single tiny drop of medium CA glue applied sparingly through a CA glue applicator tip to tack glue the part in place Should you commit an error in assembly it will be easier to recover from the mist...

Page 9: ...rasol Build Instructions 2012 Stevens AeroModel all rights reserved Page 9 Step 1 RT RT F2 F1 Step 2 Step 3 Step 4 Step 5 Step 6 Step 7 Step 8 F1 F1 F3 F4 F5 F6 F7 Bottom Front Bottom View Bottom View...

Page 10: ...e bonded to each other as well 12 Fit and bond former F12 to the slots in the middle of F1 13 Fit and tack glue former F13 to the slots mid way back in the rear portion of the fuselage sides 14 Fit an...

Page 11: ...ons 2012 Stevens AeroModel all rights reserved Page 11 Step 9 Step 10 Step 11 Step 12 Step 13 Step 14 Step 15 Step 16 F8 F12 F13 F14a Top View Bottom View Bottom View F9 F10 F11 F11 Top View Bottom Vi...

Page 12: ...e able to pull the hobby knife out leaving F19 placed perfectly Please note that F19 will not make contact with any part of former F3 the gap between F3 and F19 is intentional 22 Fit and bond the bott...

Page 13: ...Stevens AeroModel all rights reserved Page 13 Step 17 F15 F17 F17 Step 18 Step 19 Step 20 Step 21 Step 22 Step 23 Step 24 F19 F21 F22 Bottom View F16 F18 F18 F3 F20 Bottom View 1 2 3 Rear F3 F13 F15 F...

Page 14: ...Feed the power lead through the hole in F2 over the landing gear mount and into the radio compartment 30 Slide the geared end of the motor gearbox into the opening within the nose at formers F22 and...

Page 15: ...evens AeroModel all rights reserved Page 15 Step 25 F24 Step 26 Step 27 Step 28 Step 29 Step 30 Step 31 Step 32 R F23 F27 Bottom View F25 F26 F22 Test motor prior to installation Remove Remove F22 F2...

Page 16: ...hen aligning parts F27 and F28 note the slight nick cut to the outside edge at the center of each part This nick mark will align with a similar nick mark in the underlying formers These have been put...

Page 17: ...asol Build Instructions 2012 Stevens AeroModel all rights reserved Page 17 Step 33 Step 34 Step 35 Step 36 Step 37 Step 38 Step 39 40 Step 40 F27 F28 F27 F28 F27 F28 E1 E2 E2 Center Center Center Cent...

Page 18: ...e bottom of parts S1 and S2 align over plan set and and bond with medium CA 46 Using the plan set page 1 of 2 as a guide fit and bond parts LG1 and LG2 together as shown to form two sets of landing ge...

Page 19: ...evens AeroModel all rights reserved Page 19 Step 41 LG1 Step 42 Step 43 Step 45 Step 46 Step 47 Step 49 Step 50 LG1 Bottom View LG2 LG2 Rear Spar Struts Front Spar Struts S2 S1 CS1 CS1 W1 W2 W3 W4 W5...

Page 20: ...pocket Once satisfied with the fit of the landing gear wire and retaining part F29 wick thin CA glue around F29 and at the points where the wire exits the fuselage to permanently retain the gear with...

Page 21: ...evens AeroModel all rights reserved Page 21 Step 50 cont Step 51 Step 52 Step 54 Step 55 F29 Bottom View Step 53 Bottom View Bottom View Bottom View Step 50 cont Step 56 LG3 LG2 LG3 Notch within LG2 E...

Page 22: ...cted to cover the tail surfaces open the covering over the center slots in the horizontal stabilizer Fit the tabs of the vertical stabilizer into the slots and tack glue in place with small drops of m...

Page 23: ...asol Build Instructions 2012 Stevens AeroModel all rights reserved Page 23 Step 58 Step 59 Step 60 Step 61 Step 57 Step 62 Step 63 TS Step 64 Bottom View Windscreen LEFT Perpendicular Heat Shrink Tube...

Page 24: ...nel when it is installed Tack glue the wing panel along rib W8 to retain 71 Repeat steps 69 and 70 to install the right wing panel 72 Turn model over and fit the left set of the previously assembled f...

Page 25: ...ons 2012 Stevens AeroModel all rights reserved Page 25 Step 64 cont Step 65 Step 66 Step 67 Step 68 Step 69 Step 70 Step 72 Bottom View Right Left Rudder Elevator S1 CS1 CS1 CS2 S1 CS1 S2 CS1 W8 S2 S1...

Page 26: ...at avoiding disaster While not an exhaustive pre flight check these are some of the major items that you should consider using when developing your own pre flight check list Get in the habit of alway...

Page 27: ...nounce your intention to land Make landings into the wind With rudder elevator control and no ailerons setting up landings in cross winds should be avoided until you are comfortable with the model s i...

Reviews: