6
2.
PICTURE SET-UP
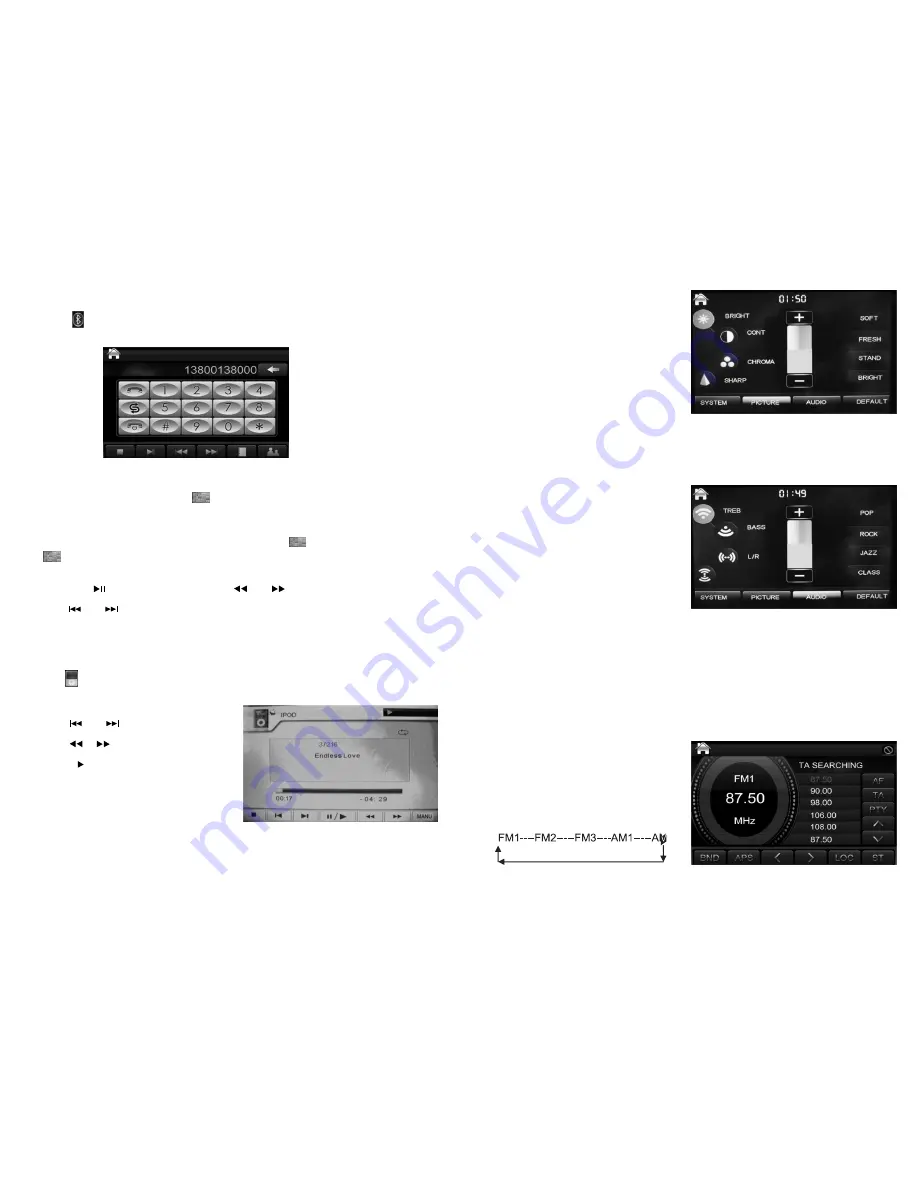
Press “ PICTURE ” to enter the
Colour set-up interface.
In Colour Set-up, you can set the brightness (BRIGHT), contrast (CONT), colour (CHROMA),
sharpness (SHARP(ness), SOFT, FRESH (vivid), STAND(ard) and BRIGHT, eight colour modes,
and adjust to the optimal colour mode, as preferred.
3.
SOUND SET-UP
Press “AUDIO” to enter the sound
set-up interface.
In Sound Set-Up, you can select among
TREB(le), BASS, Left/Right and Front/Rear,
as well as POP, ROCK, JAZZ and
CLASS(ical).
Ø
You can quickly customize the VOL+/- , BAS+/- ,TRE+/- ,BAL+/- , LOD on/off , EQ setting, BRL+/-,
CON+/-, COL+/- , SHP+/- , PP setting by pressing the “SEL” key and “VOL-” , “VOL+” key.
4.
RESET
Press the “RESET” key on the Panel to enter the Touch Screen Calibration.
The blue backlit screen calibration interface appears.
Press the cross in the centre of the screen for over two seconds; if the desired effect has not been
achieved after the calibration, press “Reset” to continue the calibration.
BASIC INTRODUCTION
1. FM OPERATION
In FM mode, the screen displays:
“ make sure that the radio antenna
has been connected correctly
to listen to the radio programmes ”
Band Selection Button (BND)
Press the “MODE” key to select FM mode,
and press the “BND” key repeatedly to select
the desired band in the following sequence:
9
6. BLUETOOTH FUNCTION
To enter the BLUETOOTH interface:
•
Press “
” on the main menu, or
•
Press the “MODE” button on the Remote Control to enter the Bluetooth interface.
•
Then scan a new device in the Bluetooth function of the mobile phone and pair this with
the mobile phone (pairing password: 0000).
•
When there is an incoming call, click “
” to answer the call. When the call ends the device
resumes the previous mode.
•
When the device is connected to Bluetooth on a mobile phone, enter the telephone number
in the number keys area on the right of the screen and click “
” to make the call. Click the red
“
” key when the call ends.
•
With the device connected to Bluetooth on a mobile phone, if there is music to play on the device,
please click “
” to pause/play the file. Click “
” or “
” to fast forward/reverse.
•
Click “
” or “
” to play the next/previous track.
•
Click “menu back” to return to the Main Menu.
7. IPOD FUNCTION
Mount your iPOD on the universal IPOD DOCK on the top of the cabinet, and then switch it on.
Click the “
” icon in the Main Menu to enter the IPOD function interface.
The display menu of the device is consistent with the IPOD Menu; touch the Menu on the touch screen
to enter the next menu.
•
Press “
” or “
” to go to the previous or
next track during playback.
•
Press “
” “
” to fast forward or fast
reverse during playback.
•
Press “
II
/
“ Play/Pause to play or pause the file.
•
Press “ “ Stop to stop playback.
•
Press “ MANU ” to return to the main menu
interface.
Notes:
Ø
If in another mode, docking the iPOD will change to the iPOD interface automatically.
Ø
While in the dock, with the Main Power and Standby on, the iPOD will be charging.
Ø
In IPOD playback mode, do not disconnect the iPOD or do not pull the connection cable out of
the device, or it will cause the IPOD to shut down.
www.monkeygamesroom.co.uk


