Instruction Manual
3
Installation
Windows XP/ Vista/ 7
1. Connect the included power adapter from an AC electrical outlet to the USB
Docking Station.
2. Insert the provided Driver CD into the computer’s CD/ DVD drive.
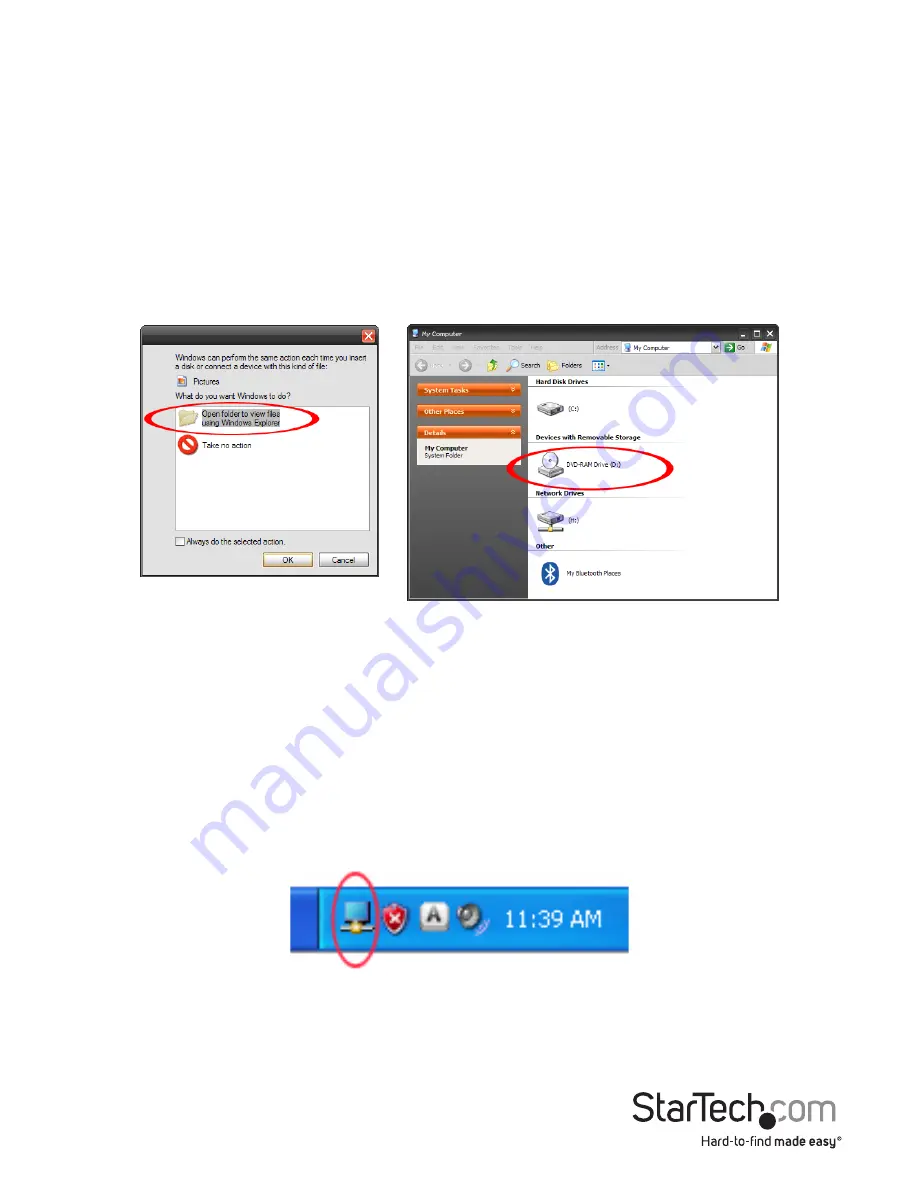
3. Autorun should give you the option to browse the files on the CD or automatically
open the CD.
If Autorun does not start, Go into “My Computer” and double-click the CD/DVD
drive that the CD is in.
*screenshots for reference only
4. Run the “setup.exe” file on the CD to launch the driver installation program. Follow
the on screen instructions to complete the driver installation.
5. Please wait while the installation program copies the necessary files.
6. Connect the Docking Station to the computer using the included USB 3.0 cable.
Windows will automatically detect and install the drivers.
7. Connect the monitor(s) to the USB Docking Station using DVI and/or HDMI cables
and power on the monitors.
8. Windows will start to automatically load the drivers and software for the USB display
adapter. Once complete, you should see this icon in your System Tray:


