Instruction Manual
3
Docking Station Installation
WARNING:
Hard drives and docking stations require careful handling. If you are not careful with
your hard disk, lost data may result. Always handle your hard drive and docking station
with caution. Be sure that you are properly grounded by wearing an anti-static strap
when handling computer components or discharge yourself of any static electricity
build-up by touching a large grounded metal surface (such as the computer case) for
several seconds.
1. Connect the Dock to an available power outlet, using the provided power adapter.
2. Connect the Dock to your computer system, using the provided USB 3.0 cable.
SATA Drive Installation
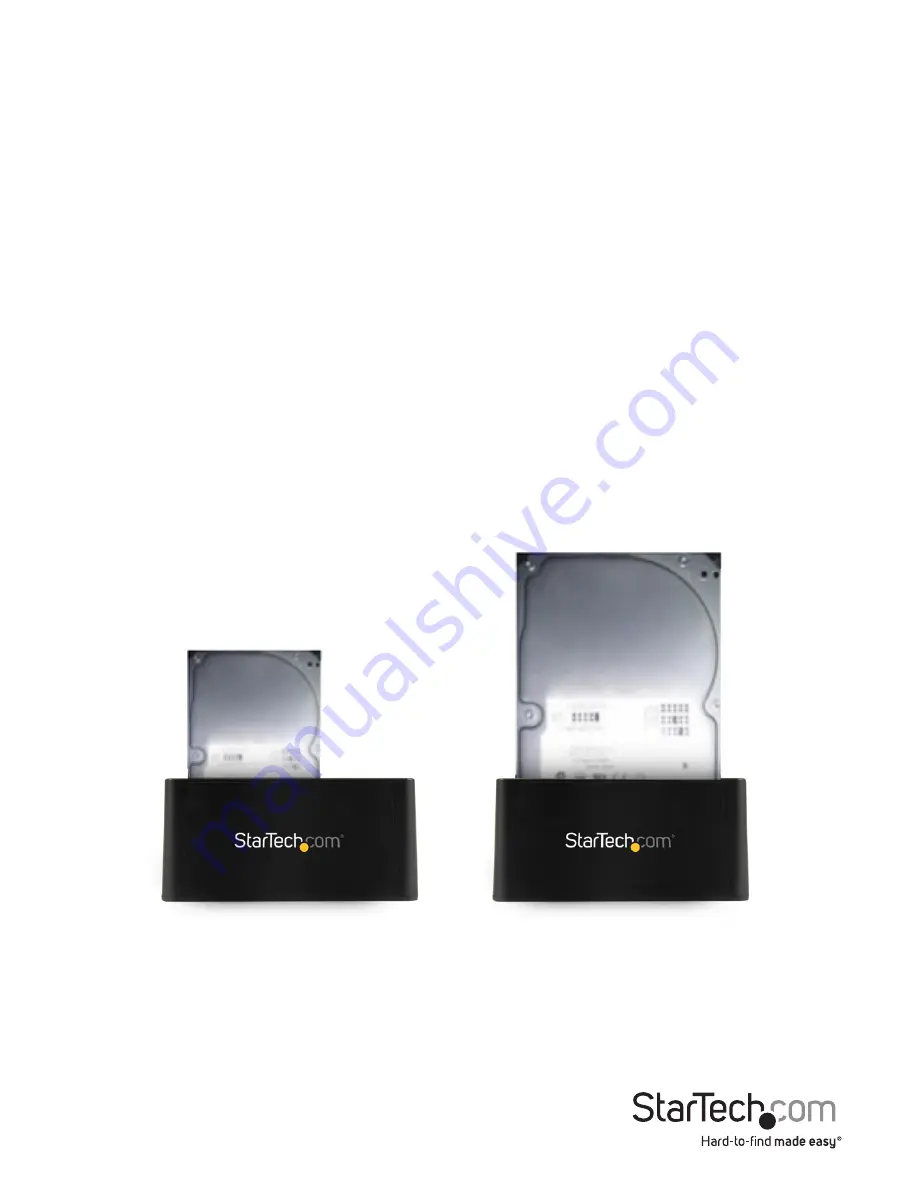
1. Carefully align and insert your 2.5” or 3.5” SATA drive in the SATA Hard Drive slot (slot
#1) on the docking station, such that the SATA power and data connectors on the
drive are properly aligned with the corresponding connectors inside the hard drive
slot.
2. Press the SATA Hard Drive power button.
3. Your computer Operating System will now automatically recognize the drive and it
will be accessible as though it were installed in the system internally.
Note:
If your computer fails to automatically recognize your drive it is likely your drive
has not been initialized or formatted correctly. (See Drive Initialization in Software
operation for further instructions.)


