background image

Manual Revision: 02/01/2017

For the latest information, technical specifications, and support 

for 

this product, please visit www.startech.com/STDHVHDBT.

FR: Guide de l’utilisateur - fr.startech.com

DE: Bedienungsanleitung - de.startech.com

ES: Guía del usuario - es.startech.com

NL: Gebruiksaanwijzing - nl.startech.com

PT: Guia do usuário - pt.startech.com

IT: Guida per l’uso - it.startech.com

STDHVHDBT

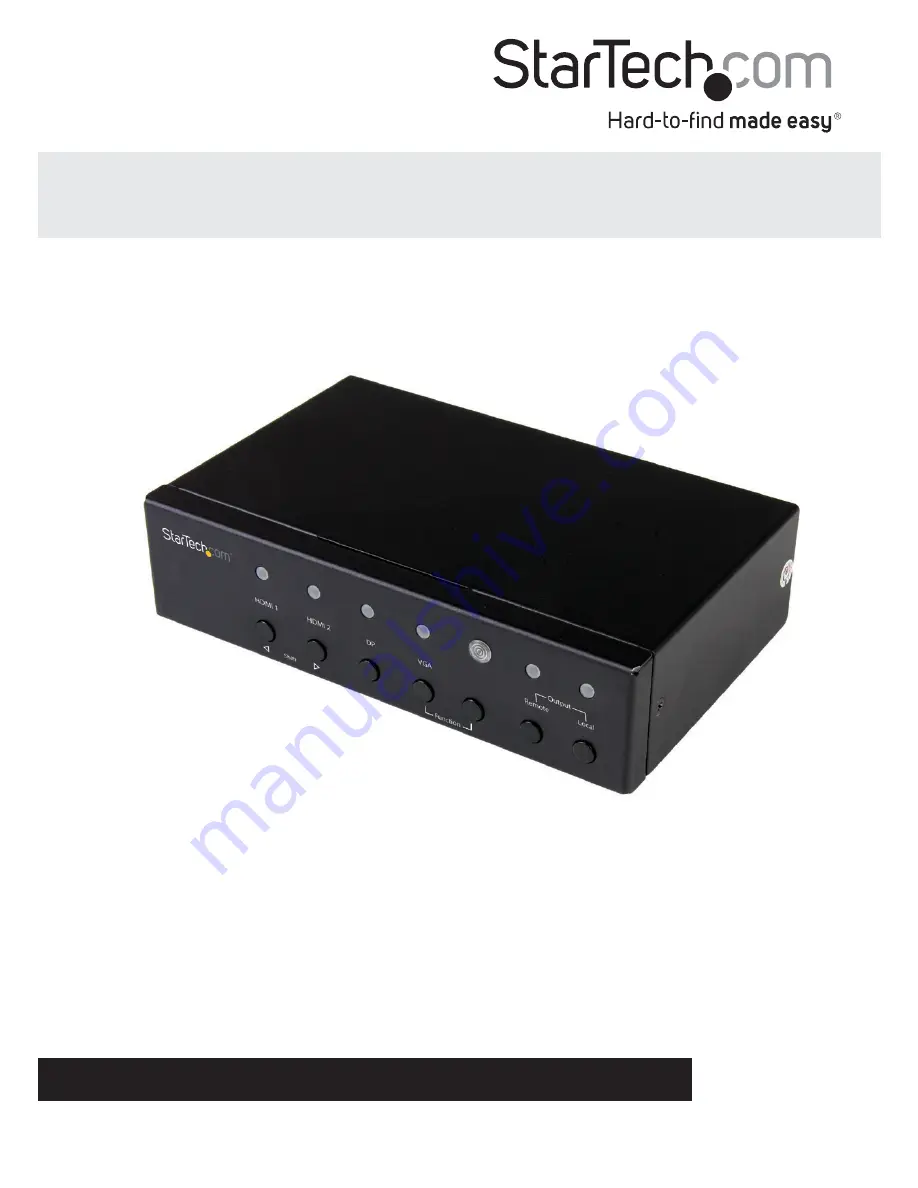
Multi-Input HDBaseT Extender - 230 ft

*actual product may vary from 

Summary of Contents for STDHVHDBT

Page 1: ...w startech com STDHVHDBT FR Guide de l utilisateur fr startech com DE Bedienungsanleitung de startech com ES Guía del usuario es startech com NL Gebruiksaanwijzing nl startech com PT Guia do usuário pt startech com IT Guida per l uso it startech com STDHVHDBT Multi Input HDBaseT Extender 230 ft actual product may vary from ...

Page 2: ...ay cause undesired operation Changes or modifications not expressly approved by StarTech com could void the user s authority to operate the equipment Industry Canada Statement This Class A digital apparatus complies with Canadian ICES 003 Cet appareil numérique de la classe A est conforme à la norme NMB 003 du Canada CAN ICES 3 A NMB 3 A Use ofTrademarks RegisteredTrademarks and other Protected Na...

Page 3: ...ram 2 Front view 2 Rear view 2 Introduction 3 Package contents 3 Requirements 3 Preparing your site 4 Installation 4 Operation 5 Mode selection and switch operation 5 VGA screen shifting 6 Set EDID 7 Manual operation with serial control 8 LED indicators 12 Technical support 14 Warranty information 14 ...

Page 4: ...Output buttons Front view Transmitter diagram 1 DC 12V power port 2 Control RJ11 serial jack 3 IR Out In ports not active 4 HDMI output port 5 HDBaseT output port 6 Audio In 3 5mm port for VGA 7 VGA input port 8 DP input port 9 HDMI 1 input port 10 HDMI 2 input port 11 Mode switch 12 Auto Inventory EDID switch 13 EDID COPY button 12 13 6 7 8 9 10 11 7 ...

Page 5: ...Instruction Manual 2 1 HDMI output 2 Status LED 1 DC power port 2 HDBaseT input port 3 Grounding bolt Receiver diagram Front view Rear view ...

Page 6: ... to RS232 converter 1 x 5 ft 1 5 m RJ11 cable 1 x 4 ft 1 2 m RJ45 cable 8 x foot pads 1 x screw kit 1 x quick start guide Requirements Two HDMI video sources with cabling One DisplayPort video source with cabling One VGA video source with cabling One remote HDMI display with cabling A length of CAT5e or CAT6 cable running the distance between your transmitter and receiver One local HDMI display wi...

Page 7: ...BaseT input port on the receiver Important Notes Use only the receivers included with this kit The included HDBaseT receivers use 12V POC mixing hardware with a different HDBaseT kit can damage your equipment Do not route the cable through any networking equipment 5 Power up each of your devices The image from your video source will now appear on your remote display and local display if connected ...

Page 8: ... source Connect a new device or turn on an already connected device to automatically switch video sources The active selected port LEDs will light up indicating which port is selected Priority A mode operation 3 Pri A Priority A mode prioritizes the HDMI 1 DisplayPort VGA and HDMI 2 input ports respectively When you turn on a video source that is connected to a higher prioritized input port that v...

Page 9: ...video output to the right or left of the monitor depending upon your requirements 1 Press and hold both of the Function buttons Function VGA simultaneously for 2 seconds until the VGA input LED turns blue and flashes orange 2 Press the left Function button VGA or right Function button to move the screen right and left respectively depending upon your desired screen position Notes The VGA port is t...

Page 10: ...r your ideal setup will be based on emulating 1080p video and 2 channel audio across both displays or sharing one of the displays video and or audio capabilities across each attached display Note You can copy EDID from either your local or remote display However you cannot copy audio from one and video from the other 2 Set the Auto Inventory EDID switch to your desired setting based on your determ...

Page 11: ...0 x 1080 EDID 13 Make 1920 x 1200 EDID 14 Make 1920 x 1440 EDID 15 Make 2048 x 1152 EDID 16 Make 2560 x 1440 EDID 17 Make 2560 x 1600 EDID 18 Make 3840 x 2160 EDID 19 Make 4096 x 2160 EDID when n 1 a1 a2 not required when n 2 a1 monitor index 1 2 a2 not required when n 3 max a1 video options 1 DVI 2 HDMI 2D 3 HDMI 3D a2 audio options 1 LPCM 2 ch 8 DTS 5 1 ch 2 LPCM 5 1 ch 9 DTS HD 5 1 ch 3 LPCM 7 ...

Page 12: ...the selected inputs Yes OLE Enables the local HDMI output No OLD Disables the local HDMI output No ORE Enables the remote video output No ORD Disables the remote video output No VS Displays various current settings for video inputs and outputs No PI Displays transmitter product information No FACTORY Restores factory settings No REBOOT Reboots the transmitter No VL Shifts VGA input screen left No ...

Page 13: ...o your terminal and press Enter on your keyboard 2 Whichever display is active will now output your DisplayPort source For an example of commands that require two and three values The CE command works to set EDID and may require up to three values depending upon your EDID requirements The first value represents the method of EDID while the second and third values will change depending upon the met...

Page 14: ... for 2D HDMI with a 1920 x 1200 resolution and 7 1 channel audio 1 Type CE 3 2 13 into your terminal and press Enter on your keyboard 2 The switch will reboot and EDID will be copied from your remote display Notes Your video source must be connected to copied EDID from it If there is no video source connected your terminal will report that the value you entered is invalid There are several command...

Page 15: ...urce with HDCP is connected to the transmitter but that source is not selected Illuminates blue and flashes red once The source is selected but an active video source is not connected Illuminates blue and flashes orange VGA screen shifting is engaged Remote output LED Illuminates blue The remote output is selected and a receiver is connected with a remote monitor attached Illuminates blue and flas...

Page 16: ...nual 13 Receiver LEDs Activity Status Status LED Illuminates blue The receiver has an active link with the transmitter Illuminates blue flashes red Receiver has power but there is no active link with the transmitter ...

Page 17: ...rned for repair or replacement with equivalent products at our discretion The warranty covers parts and labor costs only StarTech com does not warrant its products from defects or damages arising from misuse abuse alteration or normal wear and tear Limitation of liability In no event shall the liability of StarTech com Ltd and StarTech com USA LLP or their officers directors employees or agents fo...

Page 18: ...rts and we quickly deliver them wherever they need to go Just talk to one of our tech advisors or visit our website You ll be connected to the products you need in no time Visit www startech com for complete information on all StarTech com products and to access exclusive resources and time saving tools StarTech com is an ISO 9001 Registered manufacturer of connectivity and technology parts StarTe...

Reviews: