background image

Instruction Manual

2

Disk Installation

1.  Connect the Dock to an available power outlet, using the provided power adapter.
2.  Connect the Dock to the (powered) Host Computer, using the provided 

USB 3.0 cable.

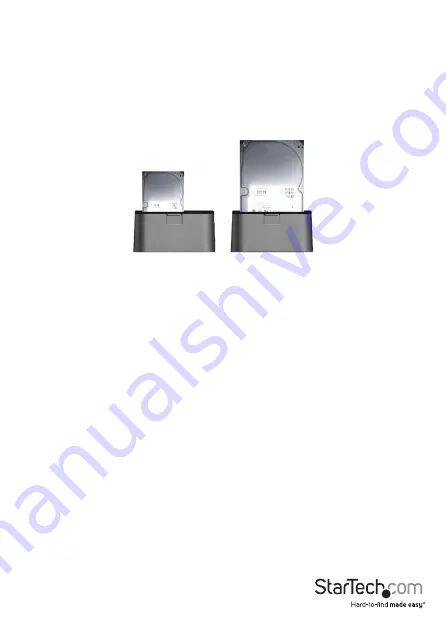
3.  Insert the 2.5” or 3.5” SATA drive you wish to install, such that the SATA power 

and data connectors at the back of the drive are properly aligned with the 

corresponding connectors inside the Dock.


4.  Switch the power switch to “ON” position.
Once the drive has been inserted, the operating system will detect that it has been 

connected and automatically update the drivers for proper operation.

SATA Drive Removal

When removing the installed drive from the Dock, please ensure that you have 

followed the appropriate steps (dependant on the operating system) to disconnect 

removable storage. In Windows for example, click on the Safe Remove icon located in 

the taskbar. Select the drive from the menu provided, then click Stop. Select the device 

to disconnect, and click OK. 

In Mac OSX®, click on the USB storage icon on the desktop, and drag it to the Trash Can 

icon on the desktop.

Summary of Contents for SDOCKU33BV

Page 1: ...nleitung de startech com FR Guide de l utilisateur fr startech com ES Gu a del usuario es startech com IT Guida per l uso it startech com NL Gebruiksaanwijzing nl startech com PT Guia do usu rio pt st...

Page 2: ...eceiving antenna Increase the separation between the equipment and receiver Connect the equipment into an outlet on a circuit different from that to which the receiver is connected Consult the dealer...

Page 3: ...l i Table of Contents Introduction 1 Package Contents 1 Product Overview 1 Rear View 1 Disk Installation 2 SATA Drive Removal 2 Initializing the Hard Drive 3 Specifications 4 Technical Support 5 Warra...

Page 4: ...troduction Package Contents 1 x USB 3 0 SATA hard drive docking station 1 x USB cable 1 x universal power adapter NA JP EU UK ANZ 1 x instruction manual Rear View DC Power Adapter On Off Switch USB 3...

Page 5: ...sition Once the drive has been inserted the operating system will detect that it has been connected and automatically update the drivers for proper operation SATA Drive Removal When removing the insta...

Page 6: ...sking you to initialize the drive Depending on the version of Windows it will give you the option of either creating an MBR or GPT disk GPT GUID partition is not compatible with some older operating s...

Page 7: ...Power 15 Pin Female 1 x SATA Data 7 Pin Female External Connectors 1 x USB 3 0 type B w UASP Female 1 x DC Power Adapter Drive Compatibility 2 5 3 5 SATA Hard Drives OS Support Windows 2000 2003 XP V...

Page 8: ...returned for repair or replacement with equivalent products at our discretion The warranty covers parts and labor costs only StarTech com does not warrant its products from defects or damages arising...

Page 9: ...ts and we quickly deliver them wherever they need to go Just talk to one of our tech advisors or visit our website You ll be connected to the products you need in no time Visit www startech com for co...

Reviews: