StarTech.com SAT2510U2E Instruction Manual Download Page 7

Instruction Manual

4

4. Fasten the front panel (with drive attached) to the rear panel (enclosure), using the 

screws removed in step #1.

CCoonnnneeccttiinngg  ttoo  aa  HHoosstt  CCoom

mppuutteerr

To connect SAT2510U2E to a host computer 

using USB

, simply insert the included USB

cable into the USB type Mini B slot provided by the enclosure, and the remaining end into
an available USB type A slot on the host computer.

To connect SAT2510U2E to a host computer 

using eSATA

, connect the enclosure to the

host computer, using a standard eSATA cable. To provide power to the enclosure, connect
the 

USB to DC cable

(provided) to an available USB port on the host computer, and insert

the remaining end into the power port located on the front panel of SAT2510U2E.

Once the enclosure has been connected to the host computer, the operating system will
automatically update the necessary driver files. Once this has been completed, the newly
connected drive should appear as an added hard drive, in 

My Computer

.

VVeerriiffyyiinngg  IInnssttaallllaattiioonn  aanndd  DDrriivvee  PPaarrttiittiioonnss

To ensure that the drive is properly detected by the operating system (for Windows users):
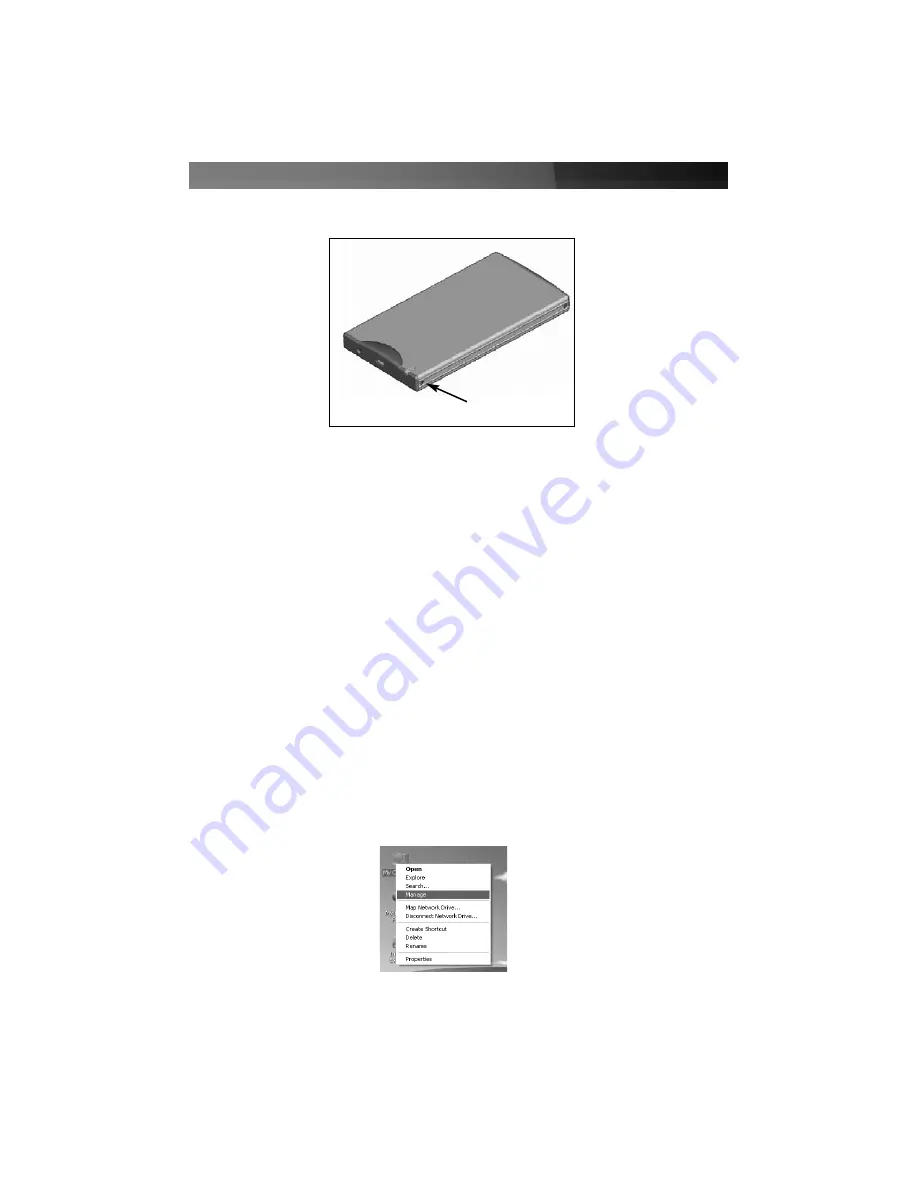
1. Right-click on 

My Computer

, and select 

Manage

:

Fasten here

Summary of Contents for SAT2510U2E

Page 1: ...eSATA USB SATA Drive Enclosure SAT2510U2E Instruction Manual Actual product may vary from photo 2 5 eSATA USB 2 0 SATA Drive Enclosure...

Page 2: ...uipment and receiver Connect the equipment into an outlet on a circuit different from that to which the receiver is connected Consult the dealer or an experienced radio TV technician for help U Us se...

Page 3: ...te en nt ts s Introduction 1 Features 1 System Requirements 1 Package Contents 1 Hardware Guide 2 Installation 2 Connecting to a Host Computer 4 Verifying Installation and Drive Partitions 4 Specific...

Page 4: ...SAT2510U2E can be a perfect notebook accessory providing added storage for a flawless user experience IIn nt tr ro od du uc ct tiio on n Portable lightweight design Features System Requirements Compat...

Page 5: ...ys handle your hard drive and storage device with caution WARNING Hard drives like all computer equipment can also be severely damaged by static electricity Be sure that you are properly grounded befo...

Page 6: ...m the enclosure and remove the rear panel cover Pull the front panel out of the enclosure 2 Attach the 2 5 SATA hard drive to the connector provided 2 5 SATA Hard Drive 3 Insert the front panel with d...

Page 7: ...a standard eSATA cable To provide power to the enclosure connect the USB to DC cable provided to an available USB port on the host computer and insert the remaining end into the power port located on...

Page 8: ...allocated block and select New Partition 4 This will launch the New Partition Wizard Please follow the instruction provided by the Wizard to partition the drive for use 5 Once the partition has been c...

Page 9: ...ducts from defects or damages arising from misuse abuse alteration or normal wear and tear L Liim miit ta at tiio on n o off L Liia ab biilliit ty y In no event shall the liability of StarTech com Ltd...

Page 10: ...computer parts cables server management solutions and A V products and serve a worldwide market through our locations in the United States Canada the United Kingdom and Taiwan Visit www startech com...

Reviews: