background image

Manual Revision: 04/30/2013

For the most up-to-date information, please visit: www.startech.com

DE:

 Bedienungsanleitung - de.startech.com

FR:

 Guide de l'utilisateur - fr.startech.com

ES:

 Guía del usuario - es.startech.com

IT:

 Guida per l'uso - it.startech.com

NL:

 Gebruiksaanwijzing - nl.startech.com

PT:

 Guia do usuário - pt.startech.com

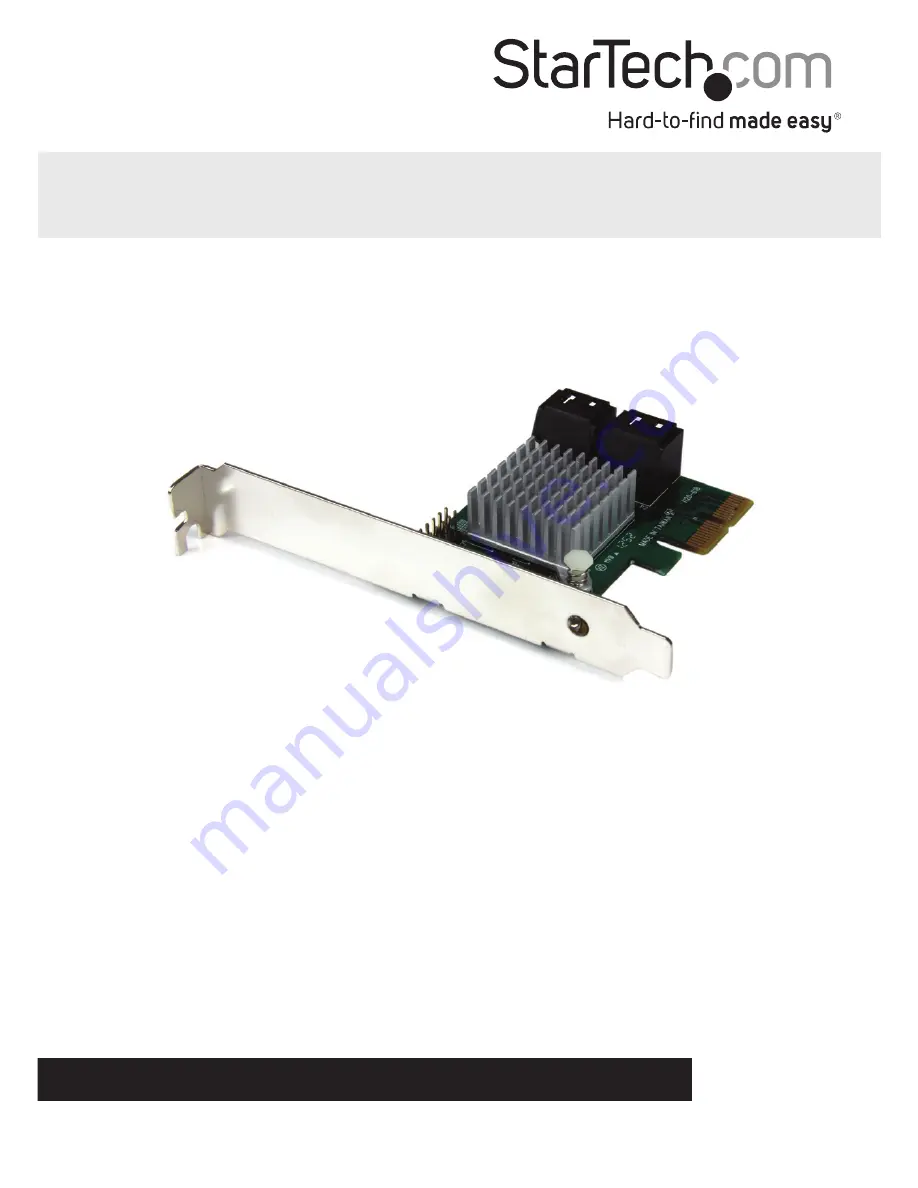
PEXSAT34RH

4 Port PCIe SATA III 6Gbps RAID 

Controller Card 

*actual product may vary from photos

Summary of Contents for PEXSAT34RH

Page 1: ...sanleitung de startech com FR Guide de l utilisateur fr startech com ES Guía del usuario es startech com IT Guida per l uso it startech com NL Gebruiksaanwijzing nl startech com PT Guia do usuário pt startech com PEXSAT34RH 4 Port PCIe SATA III 6Gbps RAID Controller Card actual product may vary from photos ...

Page 2: ...receiving antenna Increase the separation between the equipment and receiver Connect the equipment into an outlet on a circuit different from that to which the receiver is connected Consult the dealer or an experienced radio TV technician for help Use ofTrademarks RegisteredTrademarks and other Protected Names and Symbols This manual may make reference to trademarks registered trademarks and other...

Page 3: ...er Installation 4 Management Utility Installation Optional Windows only 5 Verifying Installation 7 Port Multiplier 7 Operation 8 RAID Configuration 8 Administration Console Method 9 HyperDuo Configuration 11 Card BIOS Method 11 Administration Console Method 12 HyperDuo Management Windows only 13 Specifications 15 Technical Support 16 Warranty Information 16 ...

Page 4: ...aster SSD drive s for improved data throughput up to 80 of SSD performance Note The HyperDuo automatic storage tiering feature is compatible with Windows XP Vista 7 and 8 only The PCIe SATA controller card supports Port Multiplier PM enabling multiple SATA drives to be connected to one port over a single cable for a total of 7 drives Up to 4 drives through PM on one port and a single drive to the ...

Page 5: ...Instruction Manual 2 4x SATA III ports Product Diagram ...

Page 6: ...r of the power supply on the back of the computer and disconnect all peripheral devices 2 Remove the cover from the computer case See documentation for your computer system for details 3 Locate an open PCI Express x2 slot and remove the metal cover plate on the rear of the computer case Refer to documentation for your computer system for details NOTE This card will work in PCI Express slots of add...

Page 7: ...toPlay should give you the option to browse the files on the CD or automatically open the CD If AutoPlay does not start go into My Computer and access the CD DVD drive that the CD is in 3 Open the folder SATA6G_M9128 Run the file drvSetup exe Follow the onscreen instructions to complete the driver installation Windows Vista 7 8 The driver is natively supported by newer Operating Systems The driver...

Page 8: ...the default installation options are recommended 2 After installing the Apache2 HTTP Server which is a built in component of the installation package the installation may trigger a Windows Security Alert on some versions of Windows please allow access 3 Before opening the MSU verify that Active Scripting or JavaScript is enabled in the browser a Internet Explorer i From the menu bar select Tools I...

Page 9: ...ruction Manual 6 b Firefox i From the menu bar select Tools Options ii Select the Content tab and ensure that the Enable Javascript option is checked should be by default if it is not select it and click OK ...

Page 10: ...oller category as a Standard AHCI device Port Multiplier Port Multiplier PM allows for multiple SATA drives up to 4 to be connected to a single SATA host port PM allows for easy cost effective storage scalability both inside and outside the PC or server It is commonly used to connect a multi drive SATA eSATA hard drive enclosure backplane using a single cable This greatly expands the storage capab...

Page 11: ... Press Ctrl M to enter BIOS Setup or Space to continue_ 2 Using the arrow keys to navigate move to HBA0 Marvell 0 and press Enter to select 3 Press Enter again to open the Configuration Wizard 4 Use the arrow keys to scroll through the list of free physical disks to select the drives that will be part of the RAID set Press Space to select de select a disk NOTE When a disk is selected an asterisk a...

Page 12: ...nfiguring the virtual disk highlight Next and press Enter Press Y to confirm the creation of the virtual disk It will now be listed in the Topology Pane left Administration Console Method WARNING Creating a RAID virtual disk destroys all data on the physical disks included in the virtual disk set Make sure to back up all data before continuing 1 From the left pane of main screen of the Marvell Sto...

Page 13: ...hat you would like to use as part of the RAID set Once you have selected click Next to confirm your selection 5 You will now be presented with configuration options for your RAID set Choose the appropriate options and select Submit to confirm your changes Your virtual disk will then be visible in the left pane the same properties can be accessed later by selecting your virtual disk from the left p...

Page 14: ...than those created in safe mode However they cannot be rebuilt WARNING Capacity mode is a data destructive process Please back up all data before using capacity mode Card BIOS Method 1 When prompted on startup press Ctrl M to enter the card BIOS utility Press Ctrl M to enter BIOS Setup or Space to continue_ 2 Using the arrow keys to navigate move to HBA0 Marvell 0 and press Enter to select 3 Press...

Page 15: ...to confirm the creation of the virtual disk It will now be listed in the Topology Pane left Administration Console Method 1 From the left pane of main screen of the Marvell Storage Utility MSU select the adapter and hover the mouse over the Operation tab 2 Select Create HyperDuo 3 Select either Safe mode or Capacity mode from the drop down in the right pane Click the Submit button once you have se...

Page 16: ...dows only 1 From the left pane of the MSU select HyperDuo Service 2 The right pane will then display available programs and folder that you can customize to one of the following optimization modes a Check Auto to have the MSU manage the optimization of a folder or program automatically b Check Cache to manually select a folder or program for optimization c Check neither to specify that a folder or...

Page 17: ...ply your changes then select OK on the pop up that follows 4 If the folder you would like to optimize is not available select Advanced from the HyperDuo Service pane 5 The Customize Wizard will pop up and allow you to select the desired folders ...

Page 18: ...ATA 6Gbps RAID Support RAID 0 1 1 0 Port Multiplier Yes Operating Temperature 5 C 50 C 41 F 122 F Storage Temperature 25 C 70 C 13 F 158 F Humidity 20 80 RH Dimensions LxWxH 80mm x 120mm x 20mm Weight 50g Compatible Operating Systems Windows XP 32 64 bit Server 2003 32 64 bit Vista 32 64 bit 7 32 64 bit Server 2008 R2 8 32 64 bit Mac OS 10 6 10 7 10 8 Linux Port Multiplier is not supported in Mac ...

Page 19: ...e returned for repair or replacement with equivalent products at our discretion The warranty covers parts and labor costs only StarTech com does not warrant its products from defects or damages arising from misuse abuse alteration or normal wear and tear Limitation of Liability In no event shall the liability of StarTech com Ltd and StarTech com USA LLP or their officers directors employees or age...

Page 20: ...rts and we quickly deliver them wherever they need to go Just talk to one of our tech advisors or visit our website You ll be connected to the products you need in no time Visit www startech com for complete information on all StarTech com products and to access exclusive resources and time saving tools StarTech com is an ISO 9001 Registered manufacturer of connectivity and technology parts StarTe...

Reviews: