background image

Instruction Manual

7

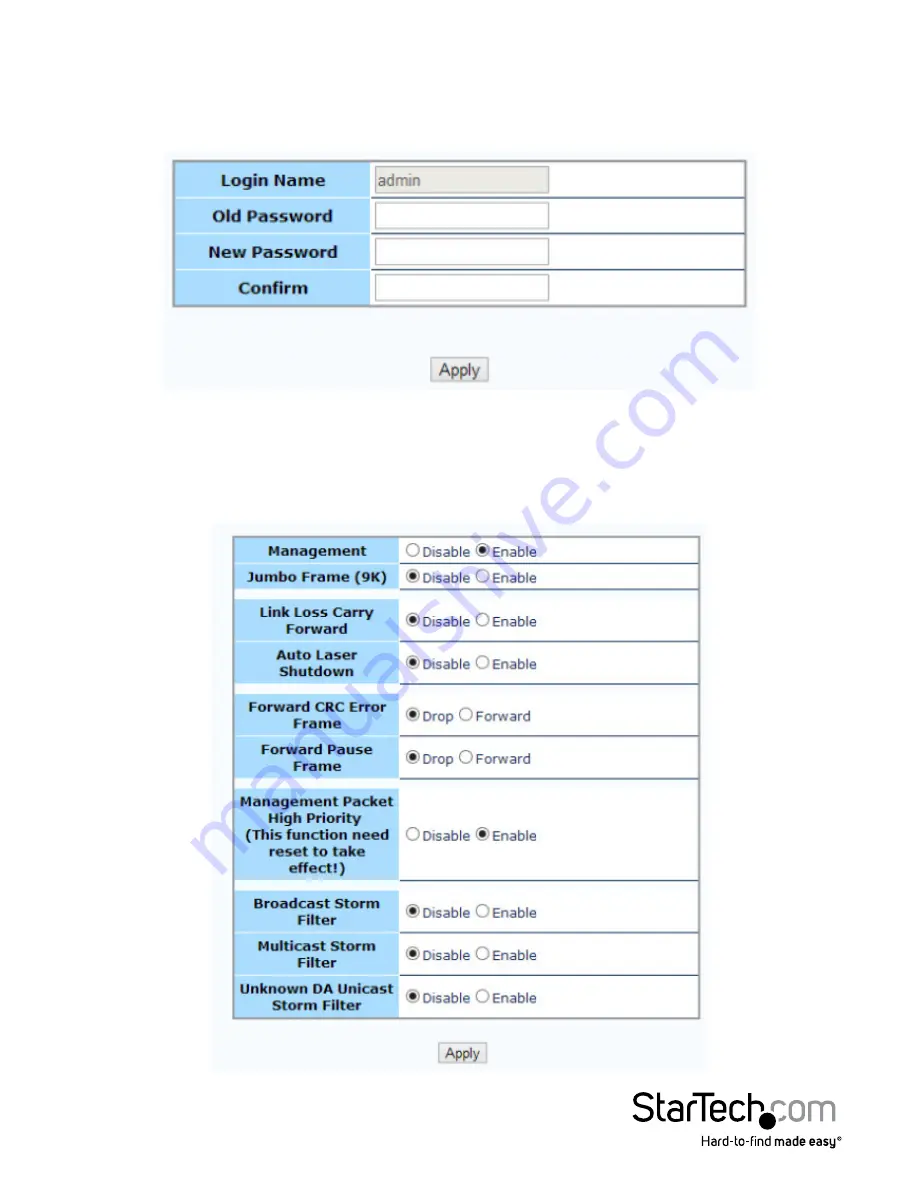
Password Settings

Use this screen to change the web console login password. Key in the current 

password (Default: 

admin

) and then enter your desired new password twice. Click the 

Apply button to save your settings.

Converter Configuration

The Converter configuration menu includes special features of the ET91000LCOAM, 

defined below. Click the Apply button to save your settings.

Summary of Contents for ET91000LCOAM

Page 1: ...rtech com FR Guide de l utilisateur fr startech com ES Guía del usuario es startech com IT Guida per l uso it startech com NL Gebruiksaanwijzing nl startech com PT Guia do usuário pt startech com ET91000LCOAM In Band OAM Gigabit Ethernet to MM LC Fiber Media Converter 550m Metal Housing actual product may vary from photos ...

Page 2: ...receiving antenna Increase the separation between the equipment and receiver Connect the equipment into an outlet on a circuit different from that to which the receiver is connected Consult the dealer or an experienced radio TV technician for help Use ofTrademarks RegisteredTrademarks and other Protected Names and Symbols This manual may make reference to trademarks registered trademarks and other...

Page 3: ...ion 2 Packaging Contents 2 System Requirements 2 Factory Reset Procedure 2 Installation 3 Installation into ETCHS2U Chassis 4 Operation 4 System Information Section 5 Local Settings Section 6 Tools Section 15 Logging Out 17 Specifications 18 Technical Support 19 Warranty Information 19 ...

Page 4: ...een indicates Fast Ethernet 100Mbps while Yellow indicates Gigabit Ethernet When the LEDs are off it indicates a speed of 10Mbps Default Use to recover from lost password or to return all settings to factory default values FX Speed LAN Speed LAN Link FX Link Power LC Connector RJ 45 DC Jack Side 1 Side 2 ...

Page 5: ...5e or better Ethernet cable Available AC electrical outlet Factory Reset Procedure Apply power to the unit and allow approximately 30 seconds to fully boot Using a pencil or a ball point pen press the DEFAULT push button located on the face plate and hold it for 6 seconds The media converter will be restored to its factory default values which are IP 10 1 1 1 Subnet Mask 255 255 255 0 Gateway 10 1...

Page 6: ...m a computer switch to the RJ45 jack on the media converter 3 Connect the power adapter to the media converter The following example illustrates the connection scheme when connecting from a 1000BASE T Ethernet port of a hub switch to a 1000BASE SX LX port of another hub switch Through the fiber media converter The following example illustrates the connection scheme when connecting from a 1000BASE ...

Page 7: ...iously unused loosen the screw at the top of the slot to remove the cover plate 2 Align the card with the desired slot of the chassis and gently slide the card into the groove to seat the power connection 3 Re tighten the captive screw to hold the card in place Operation The media converter can be configured via a web console accessible through any web browser by using its IP address 1 Open your d...

Page 8: ...l configuration options and tool which will be explained in the following pages System Information Section Network Information The information displayed on this page gives specific device information network information and port status for the local ET91000LCOAM and for any remote unit that is accessible via IEEE802 3ah OAM in band management ...

Page 9: ...n be displayed via the web user interface Local Settings Section IP Configuration Use this screen to configure TCP IP settings for the local unit Click the Apply button to save your settings Note Changing the IP address will cause you to lose your remote management session until you re connect at the new address ...

Page 10: ... Key in the current password Default admin and then enter your desired new password twice Click the Apply button to save your settings Converter Configuration The Converter configuration menu includes special features of the ET91000LCOAM defined below Click the Apply button to save your settings ...

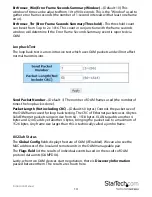
Page 11: ...rames defined in IEEE802 3x normally used by the switch to throttle packets through a bottleneck rather than drop excess packets E g A 1Gbps stream is exiting a 100Mbps port Normally pause frames are not forwarded between interfaces in the switch Management Packet High Priority Default Enabled Provides Quality of Service QoS functions to maintain a certain level of performance for specific applica...

Page 12: ...bling the port setting auto or forced Ethernet mode enabling 802 3x flow control and setting ingress and egress rate limiting Note Rate limiting has a granularity of 64K so the rate can be set from 64k to 1000M in 64K steps Click the Apply button to save your settings MIB Counters Reports packet statistics on all interfaces of the device ...

Page 13: ...rt the access to different VIDs can be controlled Click the Apply button to save your settings Per Port Configuration ET91000LCOAM actually has three different ports the external copper external fiber plus the internal CPU port The VLAN Per Port Setting page deals with how frames exit egress the copper fiber and CPU management ...

Page 14: ...f they are tagged The switch will not modify packets received without tags 3 Add Tag The switch will add VLAN tags to packets if they are not tagged when these packets are output on this port The switch will not add tags to packets already tagged The inserted tag is defined in VLAN Group Index 4 Don t Touch Tag Do not insert or remove VLAN tags to from packet which is output on this port Double VL...

Page 15: ... configure a management VLAN and designate which ports it can be accessed from Click the Apply button to save your settings 802 3ah Functions Section This converter supports IEEE 802 3ah an OAM protocol that operates at Ethernet Layer 2 Data Link layer OAM provides mechanisms to monitor link operation health and to improve fault isolation OAM only works point to point over the fiber link In additi...

Page 16: ...ctional Link Detection events via OAM Errfrm_Win Error Frame Window Default 2 seconds Adjustable from 1 to 60 seconds This is the Window of time used to gather error frames Errfrm_Thr Error Frame Threshold This threshold count can be set from 1 up to 2 x 1032 This count in conjunction with the error frame window will determine if the Error Frame event is reported via OAM Errfrmprd_Win Error Frame ...

Page 17: ... OAM frames used the number of times the loop back is done Packet Length Not including CRC Default 60 bytes Controls the packet size of the OAM frames used for loop back testing The CRC of Ethernet packets uses 4 bytes Valid Ethernet packets range in size from 64 1518 bytes VLAN tag adds another 4 bytes and Q in Q adds yet another 4 bytes bringing the packet size to a maximum of 1526 bytes Any fra...

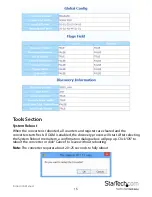
Page 18: ...cleared and the converter starts fresh If OAM is enabled the discovery process will start After selecting the System Reboot menu item a confirmation dialogue box will pop up Click OK to reboot the converter or click Cancel to leave without rebooting Note The converter requires about 20 25 seconds to fully reboot ...

Page 19: ...LoadFromFlash button To restore all settings to factory default click the ResetToFactory button Note The IP address will also be reset to default 10 1 1 1 so you may lose management contact with the converter Firmware Upgrade Use this section to upload a new firmware for added features bug fixes or default setting changes Note Please avoid loss of power or network connection during this process to...

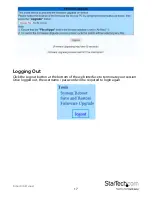
Page 20: ...Instruction Manual 17 Logging Out Click the Logout button at the bottom of the web interface to terminate your session Once logged out the username password will be required to login again ...

Page 21: ...ower FX Link LAN Speed LAN Link Compatible Fiber Mode Multimode Optical Wavelength 850nm Maximum Distance 550m Duplex Modes Full Duplex on Fiber Power Adapter 12V DC 1A Power Consumption 5W Enclosure Material Metal Operating Temperature 0 C to 60 C 32 F to 140 F Storage Temperature 10 C to 70 C 14 F to 158 F Humidity 10 90 non condensing Dimensions 155 x 87 x 24 mm Weight 620 g ...

Page 22: ...e returned for repair or replacement with equivalent products at our discretion The warranty covers parts and labor costs only StarTech com does not warrant its products from defects or damages arising from misuse abuse alteration or normal wear and tear Limitation of Liability In no event shall the liability of StarTech com Ltd and StarTech com USA LLP or their officers directors employees or age...

Page 23: ...Instruction Manual 20 ...

Page 24: ...rts and we quickly deliver them wherever they need to go Just talk to one of our tech advisors or visit our website You ll be connected to the products you need in no time Visit www startech com for complete information on all StarTech com products and to access exclusive resources and time saving tools StarTech com is an ISO 9001 Registered manufacturer of connectivity and technology parts StarTe...

Reviews: