background image

Instruction Manual

5

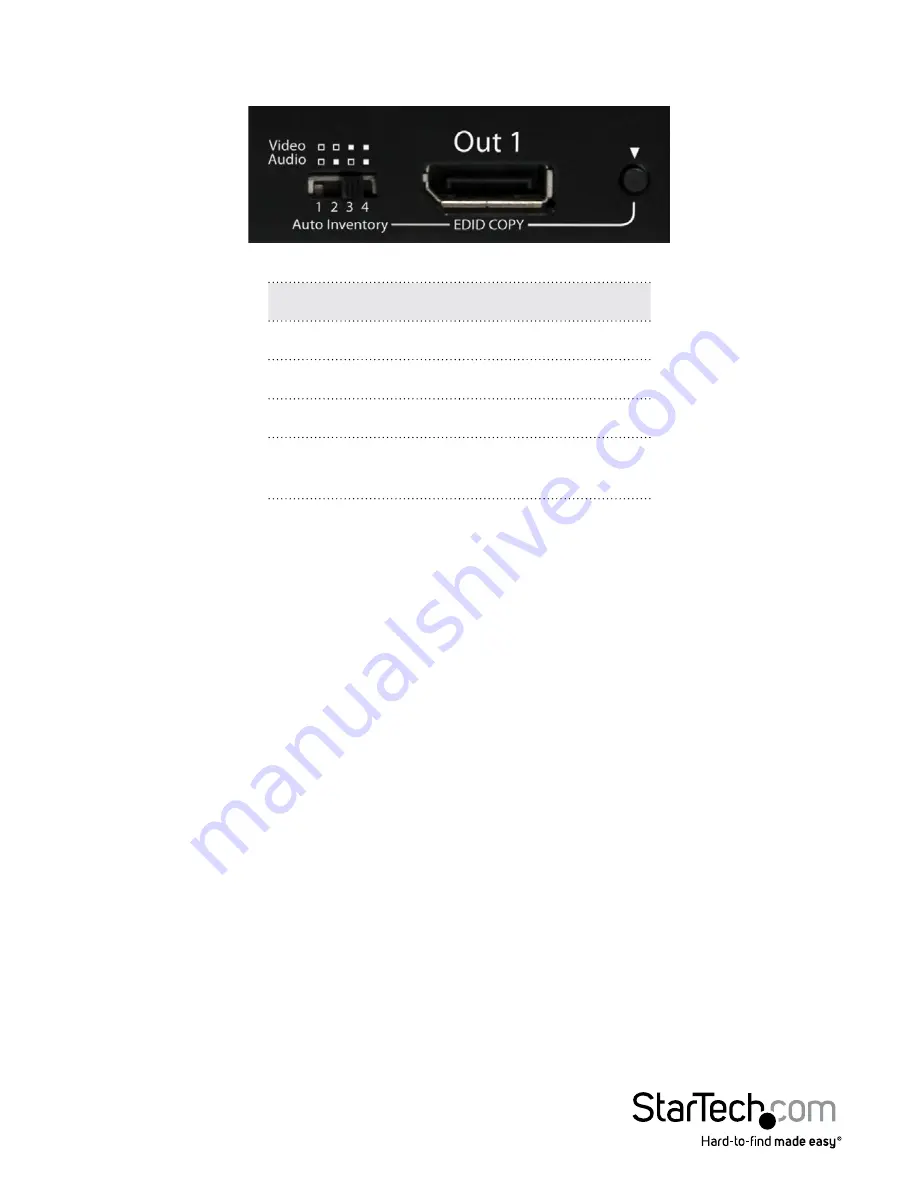
Mode Video Audio

Mode

Function

1

No EDID

2

Copy Audio EDID

3

Copy Video EDID

4

Copy all (Audio + 

Vidoe) EDID

a) Apply power to the unit.
b) Connect the (EDID compliant) monitor to OUT 1 of the Unit and power on 

the monitor.
c) Press and hold the button “EDID COPY” for 3~5 sec. and release the button RIGHT 

AFTER the Status LED flashes GREEN.
d) When the Status LED returns to normal status, it indicates that the EDID Copy 

is completed.

Summary of Contents for DisplayPort ST124DP

Page 1: ...ngsanleitung de startech com FR Guide de l utilisateur fr startech com ES Gu a del usuario es startech com IT Guida per l uso it startech com NL Gebruiksaanwijzing nl startech com PT Guia do usu rio p...

Page 2: ...eceiving antenna Increase the separation between the equipment and receiver Connect the equipment into an outlet on a circuit different from that to which the receiver is connected Consult the dealer...

Page 3: ...oduct Overview 1 Front View 1 Rear View 1 Remote Control 1 Introduction 2 Packaging Contents 2 System Requirements 2 Hardware Installation 3 Hardware Operation 3 Mode Video Audio 5 Specifications 6 Te...

Page 4: ...on Manual 1 Product Overview Front View Rear View Remote Control Active Port LEDs Status LED Stanby Function Button Output Port Activation Buttons Output Ports Input Port EDID Selection Switch EDID Co...

Page 5: ...ce A perfect addition to virtually any application requiring the high quality video delivered by DisplayPort devices the DP video splitter is easy to install and provides flawless distortion free digi...

Page 6: ...124DP 5 Take the ST124DP out of Standby mode by Pressing the Stanby Function Button 6 Your Video source will now appear on each attached Display device Hardware Operation 1 Manually power on and off d...

Page 7: ...ces will turn back on 3 Remote Control Operation a Turn ON OFF Monitor Press the button number on the remote that corresponds with the display you wish to power on off and then press VIDEO b Disable A...

Page 8: ...EDID a Apply power to the unit b Connect the EDID compliant monitor to OUT 1 of the Unit and power on the monitor c Press and hold the button EDID COPY for 3 5 sec and release the button RIGHT AFTER...

Page 9: ...AV Output 4x DisplayPort Audio Yes Max Resolution 2560 x 1600 Wide Screen Supported Yes Universal Adapter Yes Wall Plugs Included NA EU UK AUS Power Adapter Included Yes Input Voltage 100 240V Input C...

Page 10: ...returned for repair or replacement with equivalent products at our discretion The warranty covers parts and labor costs only StarTech com does not warrant its products from defects or damages arising...

Page 11: ...ts and we quickly deliver them wherever they need to go Just talk to one of our tech advisors or visit our website You ll be connected to the products you need in no time Visit www startech com for co...

Reviews: