Lodestar X2 handbook Issue 2, August 2014
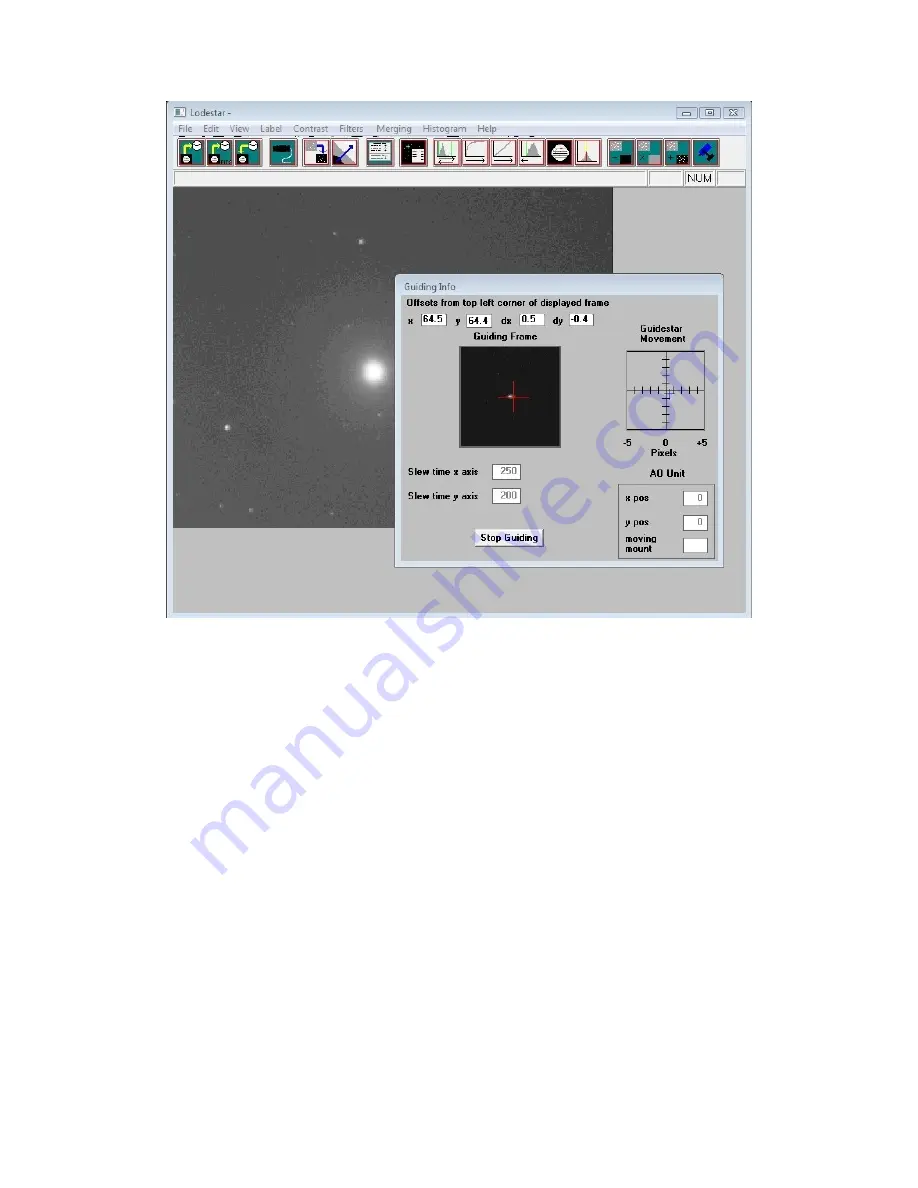
After a brief delay, the Guiding Info window will open, as above, and you will see the guide star, along
with error values and a reticule showing the guide star location with respect to the reference position. If
all is well, you should see the guide star location being forced towards the centre position with each
successive guide image. However, it is quite likely that it will be pushed away from the correct
position, due to an error in the guiding default settings. If this is the case, note the direction of travel,
and then reverse the appropriate direction setting in the guiding defaults menu. For example, if the star
moves away to the left or right, try reversing the ‘Swap e/w direction’ setting. If guiding works, but is
sluggish, try reducing the ‘Rate’ setting in the guider settings, or increase it if the guiding oscillates
from one side of the guide star to the other.
Guiding with ‘PHD’
A very simple-to-use guiding program is Stark Labs ‘PHD’ (http://www.stark-
labs.com/phdguiding.html). I recommend this as a good way to guide with the Lodestar X2 and I use it
myself on most occasions.
To guide with PHD, first press the ‘camera’ icon and select the ‘Starlight SXV’ option. If you have
more than one SX camera connected, then choose ‘Lodestar’ from the list.
Next, press the ‘Telescope’ icon and select ‘On camera’ (this uses the RJ12 cable to feed corrections to
the mount).
Now press the ‘Loop’ icon and you should see a continuously updating star field. Focus and select the
best exposure time, then press ‘Stop’.
Click the mouse on a suitable guide star in your last image and then select the ‘Target’ icon. PHD will
set up a cursor and box on the guide star and proceed to ‘calibrate’ the mount. After about 1 minute, it
will start to guide on the star.


