


28
Kylos Compact User Guide
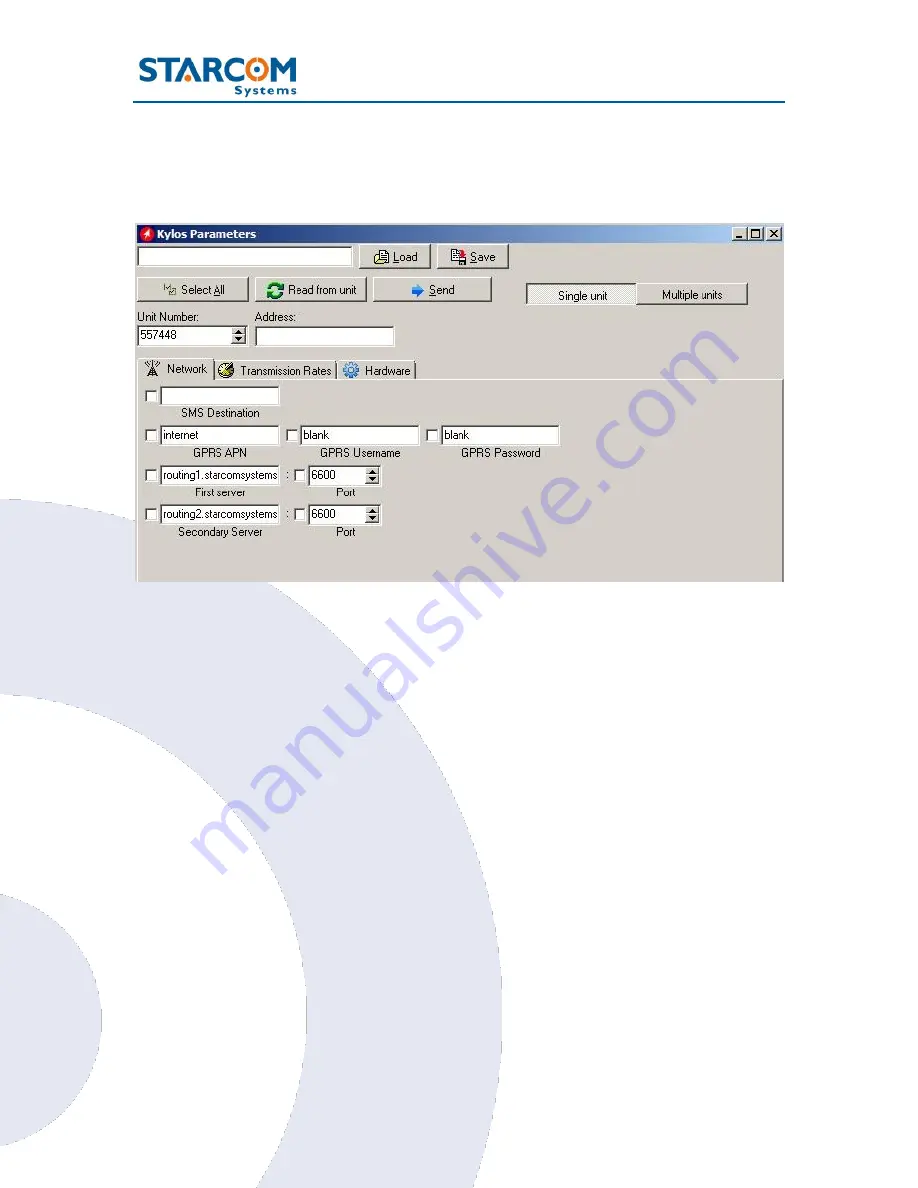
Network settings
This tab allows you to enter all the parameters necessary for the unit to
connect to the network.
SMS Destination
The unit transmits via GPRS by default and via SMS as a backup, when GPRS
connection is not available. The number to be entered in the
SMS Destination
field is the SIM card number used in the SMS Terminal unit connected to the
routing server, or the SMPP target number. For more information, see
SMS
Notifications guide
.
APN settings
The APN settings are essential in order for the Kylos Compact unit to transmit
messages and alerts. The APN settings are provided by your cellular operator
with the SIM card you are using in the Kylos Compact unit.


