background image

ECO Setting Manual

- 7 -

3

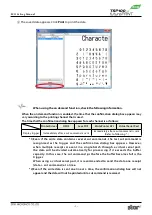
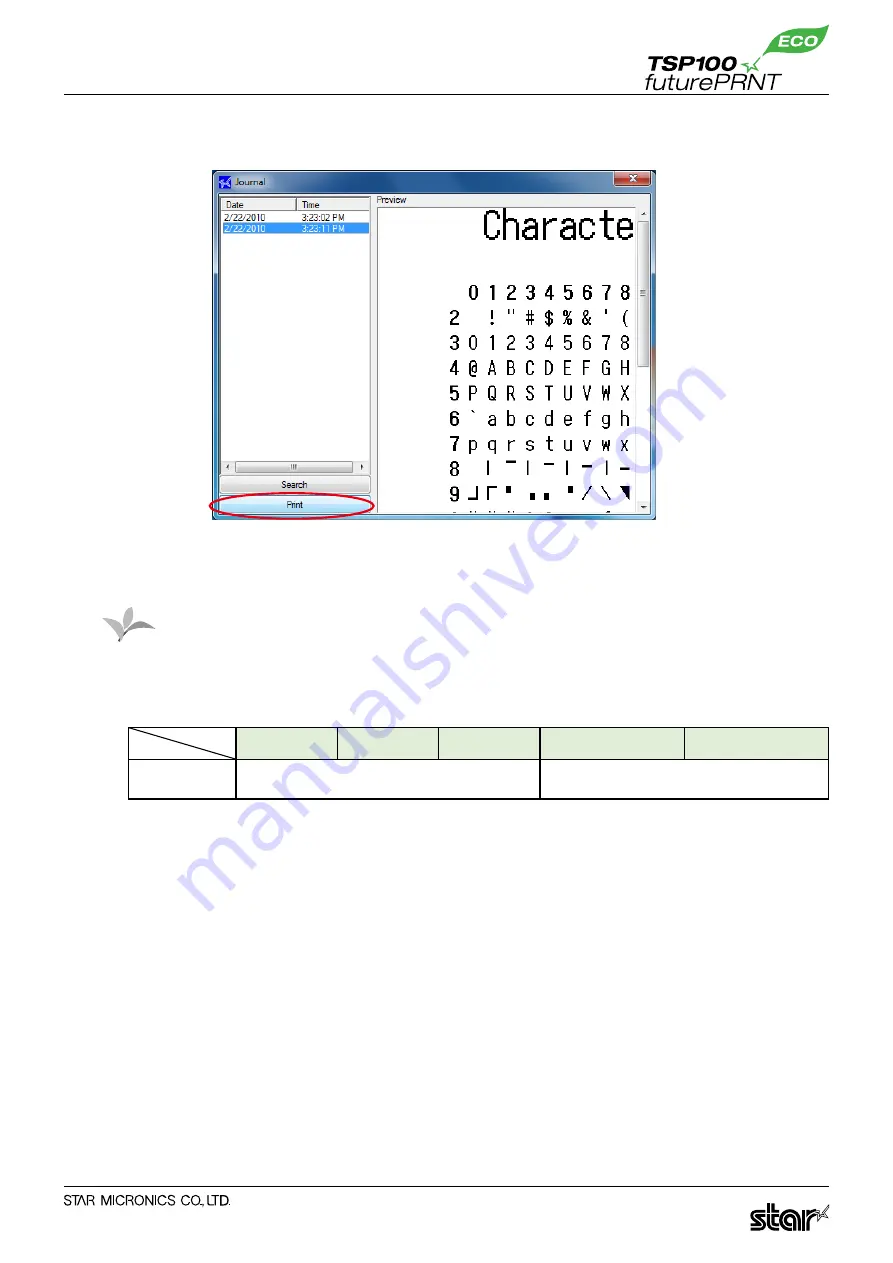
 The saved data appears. Click Print to print the data.


When using the on demand function, check the following information.

When the on demand function is enabled, the time that the confirmation dialog box appears may 
vary according to the printing channel that is used.
The time that the confirmation dialog box appears for each channel is as follows:

Printer Driver

OPOS

JavaPOS

WritePrinter API

Virtual Serial Port

Display trigger

Immediately after a cut command is sent

Immediately after a cut command is sent

(Refer to following *.)

*1) Even if the write data contains several cut commands, the last cut command is 

recognized  as  the  trigger  and  the  confirmation  dialog  box  appears.  However, 
when  multiple  receipts  are  sent  in  a  single  batch  through  a  virtual  serial  port, 
the  data  will  be  divided  automatically  for  processing  if  it  exceeds  the  buffer 
capacity. In this case, the cut command just before the buffer becomes full is the 
trigger.

  When using a virtual serial port, it is recommended to send the data one receipt 

(data + cut command) at a time.

*2) Even if the write data is sent one line at a time, the confirmation dialog box will not 

appear and the data will not be printed until a cut command is received.

Caution

Summary of Contents for futurePRNT TSP100IIU

Page 1: ...Rev 1 0 Applicable model TSP100IIU ECO Setting Manual...

Page 2: ...Contents Introduction 1 1 Starting the Configuration Utility 1 2 ECO Settings 3 2 1 Auto Reduction Setting 3 2 2 Top Margin to First Line 4 2 3 On demand 5 3 Indicator 9 4 Revision History 10...

Page 3: ...efer to the Software Manual 1 Starting the Configuration Utility Use one of the following methods to open the Configuration Application dialog box At the Windows Start menu select All Programs StarMic...

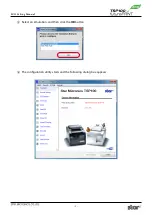
Page 4: ...ECO Setting Manual 2 5 Select an emulation and then click the OK button 6 The configuration utility starts and the following dialog box appears...

Page 5: ...uced even if the reduction settings are selected n Paper width used The default setting is 80mm Do Not Compress By changing the setting to 80mm 58mm the printing area is compressed widthwise so that 5...

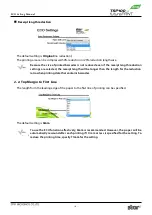
Page 6: ...t length will be longer than the length for the reduction ratio when printing data that contains barcodes 2 2 Top Margin to First Line The length from the leading edge of the paper to the first line o...

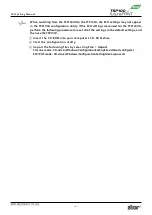
Page 7: ...check that the on demand function is enabled and that the confirmation dialog box appears at the proper time n Saving Canceled Data When the on demand function is enabled the data for the canceled pri...

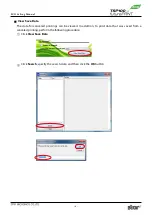
Page 8: ...a The data for canceled printings can be viewed In addition to print data that was saved from a canceled printing perform the following procedure 1 Click View Save Data 2 Click Search specify the sear...

Page 9: ...command is sent Refer to following 1 Even if the write data contains several cut commands the last cut command is recognized as the trigger and the confirmation dialog box appears However when multip...

Page 10: ...the following procedure to reset all of the settings to the default settings and then use the TSP100U 1 Insert the CD ROM into your computer s CD ROM drive 2 Start the configuration utility 3 Import...

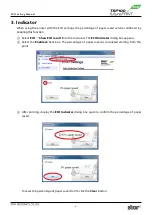
Page 11: ...1 Select ECO Show ECO result from the menu bar The ECO Indicator dialog box appears 2 Select the Enabled check box The percentage of paper saved is calculated starting from this point 3 After printing...

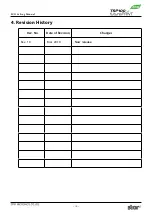
Page 12: ...ECO Setting Manual 10 4 Revision History Rev No Date of Revision Changes Rev 1 0 Mar 2010 New release...

Page 13: ...imizu ku Shizuoka 424 0066 Japan Tel int 81 54 347 0112 Fax int 81 54 347 0409 Distributed by STAR MICRONICS EUROPE LTD Star House Peregrine Business Park Gomm Road High Wycombe Bucks HP13 7DL U K Tel...

Reviews: