


Chapter 3: AMI BIOS UTILITY
This chapter provides users with detailed descriptions on how to set up a basic system configuration through
the AMI BIOS setup utility.
3.1 Starting
To enter the setup screens, perform the following steps:
Turn on the computer and press the <Del> key immediately.
After the <Del> key is pressed, the main BIOS setup menu displays. Other setup screens can be accessed
from the main BIOS setup menu, such as the Chipset and Power menus.
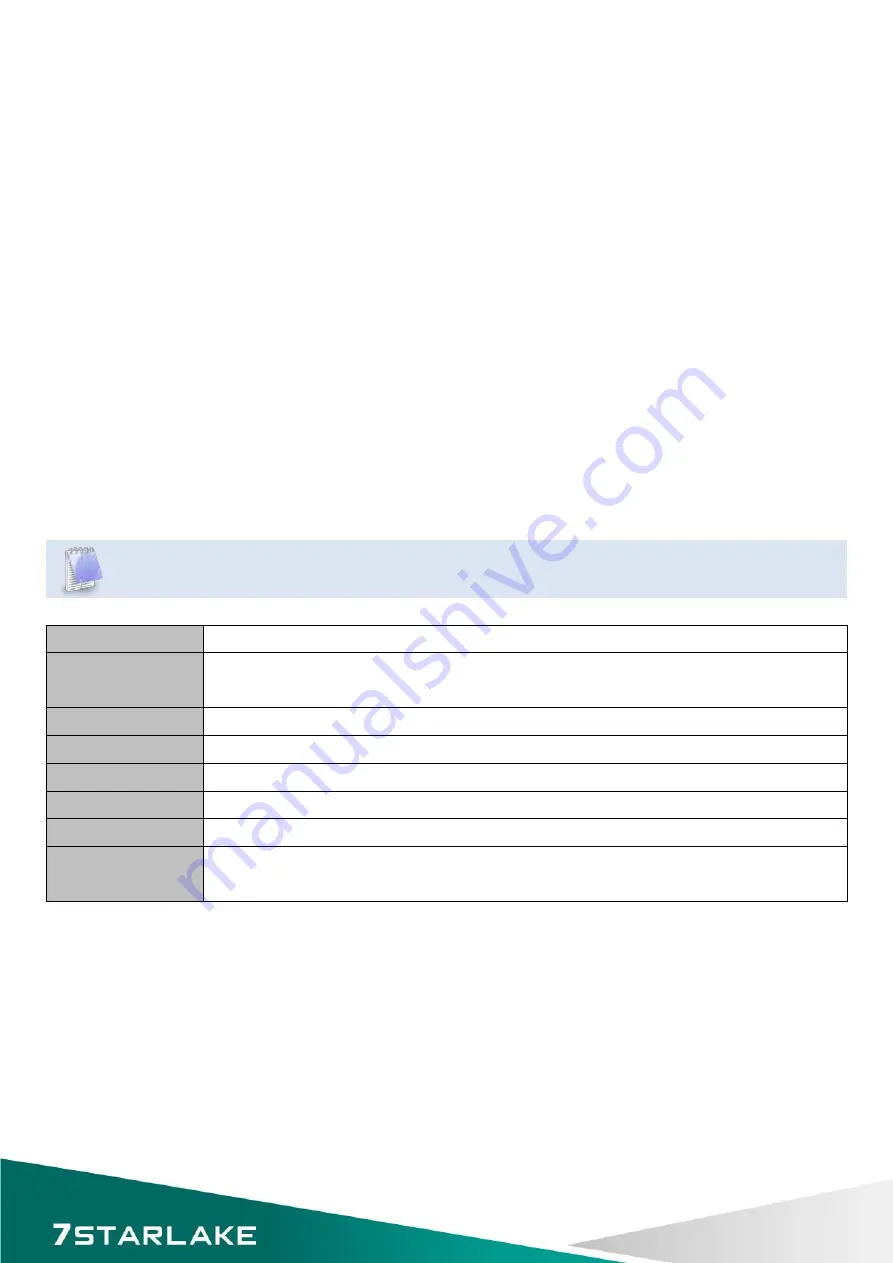
3.2 Navigation Keys
The BIOS setup/utility uses a key-based navigation system called hot keys. Most of the BIOS setup utility hot
keys can be used at any time during the setup navigation process.
Some of the hot keys are <F1>, <F10>, <Enter>, <ESC>, and <Arrow> keys.
Some of the navigation keys may differ from one screen to another.
Left/Right
The Left and Right <Arrow> keys moves the cursor to select a menu.
Up/Down
The Up and Down <Arrow> keys moves the cursor to select a setup screen or
sub-screen.
+− Plus/Minus
The Plus and Minus <Arrow> keys changes the field value of a particular setup setting.
Tab
The <Tab> key selects the setup fields.
F1
The <F1> key displays the General Help screen.
F10
The <F10> key saves any changes made and exits the BIOS setup utility.
Esc
The <Esc> key discards any changes made and exits the BIOS setup utility.
Enter
The <Enter> key displays a sub-screen or changes a selected or highlighted option in
each menu.
30
Summary of Contents for INS8346B
Page 1: ...INS8346B Mini ITX Industrial Motherboard User s Manual ...
Page 7: ...Chapter 1 Product Information 1 1 Block Diagram 6 ...
Page 10: ...1 3 Board Placement 9 ...
Page 11: ...1 4 Mechanical Drawing 10 ...
Page 35: ...3 4 1 ACPI Settings System ACPI parameters 34 ...
Page 57: ...3 4 16 WatchDog Timer Configuration 56 ...
Page 61: ...3 4 19 Network Stack Enable Disable UEFI network stack 60 ...
Page 62: ...3 4 20 Intel RC Drivers Version Detail Displays version string for drivers 61 ...


