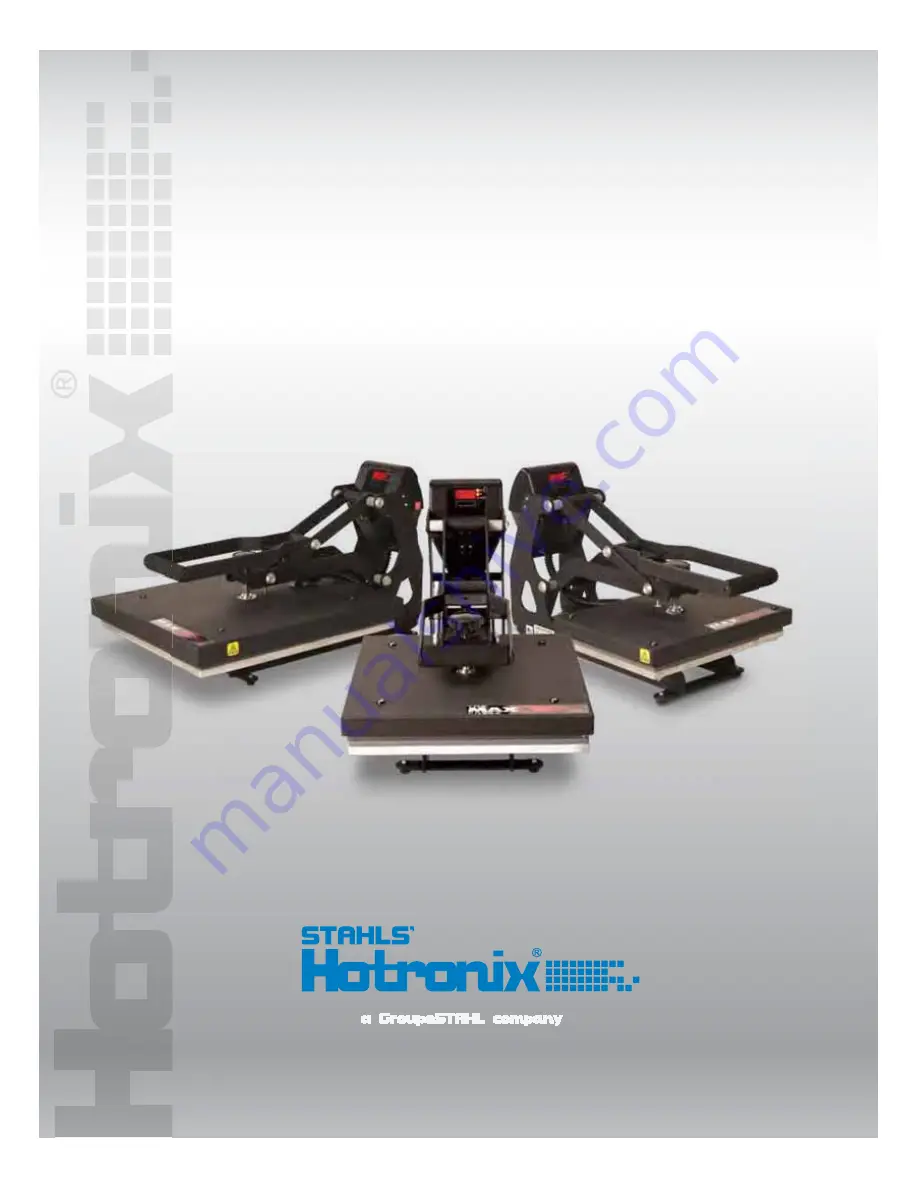
16
Ǝ
x20
15
x15
11
D I G I T A L C L A M
T h e M A X X
™
P r e s s
OPE R AT OR ’ S M A N U A L
Page 1: ...16 x20 15 x15 11 x15 D I G I T A L C L A M T h e M A X X P r e s s OPERATOR S MANUAL...
Page 2: ...ding children with reduced physical sensory or mental capabilities or lack of experience and knowledge unless they have been given supervision or instruction concerning use of the appliance by a perso...
Page 3: ...el Guide Operating Instructions Connecting the System Turning the System On Adjusting the Temperature Adjusting the Time Adjusting the Pressure Pressing Replacement Parts List Parts Location Guide Ele...
Page 4: ...I N E 8 0 0 7 2 7 8 5 2 0 The MAXX Press PAGE 4 FRONT VIEW SIDE VIEW LED Display Lift Handle Over the Center Pressure Adjustment Knob Machine View Power ON OFF Switch Located in the Back of the Press...
Page 5: ...O T R O N I X C O M The MAXX Press PAGE 5 Digital Display Temperature Indicator Set Indicator Time Indicator Increase Mode Select Decrease MODE ODE ODE ODE DE DE E MODE MODE MODE T S T M D Control Pa...
Page 6: ...aced by the manufacturer its service agent or a similarly qualified person in order to avoid hazard Use SJT type rated 300 V cord for replacement CAUTION Failure to follow these instructions will caus...
Page 7: ...On SWITCH THE SYSTEM ON See the diagram below for switch placement Locate the lift handle and position the heat platen in the UP load position Now locate the Power ON OFF Switch on the side of the pr...
Page 8: ...re mode Next press the button located to the left of the Mode Select button to lower the temperature setting or press the button located to the right of the Mode Select button to raise the temperature...
Page 9: ...to the Time mode The set and time lights will illuminate indicating that you are in the Time mode Adjust the time in the same manner that you adjusted the temperature Select the desired time and push...
Page 10: ...re Adjustment located in the center of the heat platen Adjust the pressure by turning the knob clockwise to increase pressure and counter clockwise to decrease pressure REMEMBER To allow for the thick...
Page 11: ...nd lock the heat platen into the press position This procedure will start the automatic timing process The timer will automatically count down and audibly signal you to lift the heat platen into the U...
Page 12: ...1 1 1 4 1 1 1 1 1 1 1 1 1 1 1 16 x 20 16 x 20 16 x 20 16 x 20 15 x 15 15 x 15 15 x 15 15 x 15 11 x 15 11 x 15 11 x 15 11 x 15 11 x 15 11 x 15 11 x 15 Part Name Hex Soc Button HD 10 32 x 1 2 Rubber Fo...
Page 13: ...O M The MAXX Press Parts Location Guide PAGE 13 When ordering replacement parts refer to the following color codes For a 16 x20 press use color code For a 15 x15 press use color code For a 11 x15 pres...
Page 14: ...1 x 15 220V 1800 W for 16 x 20 1800 W for 15 x 15 1000 W for 11 x 15 230V IMPORTANT MAKE SURE TO USE CORRECT VOLTAGE CONNECTION TO THE CONTROLLER IMPORTANT MAKE SURE TO USE CORRECT VOLTAGE CONNECTION...
Page 15: ...EST Customer Service 800 727 8520 Monday Friday 8am 5pm EST Replacement Parts 800 727 8520 8am 7pm EST Web Hotronix com Contact Us This document includes multiple trademarks and describes equipment co...
Page 16: ...One Paisley Park Carmichaels PA 15320 U S A Tech Support Customer Service Replacement Parts 800 727 8520 Web Hotronix com Proudly made in the U S A...