EyeLink II Scene Camera User Manual
©
2004-2007 SR Research Ltd.
39
should be used for best calibration accuracy. By default, a nine-point
calibration type (“HV9”) is used for a calibration in which the participant’s eyes
are at a distance from the monitor of about twice the width of the display area
of the Display monitor. If the calibration result is good, proceed with validation
by clicking on the “validation” button or by typing ‘V’ and press the space bar to
initiate the process. After accepting the validation results, the user should
press the “ESC” key on the display keyboard to exit calibration mode. (Do not
use “Alt” + “Tab” key combinations as you are still running the SceneLink
application!!!)
4.5.1 Calibration Colors
The colors of the calibration target and background can be configured through
preferences prior to starting a recording session. Click “View -> Preferences”
from the application menu bar. Select the “Advanced” tab and set the intended
background and foreground/target colors.
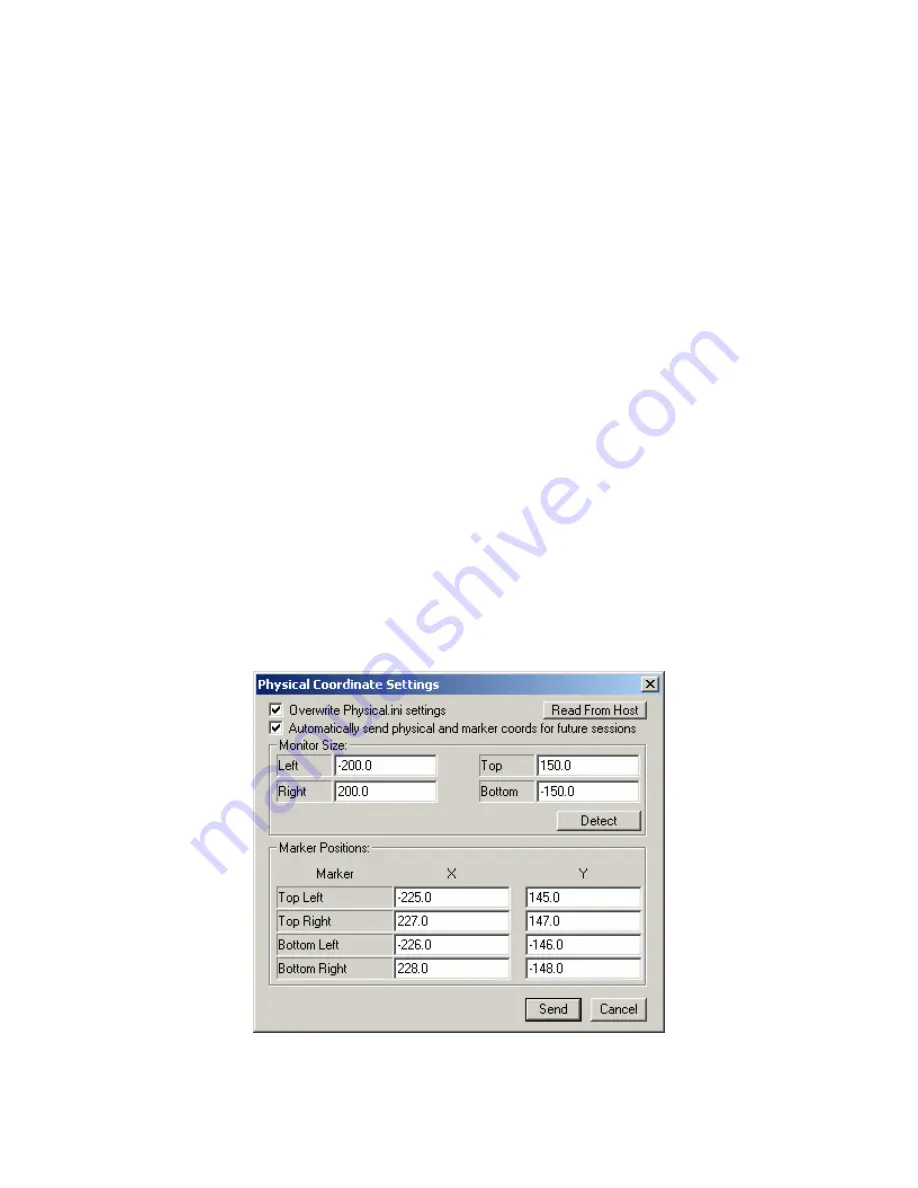
4.5.2 Physical Coordinates Settings
A good calibration requires the users to have a proper physical setup for the
experiment. By default, the tracker will read in the “marker_phys_coords” and
“screen_phys_coords” values in the physical.ini at the current EyeLink host
directory (by default “c:\eyelink2\exe”). Users can also update the physical
setup by clicking “View -> Physical Coordinate Settings” and check the
“Overwrite Physical.ini settings” option. Clicking on the “Read From Host”
button will load in the current values set in the physical.ini file.
Figure
4-7: Updating Physical Coordinate Settings


