Getting Started
16
3.4 Powering up
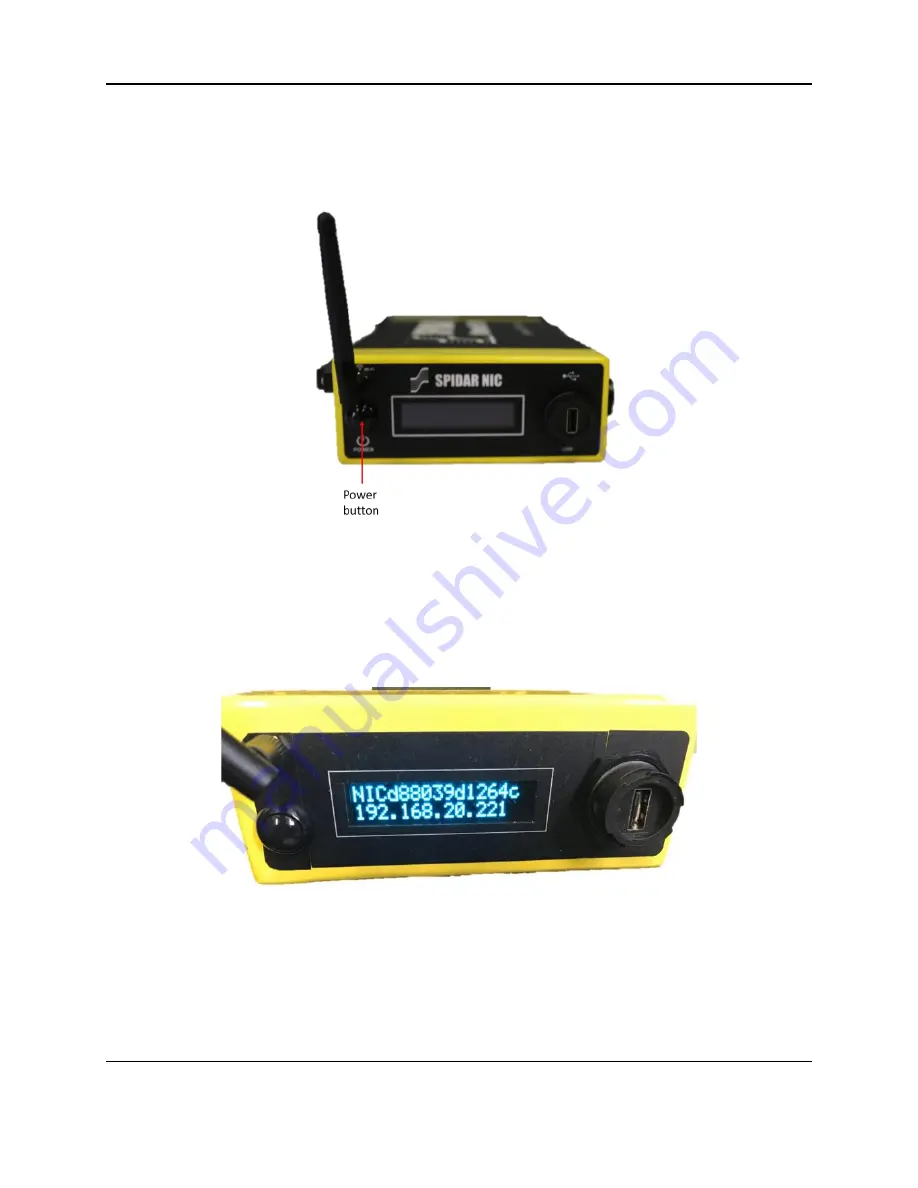
Once all connections are made, connect the NIC power cable to the battery. Press the Power
button to turn on the NIC-500 (Figure 3-10).
Figure 3-10: Front of NIC-500 showing power button and LCD Display
Once the NIC-500 has powered up (about 30 seconds), the network name of the NIC-500 will
be displayed on the top line of the LCD display; the bottom line will display the IP address
(Figure 3-11).
The first NIC-500 will always have the IP address 192.168.20.221. All the other
NIC-500s will follow the same pattern: 192.168.20.XXX. The last three digits (XXX) are
randomly assigned but will always be larger than 221
Figure 3-11: NIC-500 LCD Display
3.5 Connecting your device to the NIC-500
To setup and control data acquisition, connect to the NIC-500 using a computer, or tablet; the
computer
will be referred to as the “device” below. The minimum requirement for devices are
listed below:
Summary of Contents for SPIDAR NIC-500s
Page 1: ......
Page 2: ...ii...
Page 4: ...Warranty Confirmation iv...
Page 6: ...vi...
Page 10: ...Introduction 2...
Page 28: ...Getting Started 20...
Page 66: ...SPIDAR Software 58...
Page 78: ...SPIDAR SDK 70...
Page 88: ...Compatibility 80...
Page 90: ...Technical Specifications 82...
Page 102: ...Appendix D GPR Knowledge 94...
Page 106: ...Appendix F Health Safety Certification 98...
Page 114: ...Appendix G GPR Emissions Interference and Regulations 106...
Page 116: ...Appendix H Instrument Interference 108...
Page 118: ...Appendix I Safety around Explosive Devices 110...


