If at any time within one (1) year from the purchase date of this product, it fails to perform properly because of defects in material or manufacturing, return it prepaid to:
E&B GIFTWARE, LLC, 585 Oak Ridge Road, Hazleton, PA 18202
Complete this Guarantee Certificate and enclose it (or a copy of it) with the product. To expedite replacement or repair,
do not return
the defective unit to the store
from which it was purchased but return it directly to SPORTLINE. (PLEASE PRINT CLEARLY)
REPLACEMENT
This product has been carefully designed, manufactured and packaged. If any parts are missing or damaged, please contact us at the address above and we will replace
unit at no charge. (Guarantee does not cover crystal or battery.) By contacting SPORTLINE, Inc. rather than the company from which you purchased this product, we will
be able to more rapidly service your needs.
AFTER WARRANTY
If the warranty period has expired and the unit is returned to Sportline for servicing, enclose $7.50 for postage
and handling. Send your unit insured to our Service Department at the address shown. If you are located outside
the United States either return the unit by insured mail or to the dealer/distributor where purchased.
E&B GIFTWARE, LLC, 585 Oak Ridge Road, Hazleton, PA 18202
T H E P R O F E S S I O N A L ’ S C H O I C E
G U A R A N T E E C E R T I F I C A T E
NAME
TEL
ADDRESS
CITY
STATE
ZIP
STORE PURCHASED FROM
DATE OF PURCHASE
PURCHASE PRICE
PROBLEM WITH PRODUCT
READING THE DISPLAY
Press the
MODE
button (
E
) to cycle through each of the following 5 exercise trip readings.
STEP
–
Display shows number of steps taken to 99999 steps (excluding irregular movements).
DIST
–
Display shows distance traveled by 0.001 to 99.999 MILE or to 99.999 KM.
CAL
–
Display shows calories burned over distance traveled.
CLOCK
–
Display shows time of day.
TIMER
–
Display shows time used during current walk/run trip to 100 hours.
PLEASE NOTE:
In
TOTAL
mode (see below) all displays show totals of recorded measuring functions.
ZERO-SETTING THE EXERCISE SETTINGS
1.
Press the
RESET
button (
A
) for two seconds to reset all trip records to zero. In
TOTAL
mode, all trip and total records are reset to zero.
2.
Stride length (inches or cm) and weight (lbs or kg) as input will be retained in the memory.
USING THE SCANNER FEATURE
1
Press the
SCAN
button (
C
) to change to scanning mode that views, in continuous cycle, all 5 exercise displays lasting 3 seconds each.
2.
Press the
SCAN
button (
C
) again to revert to chosen mode.
USING THE TOTAL MODE
1.
When in a chosen exercise-reading mode, press the
TOTAL
button (
D
) and the
TOTAL
from all previous exercise intervals appear. Display shows total records of all measuring functions.
2.
Press the
TOTAL
button (
D
) again and the display reverts to trip records mode.
NOTE:
The
TOTAL
feature will show the TOTALS from all previous exercise intervals until the
RESET
button (
A
) is pressed. The
RESET
button will clear the memory from previous intervals.
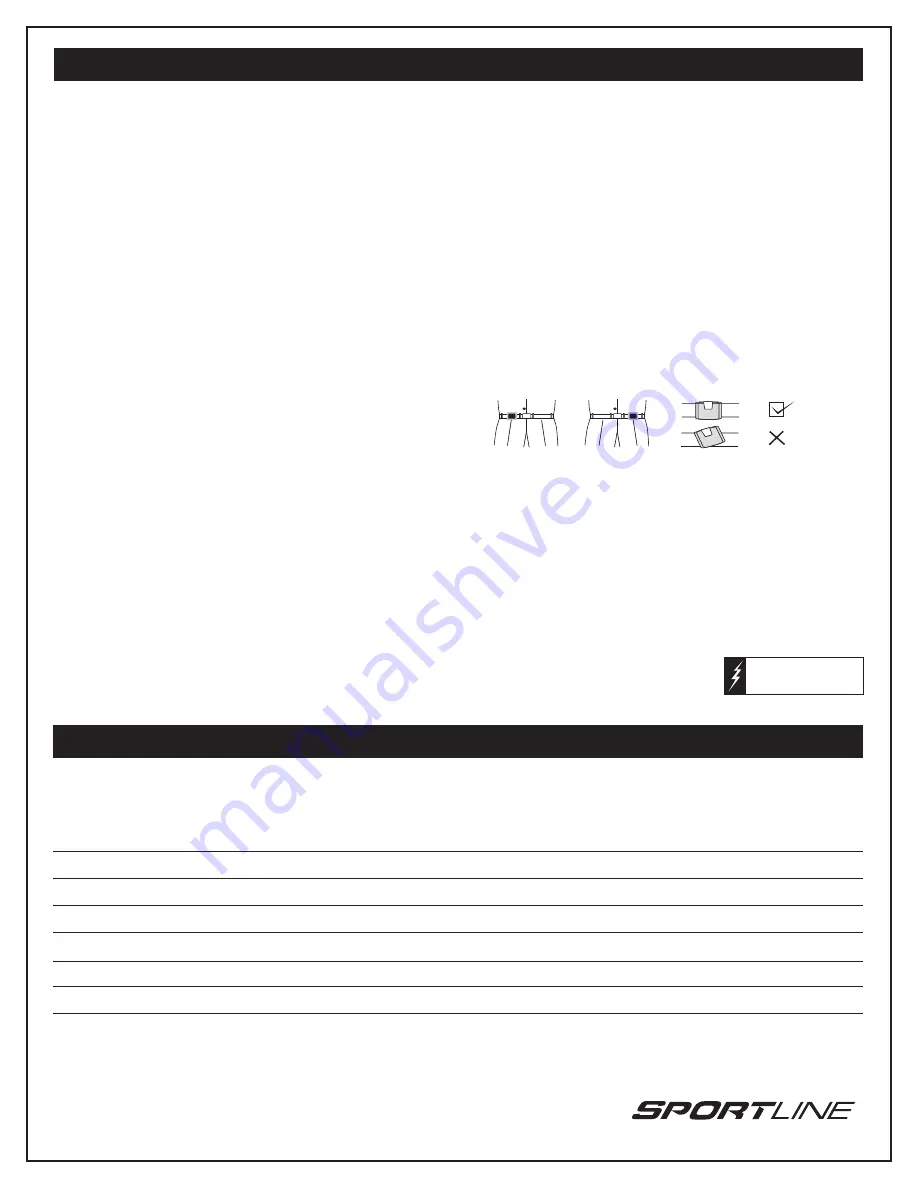
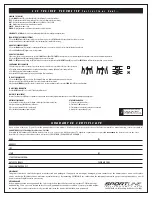
POSITIONING THE PEDOMETER
1.
Clip the unit to your belt or to the top of your shorts, trousers or slacks as close as possible to the crease line of your pant.
2.
The pedometer must remain parallel to the ground when walking or running. Otherwise false readings will occur.
3.
The LCD display should be down when exercising.
4.
Lift up the LCD display to monitor your progress and then place it back down.
TO START YOUR EXERCISE
1.
Press the
RESET
button (
A
) for 2 seconds. The display will show zero. All measurement functions will reset to zero.
2.
Begin exercising. The unit will keep track of your steps, distance and calories burned.
3.
By pressing the
MODE
button (
E
) to switch to other modes to get those readings as well or press the
SCAN
button (
C
) to view all readings.
TO RESET YOUR PEDOMETER
Press the
RESET
button (
A
) for 2 seconds. The display will show zero.
SENSITIVITY ADJUSTMENT
Everyone’s walking style is different. The pedometer has an automatic Sensitivity Adjuster that compensates for the different walking and jogging styles.
BATTERY REPLACEMENT
OTHER INFORMATION
1.
Insert a small coin into the slot on the bottom of the body of the unit near the hinge.
1.
Treat your pedometer with care.
2.
Replace with one type CR2032 button cell battery.
2.
Pedometer is NOT waterproof.
3.
Be sure to pay attention to the correct polarity.
3.
This pedometer is designed to remain on continuously.
4.
Put the battery compartment back into place.
4.
Battery life is approximately 1 year.
3 5 0 T R A I N E R P E D O M E T E R I n s t r u c t i o n s C o n t …
Please note: Before using your
pedometer, remove battery
insulation strip.
(Insulation strip
designed to preserve battery power)
G U A R A N T E E C E R T I F I C A T E


