Appendix B: Upgrade/Downgrade Procedures
Installation Option 1: Using the DVD
Getting Started with Spirent TestCenter
|
79
Installation Option 1: Using the DVD
Installers for the Spirent TestCenter applications and a tarball for documentation are
packaged in OS-specific files on the DVD.
Follow the installation instructions appropriate for your workstation:
•
“To Copy Files using a Web Browser”
•
“To Copy Files using the Command Line” on page 80
To Copy Files using a Web Browser
Follow these instructions if your workstation has a web browser installed.
To install Spirent TestCenter Automation:
1
Load the installation DVD.
2
Select the
Spirent TestCenter
link appropriate for your operating system.
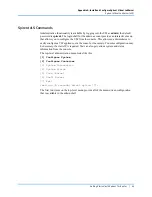
This action will result in one of two displays:
•
Index page with links to the automation installers and the documentation tarball.
•
Folder view of the two shell-based installers and the tarball for documentation.
3
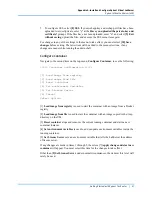
Use the standard procedure (for your workstation) to copy the installer appropriate for
your system and the documentation tarball to your workstation.
4
Run the shell-based installer. For example, use the following for 64-bit OS:
./install_Spirent_TestCenter_Auto_Linux64_[x.xx].sh
5
Use tar to extract the documentation from the tarball. For example, use the following
command for a Linux file:
tar -xzvf Spirent_TestCenter_Docs_Linux_Unix[x.xx].tar.gz
6
Set up Tcl
[x.x.xx]
, Perl, C
++
, Java, Ruby, Python, C#, or REST for use with Spirent
TestCenter.
Note:
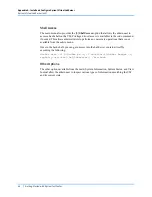
Automation customers: If you do not use the Tcl [x.x.xx] (configured for
Spirent TestCenter Automation) installer, you must manually configure your
automation environment. Setup instructions for each environment are in readme
format, located in the <Spirent_Install_Dir>/API folder with sub-directories matching
the language name.
For example:
/home/user/Spirent_TestCenter_[x.xx]/Spirent_TestCenter_Application_Linux/API/
Tcl

