


DSL/Cable Router User Guide
30
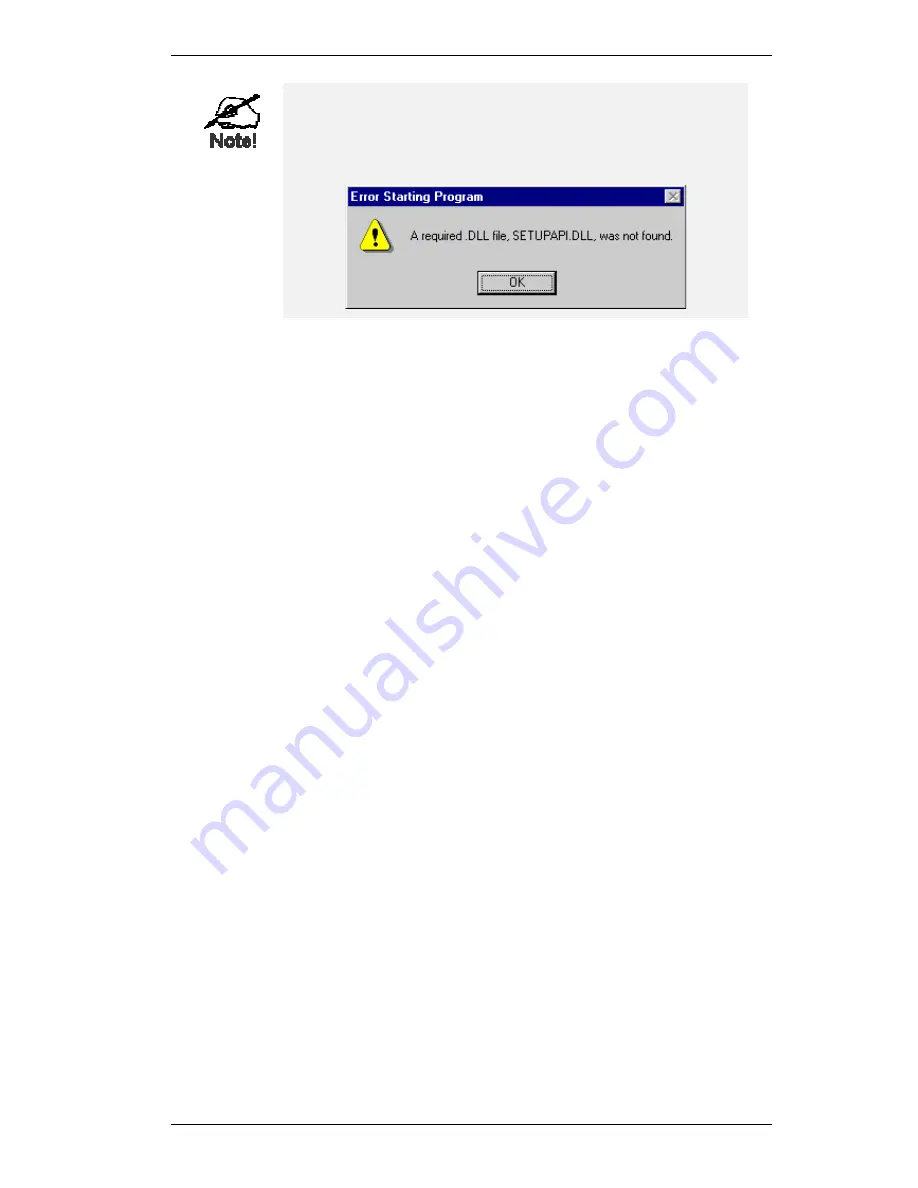
Under Windows 95, if you see the following error message,
either install Internet Explorer 4 or later, or follow the proce-
dure in the "Trouble Shooting - Printing" section of
Appendix A.
6.
A pop-up message will inform you if the port has been created successfully, and then the
Windows
Add Printer
wizard will start.
•
Select the correct Printer Manufacturer and Model, or use the "Have Disk" option if
appropriate.
•
If desired, change the Printer name so it indicates the device used (e.g. HP2100 on
SCA43600)
•
If prompted about Sharing, do NOT enable Printer Sharing for Windows. The router
will manage the printer sharing for your network.
7.
Installation is now complete. You can now print using this printer.
•
To install additional Printers (on different devices), repeat steps 6 and 7.
•
Use the
Start
menu to run this program in future. The default installation is
Start -
Programs - SpeedStream DSL/Cable Router - Add Port
.
Management
•
Print jobs can be managed like any Windows printer. Open the
Printers
folder (
Start -
Settings - Printers
) and double-click any printer to see the current print jobs.
•
If the printer attached to the DSL/Cable Router is changed, just run this program again, and
select the correct printer.
•
To delete a port created by this setup program, use the Windows
Delete Port
utility.
•
Right-click any printer in the
Printers
folder, and select
Properties
.
•
Locate the
Delete Port
button. This button is on the
Details
or
Ports
tab, depending on
your version or Windows.
•
If the DSL/Cable Router's IP Address is changed, and you can no longer print, delete the
port (see procedure above) and re-install it.
Port Options
The options for the
Print Port Driver
are accessed via the Windows
Port Settings
button.
Use
Start - Settings - Printers
to open the Printers folder, then right-click the Printer, and select
Properties
. The
Port Settings
button is on the
Details
or
Port
tab, depending on your version of
Windows.
An example screen is shown below: