GB
10
Connecting to the PC
Connect the USB RF receiver to any free
USB port on your computer. The plug&play
function of your system will automatically
detect that a new device has been connect-
ed. The mouse will not yet be ready to use
at this stage. The Operating System may
ask you to insert the Windows installation
CD. If so, follow the on-screen instructions.
Note: Please note that USB operation is
not supported by Windows 95/NT.
Establishing a connection between the mouse
and the RF receiver
The following steps have to be carried out
within three seconds if a successful con-
nection is to be established between the
mouse and the RF receiver. Ensure that
the mouse is no further than 1.5m away
from the RF receiver.
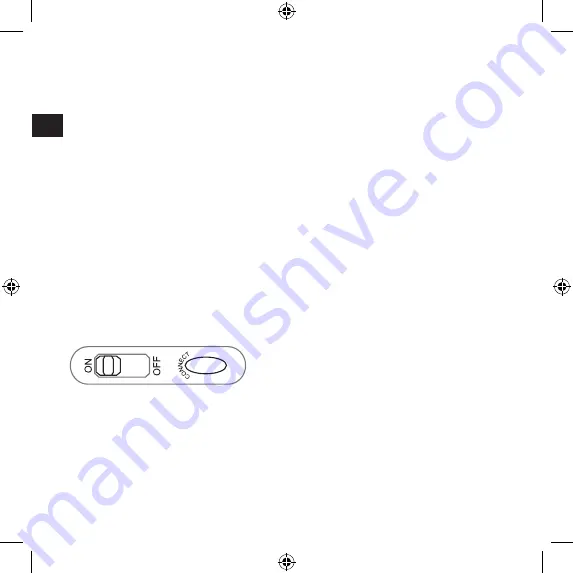
Make sure the on/off switch on the undersi-
de of the mouse is set to
On
.
Press the button on the underside of the
mouse. Gently press the button on the
RF receiver with a thin object, such as a
paperclip.
The RF receiver must already be con-
nected to a USB port and the driver, if
required, installed.
After a few seconds your mouse will be
ready for use.
Technical Data
Model no: SL-6187
Resolution: 800dpi
Max. range: 1.5m
Interface: USB
Troubleshooting
The RF receiver is recognised by Windows
but the mouse pointer does not move.
Repeat the section “Establishing a
connection between the mouse and the
RF receiver” and ensure that the mouse
is within range (1.5m) of the RF receiver.
If this does not solve the problem, check
that the optical sensor on the underside of
the mouse lights up. If the sensor does not
light up it is likely that the batteries are flat.
Replace the batteries and repeat the above
steps again.


