[
14
]
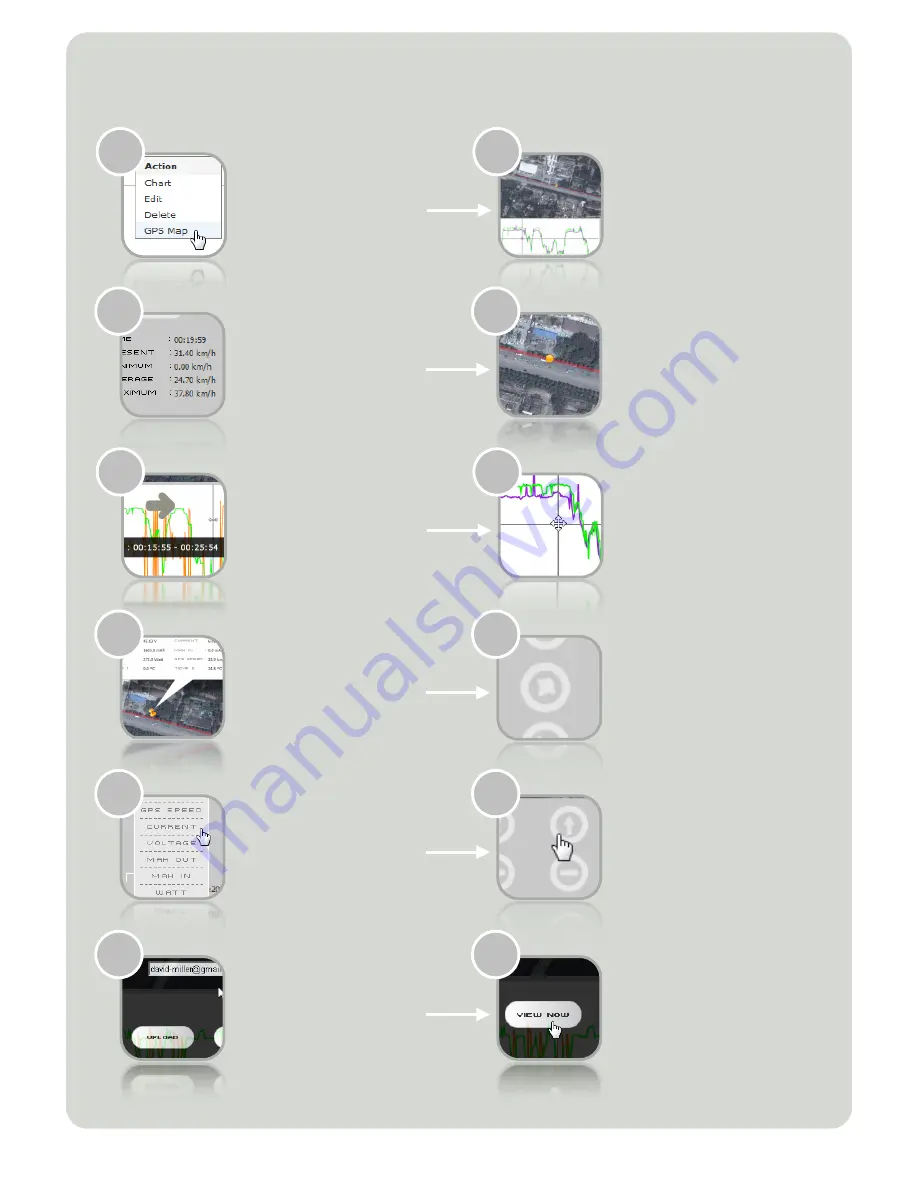
Step 3. View Map Route and Chart
on gps map windows, both
r e c o r d e d r o u t e a n d
measured information
are shown on top and
bottom window
click on any record
a n d s e l e c t g p s m a p
f r o m m e n u t o v i e w
c h a r t a n d l o c a t i o n
information
3.2
3.1
and the correspondence
location is displayed on
top map window
move cursor on bottom
c h a r t w i n d o w , i t s
detail information is
shown on the lower
right corner
3.4
3.3
double click on chart to
place pin on route with
detail information
drag and move cursor
to left or right for
n e x t a v a i l a b l e t i m e
f r a m e , u s e m o u s e ’ s
scroll wheel for zoom
in and out
3.6
3.5
click to the remove pin
icon to remove all drop
pin(s) on route window
a l l s p e e d ( s e n s o r ) ,
v o l t a g e , c u r r e n t ,
capacity, watt, speed
( g p s m e a s u r e d ) a n d
t e m p e r a t u r e
information are shown
corresponded on time
3.8
3.7
click to the upload icon
to upload the current
record to the internet
click to view data icon
to view different data
information such as
current, voltage, watt
etc.
3.10
3.9
write down the web log id
for later retrieve the
shared log, press view
now button to view the
uploaded chart
enter both verify code
a n d
y o u r
e m a i l
a d d r e s s , p r e s s t h e
u p l o a d b u t t o n t o
upload
3.12
3.11


