4
Note:
First-generation weather stations (Models 900ET,
800, 700, 600, 550, 525)
MUST
be launched initially with
the gray PC interface cable (Refer to the
SpecWare Soft-
ware User’s Guide
for details on launching WatchDog
data loggers).
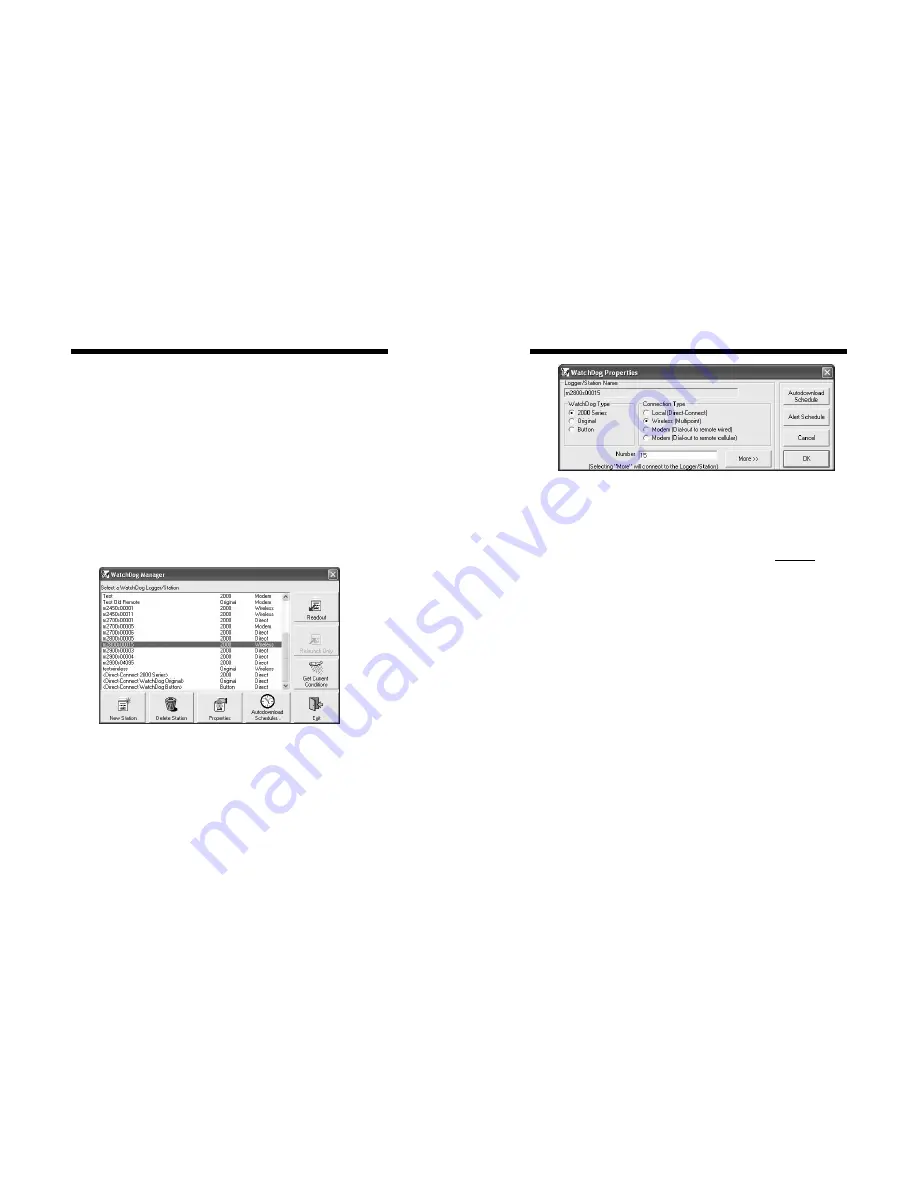
For SpecWare (Spec8 Pro or Spec7 Pro) to communicate
with the wireless modem, the station must be set up in the
WatchDog Manager
screen (Fig. 1). If the station has
already been established, select the station and click the
Properties
button to bring up the
WatchDog Properties
screen (Fig. 2).
Setting Up a Weather
station in SpecWare
To set up a new, remotely connected weather station, click
the
New Station
button on the
WatchDog Manager
screen. This will bring up the
WatchDog Properties
screen (Fig. 2).
Figure 1. WatchDog Manager screen
5
Operation
Setting Up a station
Setting Up a steation in
Specware
1. If this is a new entry, enter a Logger/Station Name in
the top text field. If the station has been previously
used, the name entered in this field must exactly match
the name entered into
Data Identification
field when
the weather station was previously launched.
2. Select
the
WatchDog Type
(
2000 Series
or
Original
(for first-generation stations))
3. For
Connection Type
select
Wireless (Multipoint)
.
4. Enter the Radio Address into the
Number
field. For
2000 Series stations, the radio number is the station’s
serial number.
Note: If you did not perform the
“CONFIGURE RADIO” step at the end of the In-
stallation instructions, go back and do it now.
For
first-generation stations, the number will be printed on
a sticker on the side of the transceiver or mounting
bracket.
Once a weather station is set up in SpecWare, it can be
launched, downloaded and queried for current conditions
by a PC connected to the base station transceiver (refer to
Operation
, pg. 6).
Setting Up a Weather
station in SpecWare
Figure 2. WatchDog Properties screen


