background image


The Hardware Installation 


Remove power from the target DSP system. 

  Connect the keyed XDS510USB JTAG Emulator JTAG interface cable to the target board. 

  Apply power to the target DSP system. 

  Connect the XDS510USB JTAG Emulator to the host computer system using a USB cable. 


The USB Device Drivers Installation 

Driver installation for windows 2000/XP: 

1.


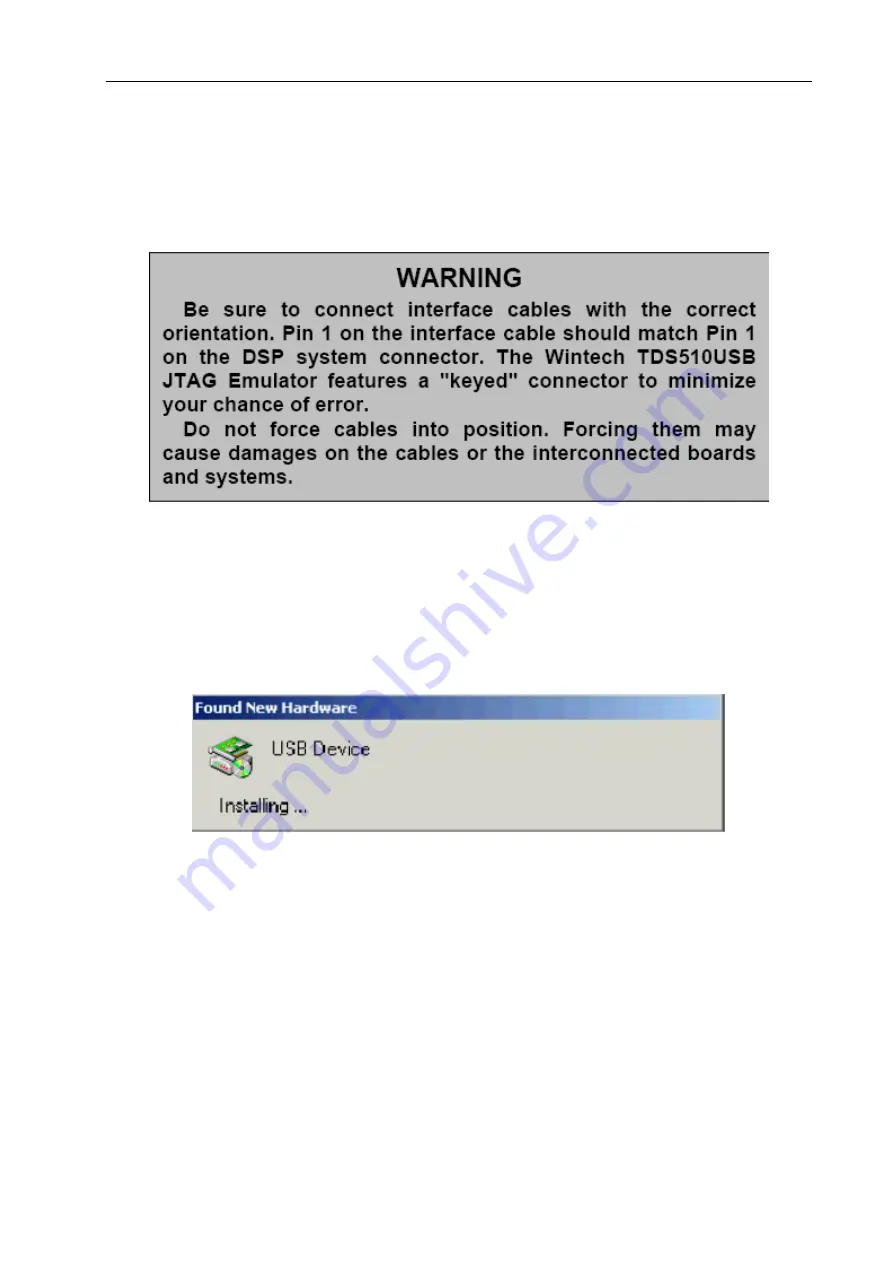
After plug the XDS510USB JTAG Emulator into the host computer’s USB port, the system 
should display the Found New Hardware (Figure A-1) dialog box. This dialog box indicates 
the computer operating system has found a new USB device.   


Figure A-1 

2.


The system will prompt for new hardware detected and start the “Found New Hardware 
Wizard” as shown in Figure A-2. 

Summary of Contents for XDS510USB

Page 1: ...aph mentioned above Introduction Overview XDS510USB Emulator is designed to use with digital signal processors DSPS operating at 1 0 5 0 volts The emulator itself is a bus powered USB device It is fully plug and play compatible and is fully powered by the host computer s USB connection The XDS510USB Emulator operates with TI Code Composer Studio IDE debug tool and is fully compatible with windows ...

Page 2: ... Emulator USB interface cable The XDS510USB driver disk XDS510USB Emulator Installation Guide Reference Guide this document Installation Requirements Code Composer Studio IDE 1 2 or greater A free USB port 233 MHZ or higher Pentium compatible CPU 500MHZ or higher Pentium III CPU or equivalent is recommended Local CD ROM drive Supported Operating Systems Windows98 ME 2000 XP VISTA Detailed Installa...

Page 3: ...em using a USB cable The USB Device Drivers Installation Driver installation for windows 2000 XP 1 After plug the XDS510USB JTAG Emulator into the host computer s USB port the system should display the Found New Hardware Figure A 1 dialog box This dialog box indicates the computer operating system has found a new USB device Figure A 1 2 The system will prompt for new hardware detected and start th...

Page 4: ...ck on next and system will display the window as shown in Figure A 3 Figure A 3 4 Check on Search for a suitable driver for my device Recommended and click on next The system will display a window as shown in Figure A 4 ...

Page 5: ...tion disk as shown in the Figure A 5 Figure A 5 6 Click on Browse and locate the file usb510 Inf in the installation CD TI DSP Emulator XDS510 USB_driver or in the folder where you have downloaded the file into as shown in Figure A 6 Figure A 6 7 Click on next the following window will be displayed as shown in Figure A 7 ...

Page 6: ...our CD ROM Double click on Setup Exe TI DSP Emulator XDS510 CCS_driver to install the JTAG emulator tools for CCS In order to run the application properly the XDS510 CCS Driver must reside in the same folder in which the Code Composer Studio IDE is installed For example if the Code Composer Studio IDE installed in E CCStudio_v3 3 the XDS510 CCS Driver must install in E CCStudio_v3 3 NOTE Be sure t...

Page 7: ...7 ...

Page 8: ...8 CCS Emulate Configuration ...

Page 9: ...ype in the family list The program will list some typical configuration 3 Double click the item according to your target board The new configuration will appear in My System list in the System Configuration window Configure the properties of your target board and Set the proper gel file Save the configuration and exit the setup program 4 Connect your target board to the emulator then power on the ...

Page 10: ...10 Figure C 2 Figure C 3 ...

Page 11: ...Click Finish button in the next interface IMPORTANT NOTE It is very important to properly orient the connector on the DSP target system so that Pin 1 on THE cable matches Pin 1 on the DSP target system Connecting the cable incorrectly may cause damages on your DSP target system or the XDS510USB Jtag Emulator The JTAG interface flat cable comes with a keyed 2x7 socket connector that should match yo...

Reviews: