Chapter 9 - Working with Tape Libraries and Media
Tape Library and Tape Drive Options
3.
Click
Deactivate
. The tape partition enters the standby state.
Note:
If you have multiple partitions in the same tape library configured for use by the
BlackPearl system, you must repeat steps
and
for each
partition in the tape library that requires service.
Once you complete service on the tape library, return the tape library to service using the
steps in
Activate a Tape Library Partition on page 284
Edit a Tape Partition
If desired, you can edit an existing tape partition to change the number of drives reserved
for read or write operations.
Note:
Editing a partition does not allow you to specify which specific drive(s) are
reserved for read or write operations. To reserve a specific drive in the library, see
Reserve or Make Available a Specified Tape Drive on page 287
.
Use the instructions in this section to edit a partition.
1.
From the menu bar, select
Configuration > Advanced Bucket Management > Storage &
Policy Management
to display the Advanced Bucket Management screen (see
).
2.
Select the tape partition that contains the drive(s) you want to reserve or make available
in the Tape Partitions pane, and select
Action > Show Details
. The Tape Partition details
screen displays.
3.
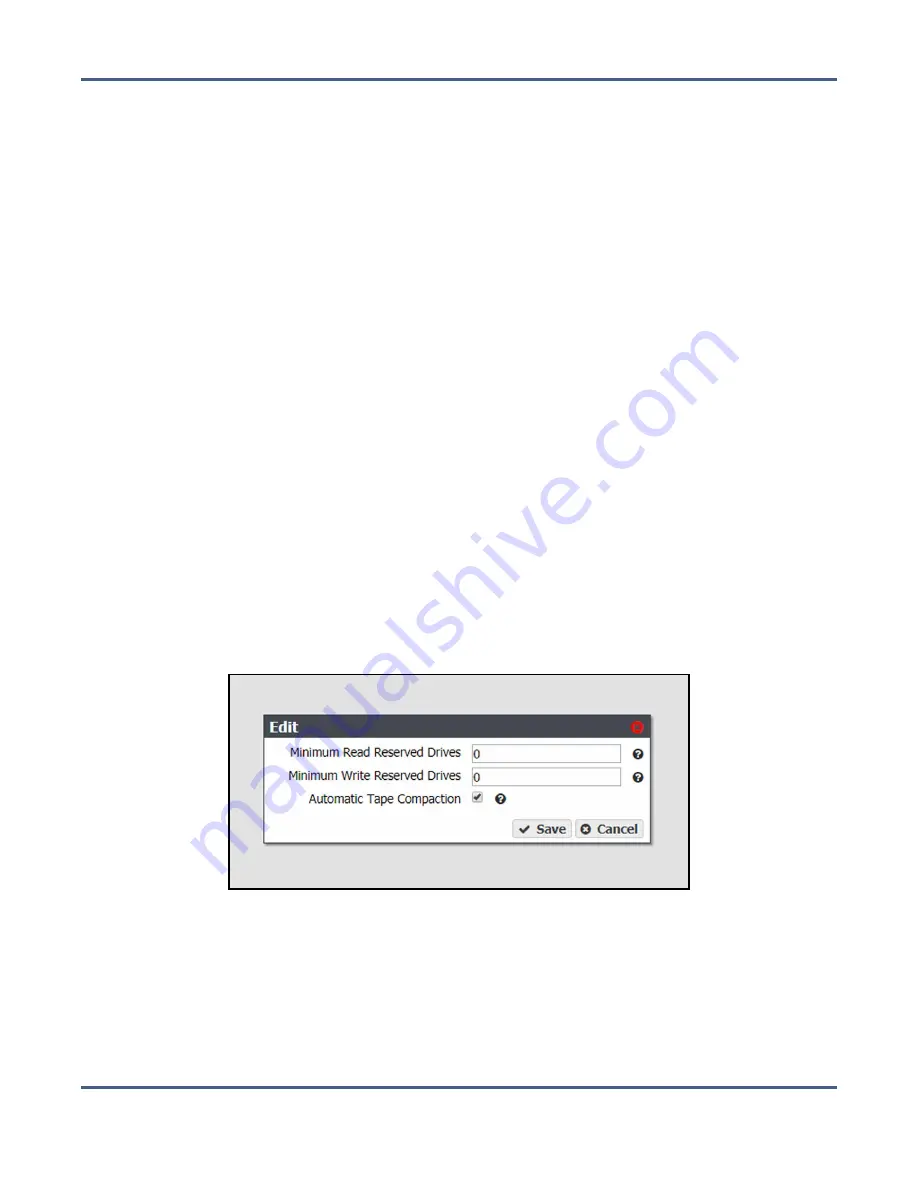
Select
Action > Edit
. The Edit dialog box displays.
Figure 190
The Edit dialog box.
4.
If desired, edit the number of drives you want to reserve for read operations in the
Minimum Read Reserved Drives
. Alternatively, click the up and down arrows in the entry
field (not shown).
Note:
Drives reserved for a read operations are occasionally used for background
operations or tape inspection, but are never used for write operations.
November 2020
User Guide-BlackPearl Converged Storage System
- 286 -


