Chapter 8 - Managing Network Attached Storage
Volume Snapshots
Delete a Volume
Use the following steps to delete a volume.
1.
From the menu bar, select
Configuration > NAS > Volumes
, or click the Volumes pane on
the Dashboard. The Volumes screen displays (see
).
2.
Select the volume you want to delete and then select
Action > Delete
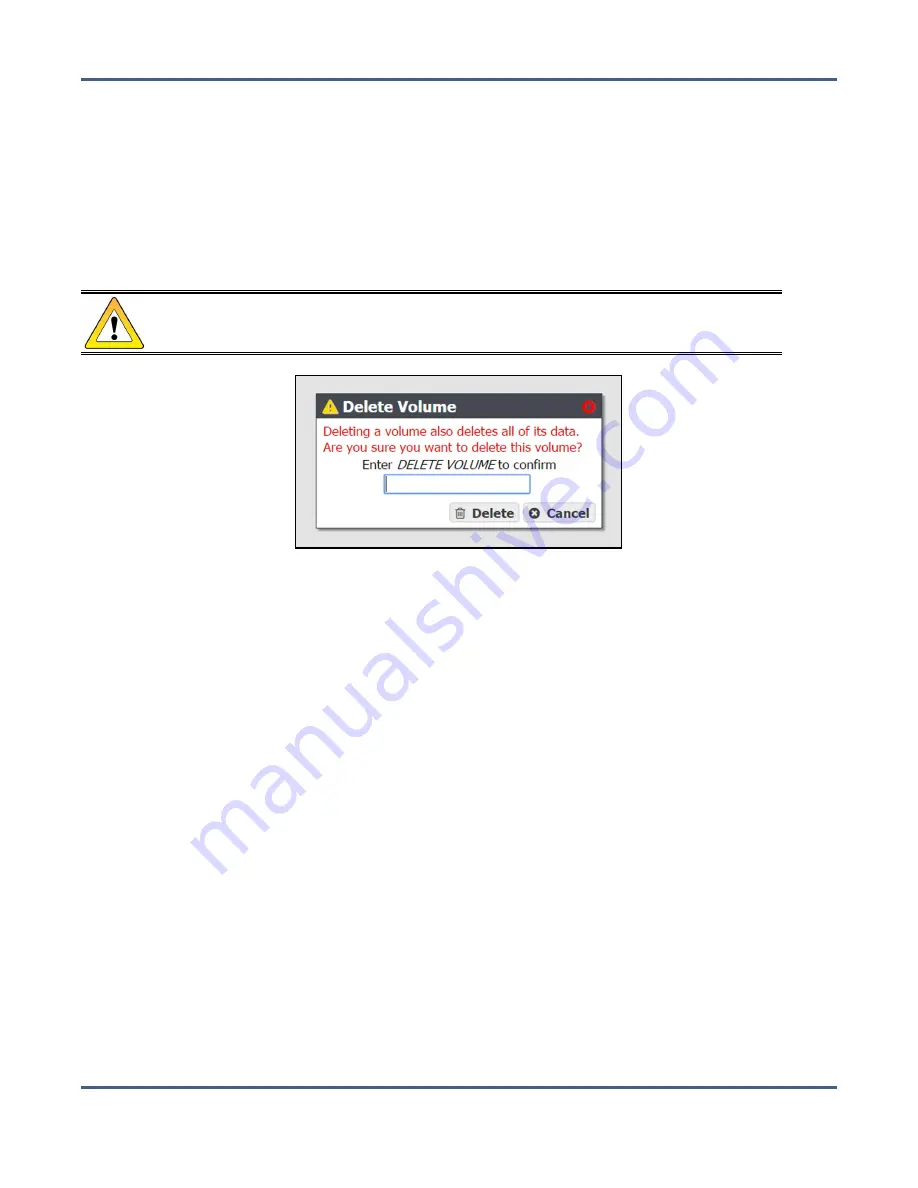
. A dialog box
displays asking you to confirm the deletion.
CAUTION
Deleting a volumes deletes all data in the volume. This action cannot be undone.
Figure 155
Confirm the volume deletion.
3.
Type
DELETE VOLUME
in the entry field and click
Delete
to delete the volume.
V
OLUME
S
NAPSHOTS
Volume Snapshots are images of a volume’s configuration and data makeup as they were
when the snapshot was generated. Restoring to a previously created snapshot allows you to
go “back in time” and restore the volume to the state it was in when the snapshot was
created. Snapshots can be useful in restoring a file that was accidentally deleted. Snapshots
can be created manually or on a schedule. Volume snapshots are retained on the system
until they are manually deleted, or the set Maximum Number of Snapshots limit is reached.
When the limit is reached, the oldest snapshot is deleted freeing up capacity held by that
snapshot.
Snapshots are created instantly without any impact to system performance. Snapshots
initially occupy very little space on the storage pool, but grow as data is deleted, because
this data must be retained by the snapshot.
November 2020
User Guide-BlackPearl Converged Storage System
- 250 -


