


5
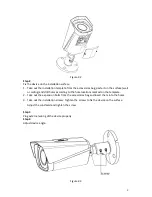
1.
Use the inner hex screwdriver to loosen the adjusting screws shown in the figure above.
2.
Adjust the device monitoring direction according to the requirements.
3.
Use the screwdriver to tighten the adjusting screws.
Step 5
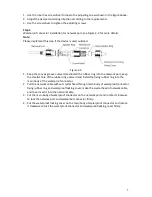
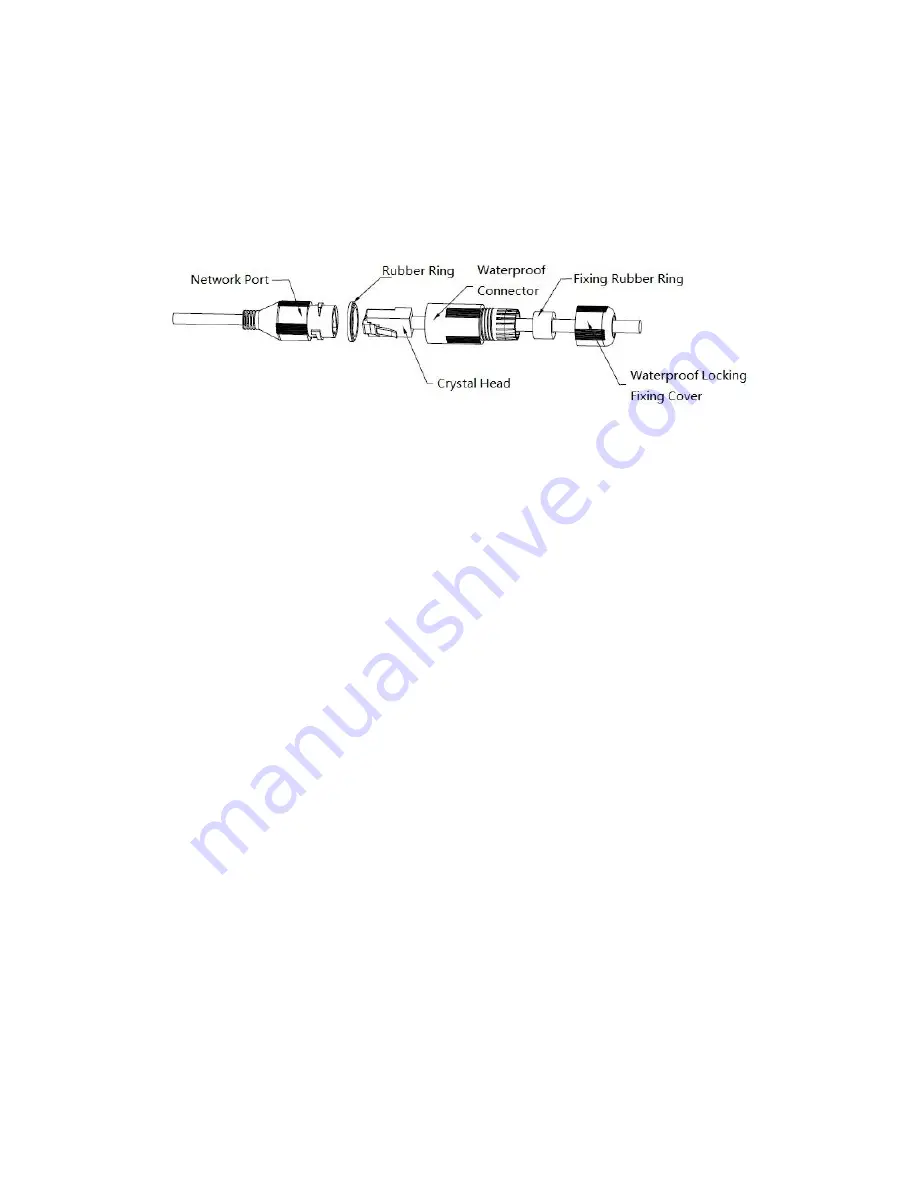
Waterproof connector installation for network port; see Figure 2-4 for more details.
Note:
Please implement this step if the device is used outdoors.
Figure 2-4
1.
Keep the convex groove outward and install the rubber ring into the network port, keep
the smaller hole of the rubber ring outward and install the fixing rubber ring into the
main body of the waterproof connector.
2.
Pull the network cable without crystal head through main body of waterproof connector,
fixing rubber ring and waterproof locking cover, make the crystal head of network cable,
and then insert it into the network cable.
3.
Put the main body of waterproof connector on the network port and rotate it clockwise
to lock the network port and waterproof connector firmly.
4.
Put the waterproof locking cover on the main body of waterproof connector and rotate
it clockwise to lock the waterproof connector and waterproof locking cover firmly.