Record & Disk Management
NVR User Manual
29
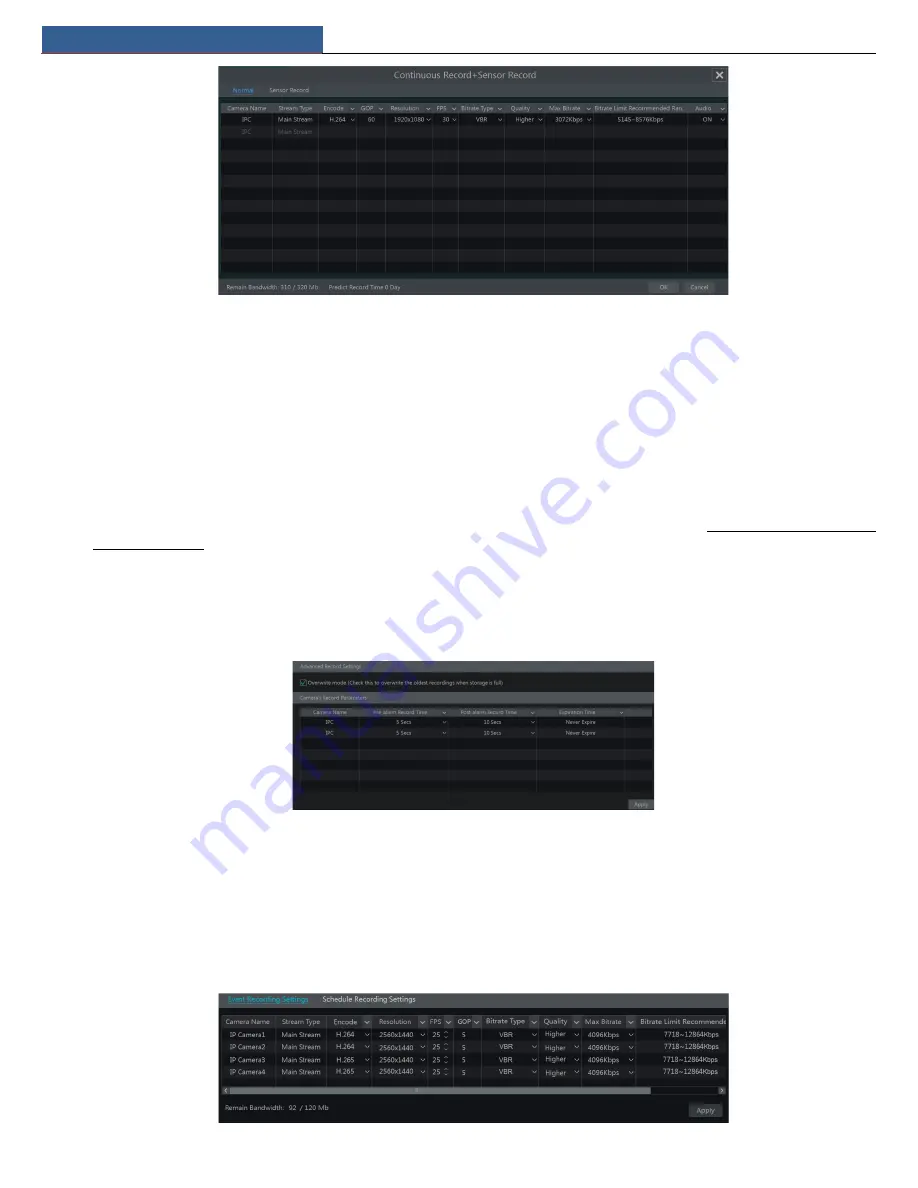
Video Encode
: the available options will be H.265 and H.264 if the connected IP camera supports H.265, or the option will be H.264 only.
GOP:
group of pictures.
Resolution
: the higher the resolution is, the clearer the image is.
FPS
: the higher the frame rate is, the more fluency the video is. However, more storage room will be taken up.
Bitrate Type
: CBR and VBR are optional. CBR means that no matter how much change is seen in the video scene, the compression bitrate will be
kept constant. VBR means that the compression bitrate will be adjusted according scene changes. For example, for scenes that do not have much
movement, the bitrate will be kept at a lower value. This will help to optimize the network bandwidth.
Quality
: When VBR is selected, you need to choose image quality. The higher the image quality you choose, the more bitrate will be required.
Max Bitrate
: 32Kbps ~10240Kbps are optional.
Manual Mode
If the manual mode is selected, you need to set the encode parameters and record schedules of each camera. See 7.2 Encode Parameters Setting
and 7.3 Schedule Setting for details.
7.1.2 Advanced Configuration
Click Start
Settings
Record
Advanced to go to the following interface. Enable or disable cycle record (cycle record: the earliest record data will
be replaced by the latest when the disks are full). Set the pre-alarm record time, post-alarm record time and expiration time of each camera and
then click “Apply” to save the settings.
Pre-alarm Record Time
: set the time to record before the actual recording begins.
Post-alarm Record Time
: set the time to record after the actual recording is finished.
Expiration Time
: set the expiration time for recorded video. If the set date is overdue, the recorded data will be deleted automatically.
7.2 Encode Parameters Setting
Click Start
Settings
Record
Encode Parameters to go to the interface as shown below. Set the encode, resolution, FPS, GOP, bitrate type, quality,
max bitrate and audio of main stream for each camera in “Event Recording Settings” and “Schedule Recording Settings” interfaces. Click “Apply” to
save the settings. You can set the record stream of each camera one by one or batch set them for all cameras.


