SP Robotic Works Micro AGV User Manual Download Page 5

MICRO AGV v1.0 


CHARGING


ROBOT

1.


Switch off the robot. 

2.


Plug in the DC Adapter into robot’s charger socket. 

3.


Plug the another end into AC Power socket. 

4.


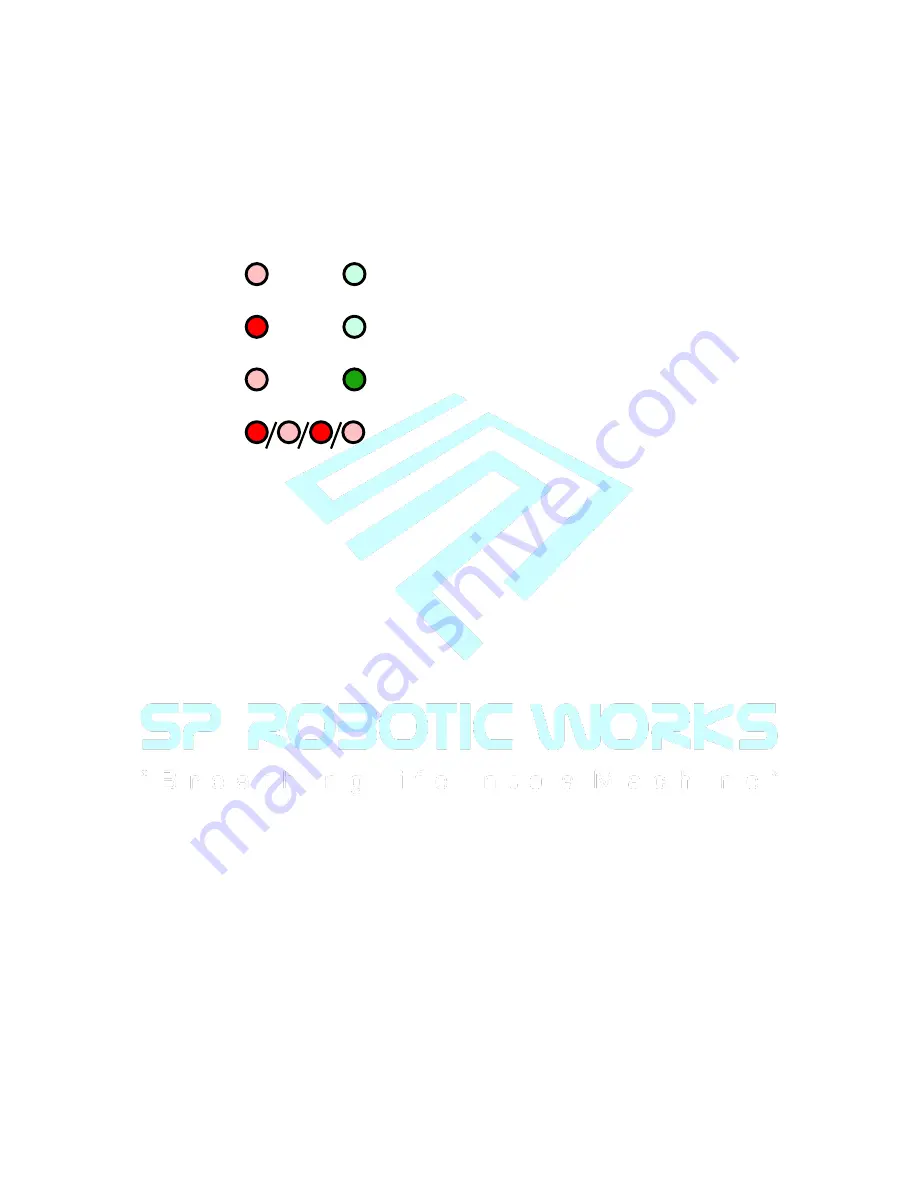
Notice the Status LEDs 

a.


 Red off 

Green Off  

= Battery Not Connected 

b.


 Red On 

 Green Off 

= Charging 

c.


 Red Off 

 Green On 

= Charge Full 

d.


 Red Flashing 

= Fault in Battery/Short Circuit 

PATH/GRID


FOLLOWER


Keep the robot on the starting point of the path marked. 


Make sure the robot is aligned to the center of line. 


Switch On the robot and Check the emergency stop is released. 


The robot will now get calibrated. 

DO NOT INTERRUPT THE 

CALIBRATION.


Robot starts following the path once calibration is over. 


Robot stops and gives a buzz when any obstacle is in between the path. 


Hit the emergency stop to PAUSE the robot’s current operation and 
release it to resume. 


Low battery alarm will be triggered when the battery reaches its 
minimum capacity. Once happens, Put the robot in charging mode or 
change the battery to charged one. 


Summary of Contents for Micro AGV

Page 1: ...MAY 2017 USER MANUAL MICRO AGV v1 0 ...

Page 2: ...____2 FEATURES _________________________________________________________________2 KNOW THE PARTS _________________________________________________________3 CHARGING ROBOT __________________________________________________________4 PATH GRID FOLLOWER ______________________________________________________4 DOs and DONTs ____________________________________________________________5 ...

Page 3: ... needs TECHNICAL SPECS Size in mm 250X250X80 Weight 5 kg Operating Voltage DC 12V Max Charging Voltage DC 15V Max Charging Current 5Amps Payload 5 Kg Ground Clearance 10mm Differential Drive with 4 wheels Battery Backup can vary according to load 5 hours Recommended Charger DC 12V 5Amps FEATURES Autonomous path follower Customized Grid follower Auto stop on obstacle detection In built balance char...

Page 4: ...d charging operations 06 Status LED Green Indicates the battery and charging operations 07 Communication Port Used to program the robot by connecting it to the computer 08 Power Switch Used to ON OFF the Robot 09 Emergency Stop Used to stop the running operation of the robot 10 Power Indicator Indicated the ON OFF Condition of the robot 01 Obstacle Sensor 02 Path Sensor 03 Wheels 04 Mobile Chargin...

Page 5: ...nt of the path marked Make sure the robot is aligned to the center of line Switch On the robot and Check the emergency stop is released The robot will now get calibrated DO NOT INTERRUPT THE CALIBRATION Robot starts following the path once calibration is over Robot stops and gives a buzz when any obstacle is in between the path Hit the emergency stop to PAUSE the robot s current operation and rele...

Page 6: ... 4 While calibrating the robot If the robot is not in center of the path as shown then it will follow it properly 5 Interrupting the calibration will affect the robot s autonomous operations 6 Emergency stop won t work on while robot turning 7 Hit the emergency stop gently It might get break if it is hit too hard 8 Do not leave the robot in low battery condition for too long It might drain the bat...

Reviews: