PixiePlus
TM
ELPSP10 Supplement
for the Epson
®
Projector Controller
Contents
1. Installation of the Epson Projector Controller with the Epson AP-60
Configuration 1 – Projector Volume Control
Configuration 2 – AP-60 IR Volume Control
2. Using the Programming Wand (PXE-PGM-TOOL) to Reprogram the PixiePlus
3. Using the Programming Wand to Set Schedule Events
4. Restoring the PixiePlus to its Default Preconfiguration
1. Installation of the Epson Projector Controller with the Epson AP-60
The PixiePlus may be easily set up to work with the Epson AP-60 Audio System in two
basic configurations.
Configuration 1 – Projector Volume Control
In this configuration, route the
audio for the various display
devices in your room through your
Epson projector. The PixiePlus will
control the audio switching and
volume level on the projector with
its preconfigured RS-232 codes.
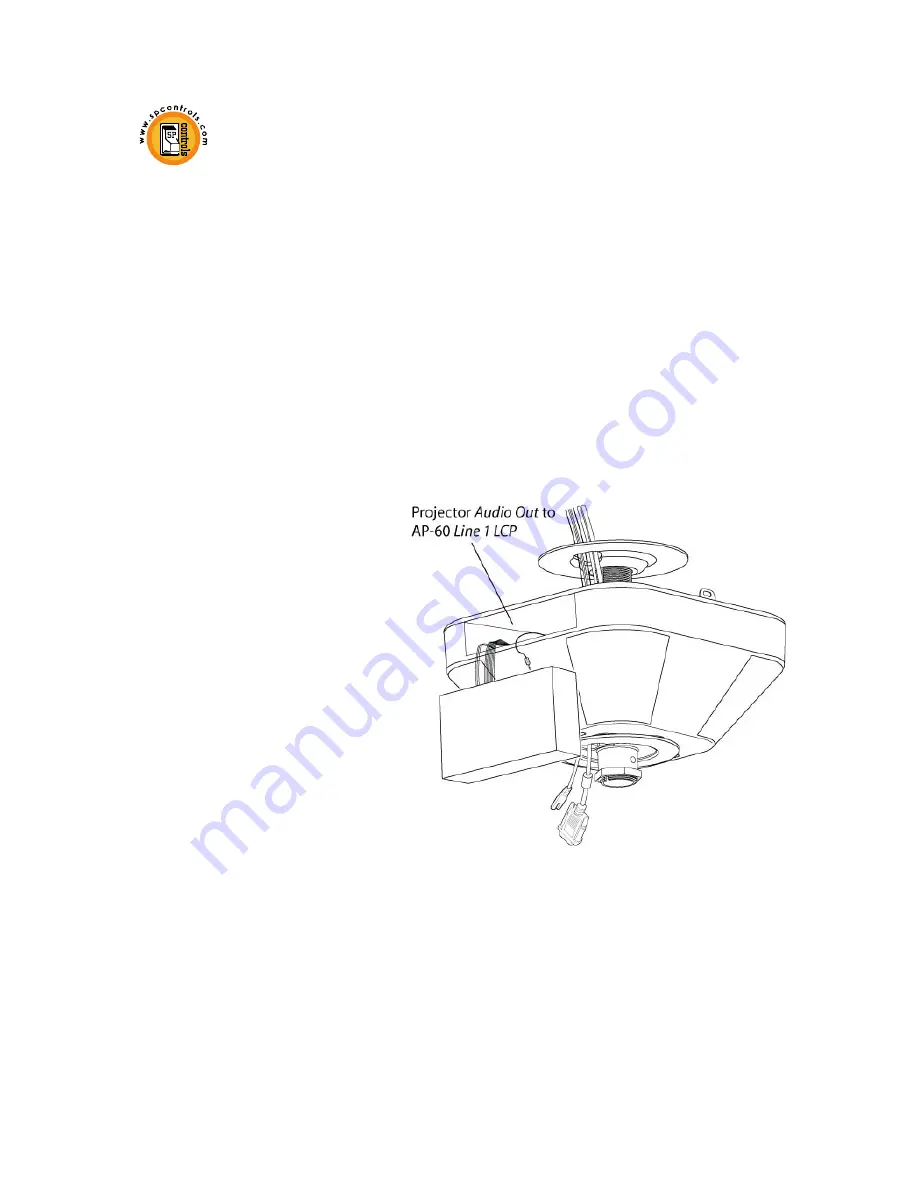
Connect the audio output from the
projector to the audio input on the
AP-60.
A. Connect the audio outputs from
your display devices to your
projector as shown in the projector
documentation.
B. Connect the 3.5mm jack labeled
Audio Out
on your projector to the
AP-60 jack labeled
Line 1 LCP
.
Once this cable is connected the projector speakers will be inactive.
C. If you wish to control the power On/Off of the AP-60 connect the IR emitter output
from PixiePlus Ceiling Plate to the IR receiver of AP-60 to enable power control of AP-60
when the PixiePlus
Audio
button is pressed. The IR codes for AP-60 are preconfigured
in the PixiePlus.
1


