background image


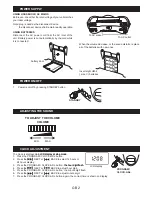
POWER SUPPLY

GB 2

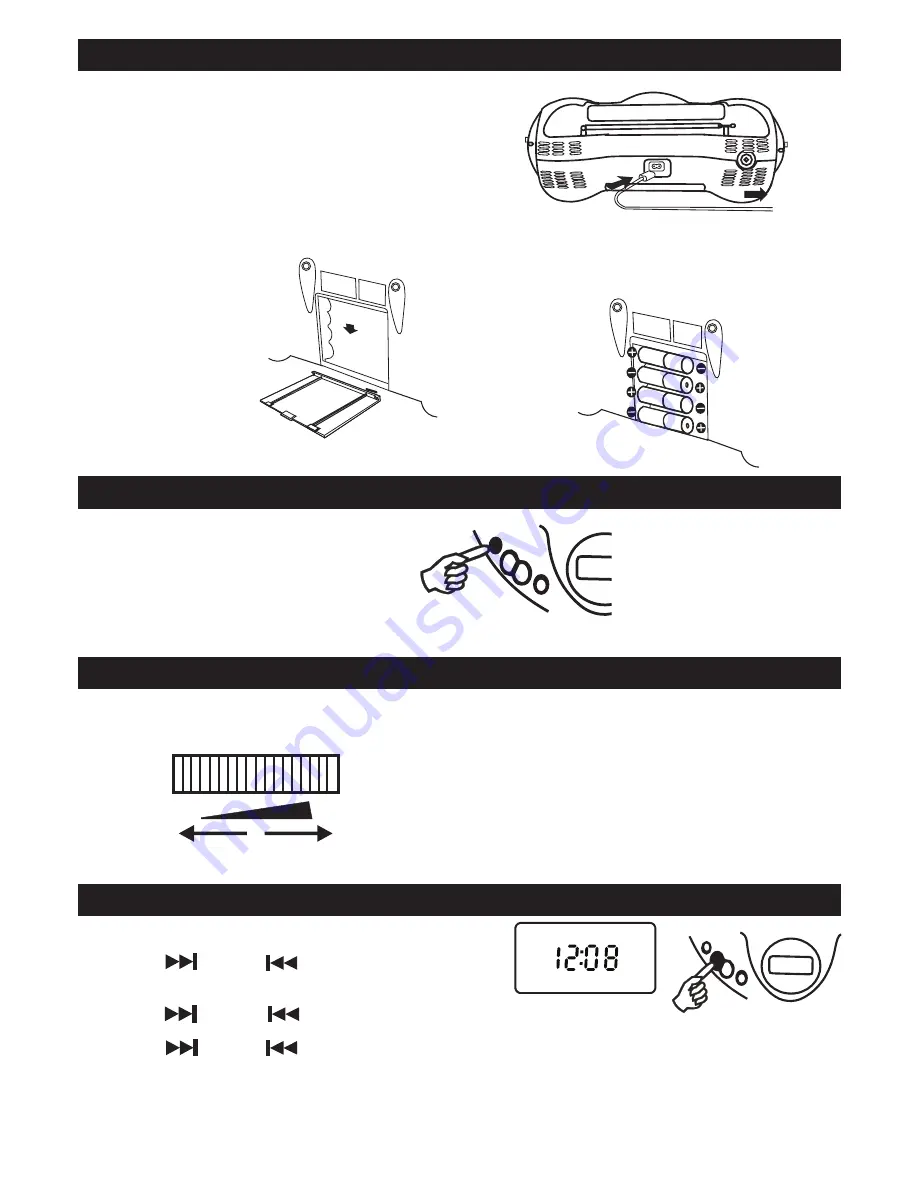
TO ADJUST THE VOLUME

VOLUME

USING HOUSEHOLD AC MAINS

Before use, check that the rated voltage of your unit matches 

your local voltage.

USING BATTERIES

Disconnect  the AC  power  cord  from  the AC  inlet  of  the 

unit. Battery power is cut automatically by the cord while 

it is connected.

Insert eight UM-2 

( size C ) batteries.

battery door

When the volume decrease, or the sound distorts, replace 

all of the batteries with new ones.

To AC socket

To AC outlet


MAX.

MIN.                 

Note: plug is used as the disconnect device. 

         the disconnect device shall remain readily operable.


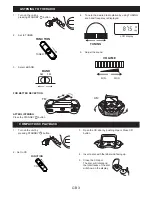
POWER ON/OFF 

STANDBY

1.  Power is on/off by pressing STANDBY button.


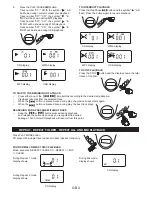
ADJUSTING THE SOUND

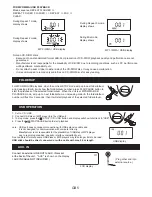
The clock is displayed on LCD display at stop mode.

on LCD display at stop mode.

1.   Press the PROGRAM / CLOCK-ADJ. button,

2.  Press the           NEXT or            BACK to select 12 hours or 


24 hours display.

3.  Press the PROGRAM / CLOCK-ADJ. button, the hour ����t ���sh.

the hour ����t ���sh.

4.  Press the           NEXT or            BACK to adjust hour digit.

5.  Press the PROGRAM / CLOCK-ADJ. button, the m�nute ����t ���sh.

6.  Press the           NEXT or            BACK to adjust minute digit.

7.  Press the PROGRAM / CLOCK-ADJ. button again, the correct time is shown on display.


CLOCk ADJUSTMENT

PROGRAM/

CLOCk-ADJ.

LCD display

Summary of Contents for SCD6450

Page 1: ...ION OF CONTROLS 1 SPEAKER 2 CARRYING HANDLE 3 OPEN CLOSE CD BUTTON 4 CASSETTE RECORD 5 CASSETTE PLAY 6 CASSETTE REWIND 7 TELESCOPIC ANTENNA 8 CASSETTE F FWD 9 CASSETTE STOP EJECT 10 CASSETTE PAUSE 11 CD DOOR 12 FUNCTION SWITCH 13 CD PROGRAM CLOCK ADJ BUTTON 14 CD FOLDER UP BUTTON 15 CD PLAY MODE BUTTON SPECIFICATIONS RADIO SECTION Tuning ranges FM 87 5 108 MHz AM 522 1620 kHz GERNAL Power consumpt...

Page 2: ...ote plug is used as the disconnect device the disconnect device shall remain readily operable Power on off STANDBY 1 Power is on off by pressing STANDBY button ADJUSTING THE SOUND The clock is displayed on LCD display at stop mode 1 Press the PROGRAM CLOCK ADJ button 2 Press the NEXT or BACK to select 12 hours or 24 hours display 3 Press the PROGRAM CLOCK ADJ button the hour digit flash 4 Press th...

Page 3: ... knob and frequency is displayed TUNING LCD display FOR BETTER RECEPTION FM AFTER LISTENING Press the STANDBY button AM COMPACT DISC PLAYBACK 1 Turn on the unit by pressing STANDBY button 2 Set to CD 3 Open the CD door by pushing Open Close CD button 4 Insert a disc with the label side facing up 5 Close the CD door The disc will rotate and the total tracks of the disc will show on the display CD F...

Page 4: ...T PLAYBACK Press the Play Pause button and the symbol will flash Press the button again to resume playback CD display MP3 display WMA display USB display CD display MP3 display WMA display USB display 6 Press the PLAY PAUSE button Track number 01 CD the symbol will be shown during normal compact disc playback Track number 001 CD the symbol MP3 will be shown during MP3 playback Track number 001 CD ...

Page 5: ...ity and performance are not guaranteed Manufacturer is not responsible for the playability of CD R RW due to recording conditions such as PC performance writing software media ability etc Do not attach a seal or label to either side of the CD R RW disc It may cause a malfunction It is recommended to record only audio files on CD R RW discs for easy reading MP3 WMA USB display FOLDER UP USB OPERATI...

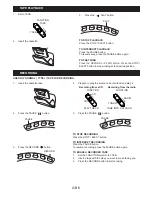
Page 6: ...DING 1 Insert the cassette tape 2 Press the PAUSE button PAUSE 4 Prepare to play the source to be recorded and play it Recording from the radio Recording from a CD FUNCTION CD FUNCTION PLAY THE CD TUNE INTO A STATION 3 Press the RECORD button RECORD 5 Press the PAUSE button PAUSE TO STOP RECORDING Press the STOP EJECT button TO INTERRUPT RECORDING Press the PAUSE button To resume recording press t...

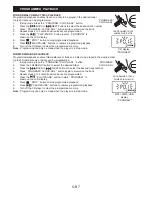
Page 7: ...ayback enables folders albums or tracks on a disc to be played in the desired order Up to 20 folders albums or tracks can be programmed 1 In stop mode press the PROGRAM CLOCK ADJ button 2 Press the FOLDER UP button to select the desired folder 3 Press the BACK or NEXT buttons to select the desired track number 4 Press PROGRAM CLOCK ADJ button again to memorize the track 5 Repeat steps 2 to 4 until...

Reviews: