background image

19 

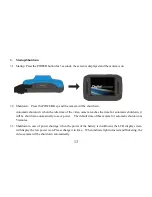
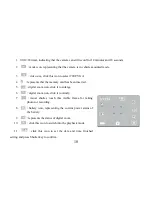
Note: the screen will be off automatically during recording process in order to save power; user can 

press the power button shortly to start the screen and restore display. 

Playback mode: 

9.1 

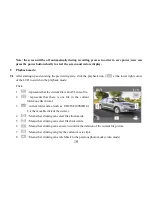
After starting up and entering the previewing state, click the playback icon (

) at the lower right corner 

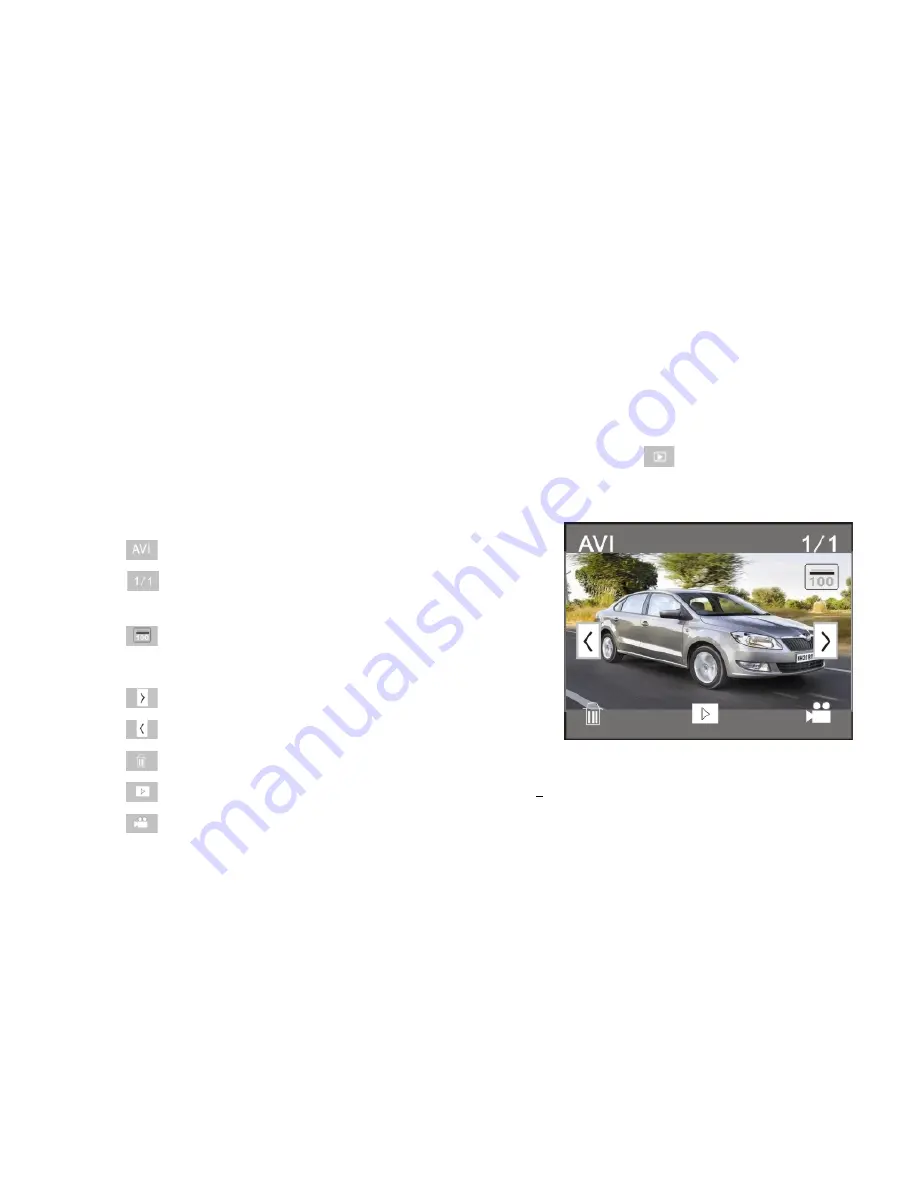
of the LCD to switch to the playback mode: 

Click 

1  

  : represents that the current file is an AVI video file. 

2  

  :  represents that there is one file in the current 

folder/one file in total. 

3  

  : current folder name (such as: I:\DCIM\100MEDIA 

I: is the movable disk of the device). 

4  

  : Means that clicking can select files frontwards. 

5  

  : Means that clicking can select files backwards. 

6  

  : Means that clicking can activate to confirm the deletion of the current file picture. 

7  

  : Means that clicking can play the current movie clips. 

8  

  : Means that clicking can switch back to the previous photo mode (video mode). 

Summary of Contents for GDV123SL Gear Pro

Page 1: ......

Page 2: ...1 Mounting Accessories...

Page 3: ...wl of water for about a minute Remove the case from the water dry off its exterior with a towel then open the case If the entire interior is dry the case and gasket are safe for use under water 3 Ther...

Page 4: ...the handlebar clamp until secure 3 Turn the Locking Wheel so it applies pressure to the case to keep the connection secure 4 Loosen the Bar Clamp Bolt until the screw can be pushed 90 upward 5 The bo...

Page 5: ...t through the other side of the Helmet mount Then insert the belt back through the helmet vent 3 You should have now both ends of the belt inside the helmet take both ends of the Belt and pull to tigh...

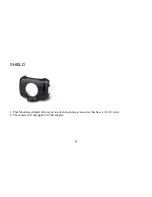
Page 6: ...5 SHIELD 1 This Mounting Adapter allows you to attach mounting accessories that have a 1 4 20 screw 2 The camera will clip right in to this adapter...

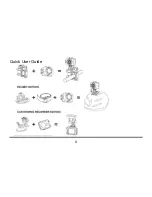
Page 7: ...6 Quick User Guide...

Page 8: ...eo camera shall prevail A An nn no ou un nc ce em me en nt ts s Please read the Announcements carefully before using this video camera for proper and safe operation so as to bring its optimum performa...

Page 9: ...ow away the sand dust accumulated on this surface and then wipe the camera gently with rag or tissue applicable to optical equipments Please use the cleaning agent of video camera for wiping if necess...

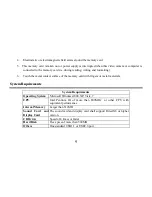
Page 10: ...d with fingers or metal materials S Sy ys st te em m R Re eq qu ui ir re em me en nt ts s System Requirements Operating System Microsoft Windows2000 XP Vista 7 CPU Intel Pentium III of more than 800MH...

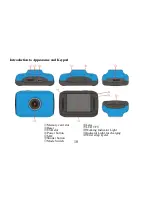
Page 11: ...on n t to o A Ap pp pe ea ar ra an nc ce e a an nd d K Ke ey yp pa ad d Memory card slot Reset USB slot Power button MIC Shutter button Mode Switch Lens LCD TFT Working Indicator Light Indicator Ligh...

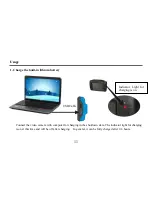
Page 12: ...y Connect the video camera with computer for charging in the shutdown state The indicator light for charging is on at this time and will be off after charging In general it can be fully charged after...

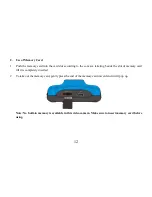
Page 13: ...e concave lettering beside the slot of memory card till it is completely inserted 2 To take out the memory card gently press the end of the memory card inward and it will pop up Note No built in memor...

Page 14: ...ideo camera reaches the time for automatic shutdown it will be shut down automatically to save power The default time of this camera for automatic shutdown is 5 minutes 3 3 Shutdown in case of power s...

Page 15: ...ng mode and vehicle mounted mode Conversion is available via the mode switch after startup Picture taking mode pictures can be taken Video recording mode video can be recorded Vehicle mounted mode vid...

Page 16: ...ding mode press the shutter button once or click the LCD center once to begin recording under previewing state press the shutter button once again if you want to stop recording and the camera will als...

Page 17: ...s icon to switch to the playback mode 11 click this icon to set the date and time finished setting and press Shutter key to confirm 7 Picture taking mode Switch the mode switch into the Picture taking...

Page 18: ...on to switch to the playback mode 11 click this icon to set the date and time finished setting and press Shutter key to confirm 8 Vehicle mounted mode Turn the mode switch to vehicle mounted mode pres...

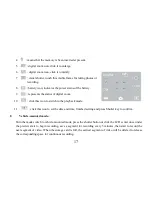
Page 19: ...mory card has been inserted 5 digital zoom icon click it to enlarge 6 digital zoom icon click it to minify 7 visual shutter touch this visible frame for taking photos or recording 8 battery icon repre...

Page 20: ...Click 1 represents that the current file is an AVI video file 2 represents that there is one file in the current folder one file in total 3 current folder name such as I DCIM 100MEDIA I is the movable...

Page 21: ...Movie clips playing Click to pause playing click to play forward and click to play backward 9 3 File deletion Click YES to delete the current file immediately or click NO to cancel the request of del...

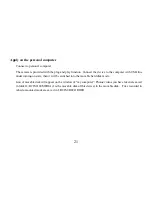
Page 22: ...ter with USB line under turning on state then it will be switched into the movable hard disk mode Icon of movable disk will appear on the window of my computer Photos videos you have taken are saved i...

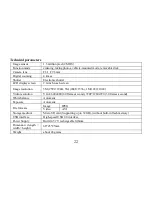
Page 23: ...en Image resolution 5M 2592 1944 3M 2048 1536 1M 1280 1024 Video resolution VGA 640x480 60 frames second 720P 1280x720 30 frames second White balance Automatic Exposure Automatic File formats Image JP...

Page 24: ...eatment of the product and battery please dispose them in accordance to any applicable local laws of requirement for disposal of electrical equipment or batteries In so doing you will help to conserve...

Reviews: