15
Getting Started
Resetting the unit
Before operating the unit for the first time, or
after replacing the car battery or changing the
connections, you must reset the unit.
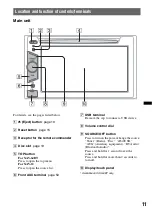
Press the reset button (page 11) with a pointed
object, such as a ballpoint pen.
Note
Pressing the reset button will erase the clock setting
and some stored contents.
Performing initial settings
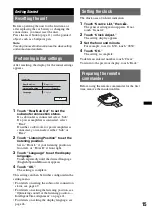
After resetting, the display for the initial settings
appears.
1
Touch “Rear/Sub Out” to set the
subwoofer connection status.
If a subwoofer is connected, select “Sub.”
If a power amplifier is connected, select
“Rear.”
If neither a subwoofer or power amplifier is
connected, you can select either “Sub” or
“Rear.”
2
Touch “Listening Position” to set the
listening position.
Set to “Front L” if your listening position is
front left, or “Front R” if front right.
3
Touch “Language” to set the display
language.
Touch repeatedly until the desired language
(English/Spanish/Russian) appears.
4
Touch “OK.”
The setting is complete.
This setting can then be further configured in the
setting menu.
• For details on setting the subwoofer connection
status, see page 49.
• For details on setting the listening position, see
“Optimizing sound for the listening position —
Intelligent Time Alignment” on page 41.
• For details on setting the display language, see
Setting the clock
The clock uses a 24-hour indication.
1
Touch “Source List,” then
.
The general setting menu appears. If not,
touch “General.”
2
Touch “Clock Adjust.”
The setting display appears.
3
Set the hour and minute.
For example, to set to 8:30, touch “0830.”
4
Touch “OK.”
The setting is complete.
To delete an entered number, touch “Clear.”
To return to the previous display, touch “Back.”
Preparing the remote
commander
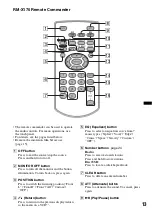
Before using the remote commander for the first
time, remove the insulation film.
Initial Setting
Rear/Sub Out
Listening Position
Language
Rear /
Sub
Front L
/ Front R
English
OK


