6
Installing the Unit
The installation distance between the unit and a projection
surface varies depending on the projection size. Install this
unit so that it fits the desired projection size. For details on
the distance between the unit and the projection surface
(the projection distance) and the size of projected video,
see “Installation Distance and Projection Image Size”
(page 44).
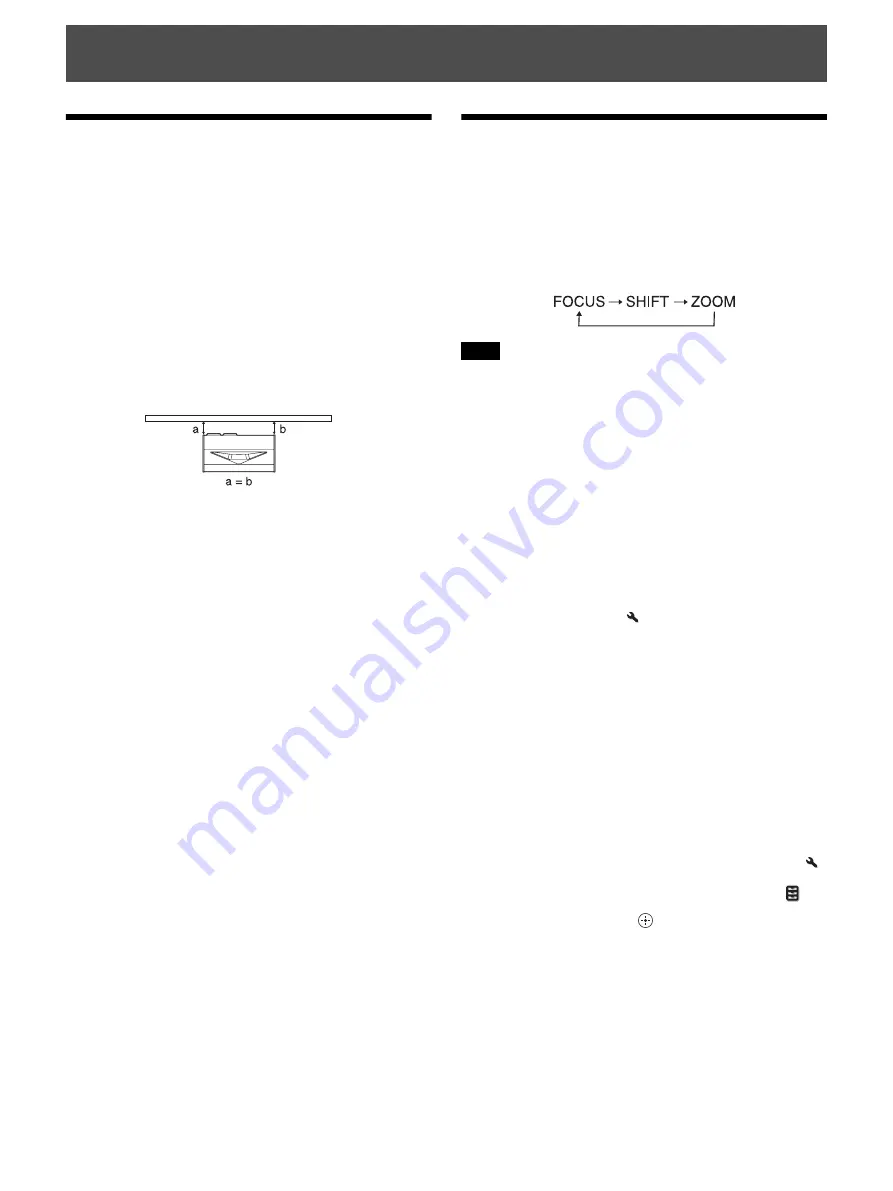
1
Position the unit so that the unit is parallel to the
projection surface.
Top view
2
After connecting the AC power cord to the unit, plug
the AC power cord into a wall outlet.
The unit goes into standby mode.
Tip
After connecting the AC power cord to the unit, the LED
indicator may blink.
You may not be able to control the unit while the indicator is
blinking, but this is not a malfunction. Wait until it stops
blinking.
Adjusting the Projection
Image
Tip
When adjusting the lens, each time you press the PATTERN button
of the remote control or the LENS button on the unit, the lens
adjustment function switches as follows.
• Depending on the installation location of the unit, you may not be
able to control it with the remote control. In this case, point the
remote control at the remote control detector of the unit.
• When using a screen with an uneven surface, stripes pattern may
rarely appear on the screen depending on the distance between the
screen and the unit or the zooming magnifications. This is not a
malfunction of the unit.
• Flange Back Correction is the function to adjust the focus of the
picture. As it has been optimized at the factory default, normally
adjustment is not required (page 27).
1
Press the
?
/
1
(On/Standby) button to turn on the unit.
The LED indicator lights in white.
Tip
The LED indicator does not light when “Illumination” is set to
“Off” on the Installation
menu.
2
Press the PATTERN button to display the Lens Focus
adjustment window, and adjust the focus of the picture
by pressing the
M/m/</,
buttons.
Tips
• The factory default for focus has been adjusted to the 100-
inch screen. Make fine adjustments according to the screen
size and installing position.
• Adjust by checking the entire test pattern. The amplitude of
the pattern focus on the top of the picture becomes large with
the ultra short focus projector.
• If you press the RESET button on the remote control while
the Lens Focus adjustment window is displayed, the focus
setting returns to the factory default.
• When “Lens Control” is set to “Off” on the Installation
menu, you cannot adjust the lens (page 26).
• When “Test Pattern” is set to “Off” on the Function
menu, the test pattern is not displayed (page 25).
• Whenever you press the
button, the test pattern
disappears.
Connections and Preparations
Projection surface
Notes
Summary of Contents for VPL-VZ1000ES
Page 47: ...Sony Corporation ...


