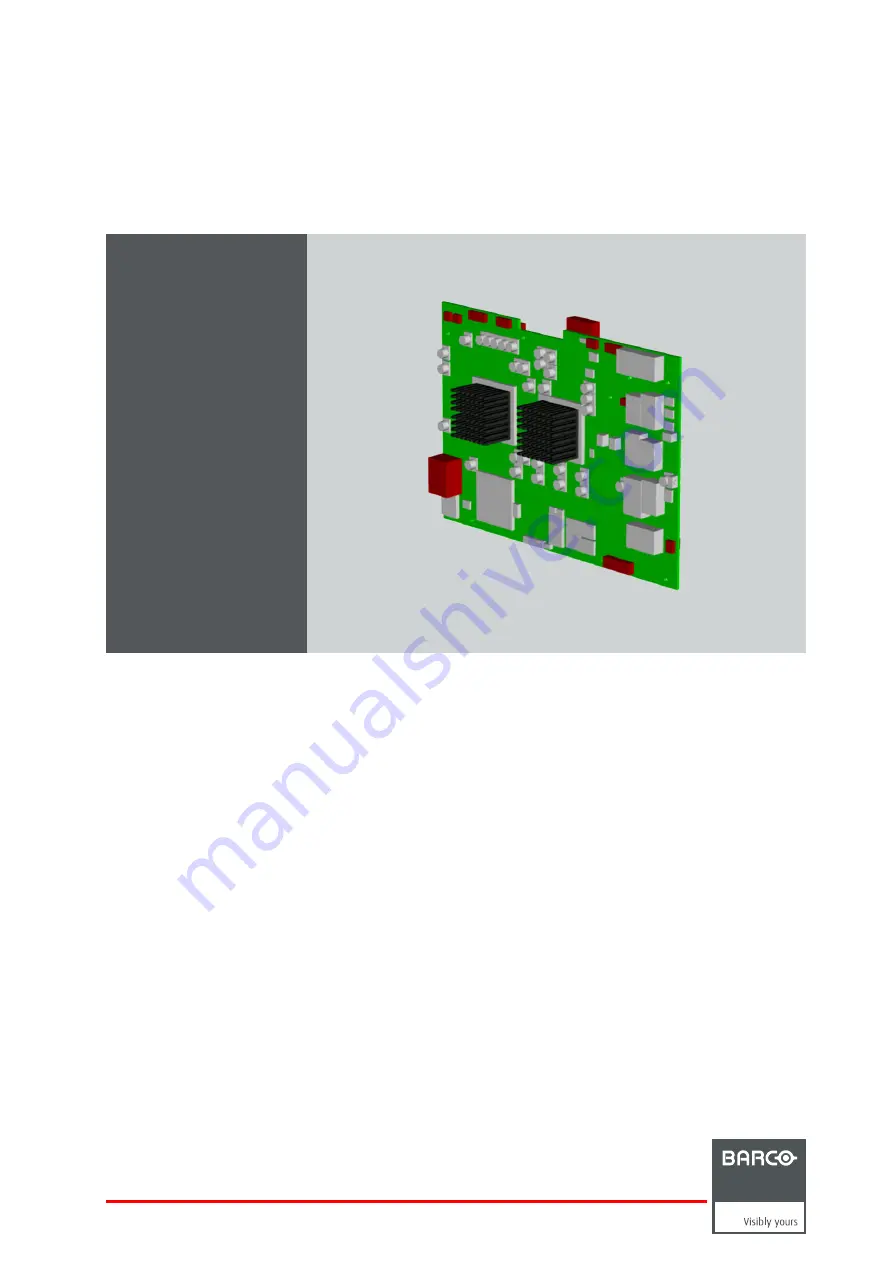
PMP kit
Installation manual
Galaxy NH-12, NW-12, Galaxy NW-12
R7649672KR7649676K
R59770498/0128/02/2011
Page 1: ...PMP kit Installation manual Galaxy NH 12 NW 12 Galaxy NW 12 R7649672K R7649676K R59770498 01 28 02 2011...
Page 2: ...Barco nv Simulation Division Noordlaan 5 B 8520 Kuurne Phone 32 56 36 82 11 Fax 32 56 36 84 86 E mail info barco com Visit us at the web www barco com Printed in Belgium...
Page 3: ...ed immediately in writing of any complaints The period of guarantee begins on the date of transfer of risks in the case of special systems and software on the date of commissioning at latest 30 days a...
Page 4: ......
Page 5: ...3 2 Replacing the faulty PMP 7 3 2 1 Removing the input module 7 3 2 2 Removing the PMP 8 3 2 3 Installing the PMP 10 3 2 4 Installing the input module 12 3 3 Restoring the backup 13 3 4 Upgrade the p...
Page 6: ...Table of contents 2 R59770498 PMP KIT 28 02 2011...
Page 7: ...ng any of the projector covers WARNING The projector must be cooled down before removing any of the projector covers wait for the cool down cycle to finish after switching the projector to standby the...
Page 8: ...1 Safety instructions 4 R59770498 PMP KIT 28 02 2011...
Page 9: ...n the way it was by the time of the backup In the situation where no backup is available and the PMP is not working properly try to connect to the projector via Ethernet anyway and use the Projector S...
Page 10: ...2 PMP kit 6 R59770498 PMP KIT 28 02 2011...
Page 11: ...ust be contacted How to make a backup of the PMP to be replaced See Backup and restore data page 15 3 2 Replacing the faulty PMP 3 2 1 Removing the input module Input layers 3 4 and 5 can be installed...
Page 12: ...fixing screws on the front panel of the input module Image 3 2 Input module fixing front screws 7 Remove the three screws fixing the input module to the chassis Image 3 3 Input module fixing screws ch...
Page 13: ...the front plate Image 3 4 PMP front fixing screws 3 Remove the side screws fixing the input boards to the PMP Image 3 5 4 Disconnect the PMP from the inputs by unplugging the board to board connectors...
Page 14: ...mbly fixing screws 1 Image 3 9 PMP fan assembly fixing screws 2 3 2 3 Installing the PMP How to install the PMP 1 Put the PMP fan assembly on the PMP and fix it using 6 screws Image 3 10 PMP fan assem...
Page 15: ...o the inputs by plugging in the board to board connectors Image 3 13 PMP plug into the input board connectors 4 Fix the PMP to the input boards using the side screws Image 3 14 PMP side screws fixing...
Page 16: ...to connector J320 on the desktop input J23 I2C from connector 13 on the power box J14 sync from connector J4 on the engine controller J22 I2C to connector J5 on the engine controller J11 ethernet wir...
Page 17: ...the preformatter 6 Fix the preformatter unit to the input module using four screws Image 3 18 Preformatter unit front screws 7 Install the covers see concerning chapters engine fan cover 1 top cover r...
Page 18: ...correct Ethernet settings in the OSD of the projector 2 Download the desired upgrade tool to your computer or laptop 3 Run the upgrade tool NW x v03 01 0001 exe device version Image 3 19 Upgrade tool...
Page 19: ...number and the runtimes is possible on condition that the processor of the target PMP does not contain this information yet i e it must be a new PMP In a local network where multiple PMP boards are pr...
Page 20: ...A 1 Projector Support tool user interface 4 In the Communication Parameters section enter the IP address or the hostname of the projector Image A 2 Projector Support tool enter IP address or hostname...
Page 21: ...ojector Support tool select Query Image A 4 Projector Support tool example of a query list Special case in the Query list If DHCP is disabled in the projector s network settings and the fixed IP addre...
Page 22: ...ool change DHCP setting to ON Image A 7 Projector Support tool confirm network settings A 2 Making a backup of the projector s key data How to make a backup of the projector s key data It is assumed t...
Page 23: ...er on the computer to save the backup of the projector data Image A 9 Projector Support tool browse to the backup folder 3 Change the file name optional and hit Save Image A 10 Projector Support tool...
Page 24: ...backup process to be finished Image A 12 Projector Support tool progress bar A successful backup is indicated by a green oval Image A 13 Projector Support tool backup successful An error is indicated...
Page 25: ...PMP a selection of the files to be restored can be made The Projector Support tool however manages the files which are critical serial number runtimes etc will not be overwritten option keys will not...
Page 26: ...ot required Overwrite serial number Overwrite device type Image A 16 5 In the Restore section hit All settings Image A 17 Projector Support tool start the restore of the backup 6 An overview of the fi...
Page 27: ...of the backup 7 Wait for the restore process to be finished Image A 19 Projector Support tool progress bar Image A 20 Projector Support tool reboot of the PMP after the restore A successful restore o...
Page 28: ...21 Projector Support tool restore of the backup was successful An error during the restore of the backup file is indicated by a brief description and a red oval Solve the cause of the error and retry...
Page 29: ...o restore the key data in a new PMP It is assumed that an original backup file is available zip format 1 Start the Projector Support tool and select Query in the Communication Parameters section of th...
Page 30: ...thout serial number is listed the MAC address must be checked On the PMP board a label mentioning the MAC address can be found near the power connector on the same side as the heatsinks 3 In the Resto...
Page 31: ...the computer where the backup file is stored 5 Select the backup file and hit Open 6 In the Restore section hit All settings Image A 25 Projector Support tool browse to the backup folder 7 An overview...
Page 32: ...pport tool overview of the files that will be restored 8 Wait for the restore process to be finished Image A 27 Projector Support tool progress bar Image A 28 Projector Support tool reboot of the PMP...
Page 33: ...and the original serial number will be displayed in the Projector identification section of the user interface Image A 29 An error during the restore of the backup file is indicated by a brief descri...
Page 34: ...A Backup and restore data 30 R59770498 PMP KIT 28 02 2011...
Page 35: ...10 12 input module 12 PMP 10 introduction 5 K kit 5 7 description 5 installation 5 installation detailed 7 P PMP 7 8 10 backup 7 installing 10 replacing 7 PMP kit 5 Projector Support 15 connecting 15...