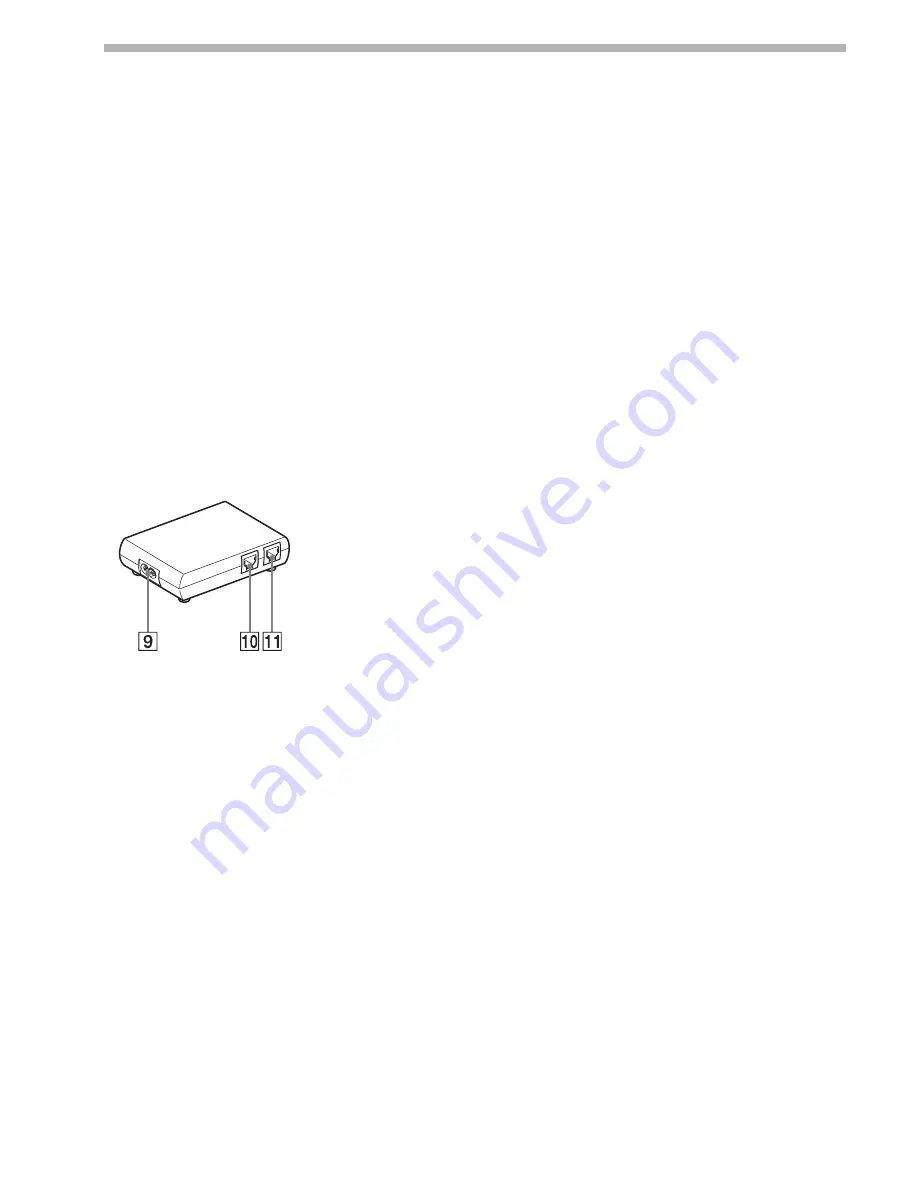
7
Power Unit
Reset to factory default values
To reset to the Wireless LAN Converter factory default settings, proceed as
follows:
1
Turn on the Wireless LAN Converter.
2
Press the reset switch on the bottom of the Wireless Unit with the end of
a paper clip or a similar object for at least one second.
3
When the status indicator begins flashing red, release the reset switch.
The Wireless LAN Converter restarts automatically, and all settings revert
to their factory default values.
●
For details about the factory default settings of the Wireless LAN Converter, refer to the
Troubleshooting Guide.
Red flashing (half sec.
intervals)
Unit is resetting: When you release the reset switch, the Wireless
LAN Converter restarts automatically and reverts to its factory
default settings.
Firmware update in progress: Firmware is being updated. Never
turn off the power in this condition.
Reset switch (2)
Returns the Wireless LAN Converter settings to their factory
defaults.
LINK/ACT indicator (3)
Lights when an Ethernet cable is connected to the NETWORK
connector on the Power Unit.
Wireless unit cable (4)
Connects to the WIRELESS UNIT connector on the Power Unit.
Rear cover (5)
Remove this cover if you want to hang the Wireless Unit to a wall
and to verify the MAC address.
Wall mounting holes (6)
Use these holes to hang the Wireless Unit to the wall.
MAC address label (7)
The Wireless LAN Converter MAC address is printed here.
Quick Setup switch (8)
Use this switch to set up the Wireless LAN Converter.
100-240 V AC jack (9)
Connect the supplied power cord here.
WIRELESS UNIT connector (10)
Connect the Wireless Unit cable here.
NETWORK connector (11)
Connect the Wireless Unit to your computer or other device
using an Ethernet cable.
Use a straight-through or crossover Ethernet cable.


