Capturing Web camera images
To set Web camera mode preferences
1.
Start Network Smart Capture software.
2.
Click
Web camera
.
3.
Click
Change Setting
to view the available options for your image capture.
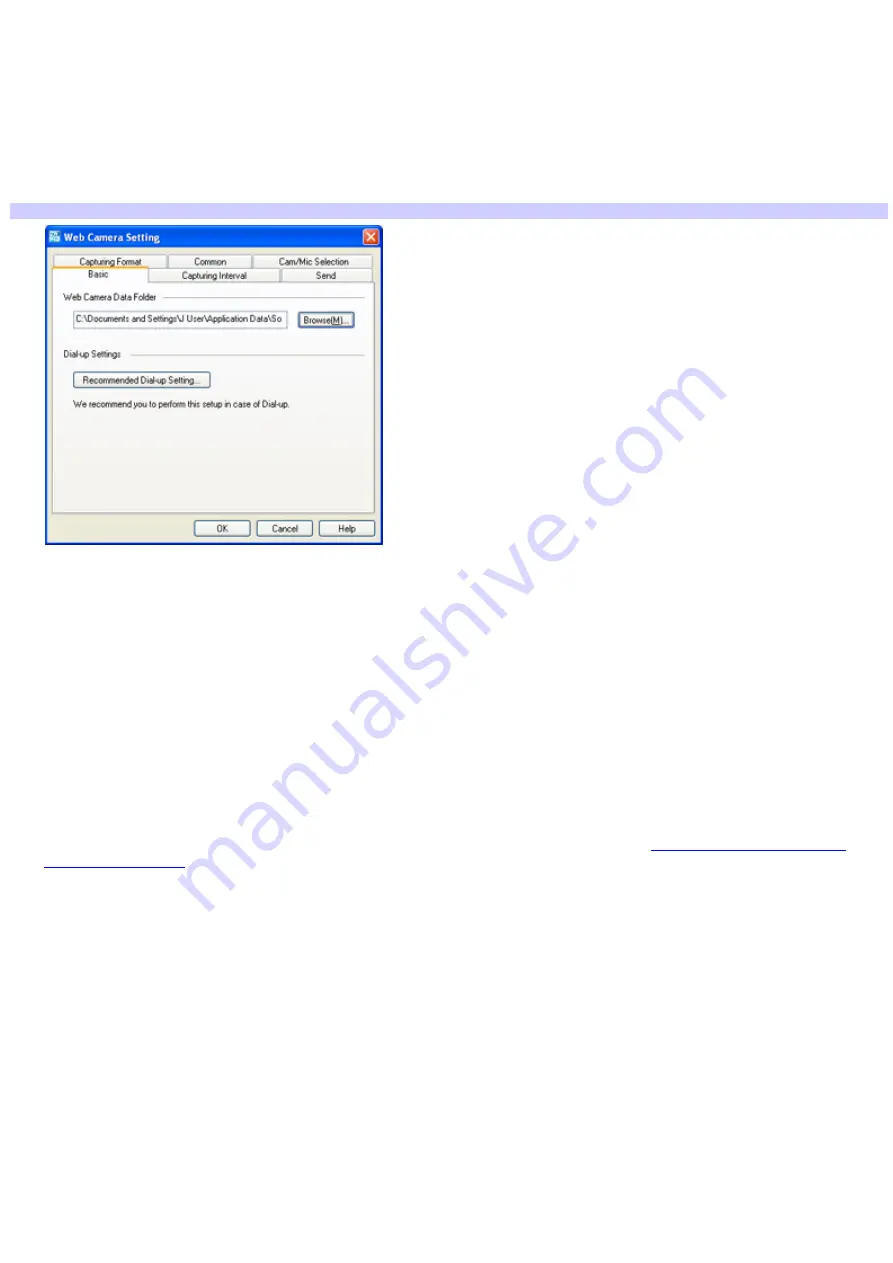
Web Cam era Setting window
The Web Camera Setting
window has six tabs:
Basic
— Select a folder destination to store your images and choose your dial-up setting.
Capturing Interval
— Set your Web camera to capture images at intervals or whenever there is
movement.
Send
— Set image upload preferences.
Capturing Format
— Select the image size in pixels, and adjust the image quality.
Common —
Enable or disable the sound and animation effects; enable or disable sample movie sound;
and enable or disable automatic dialup connection for uploading images.
Cam/Mic Selection
— Select your primary camera and microphone.
4.
Click each tab to view options and set preferences. To apply effects to an image, see
Applying effects to your still
Page 103


