


Connecting a Universal Serial Bus (USB) Device
57
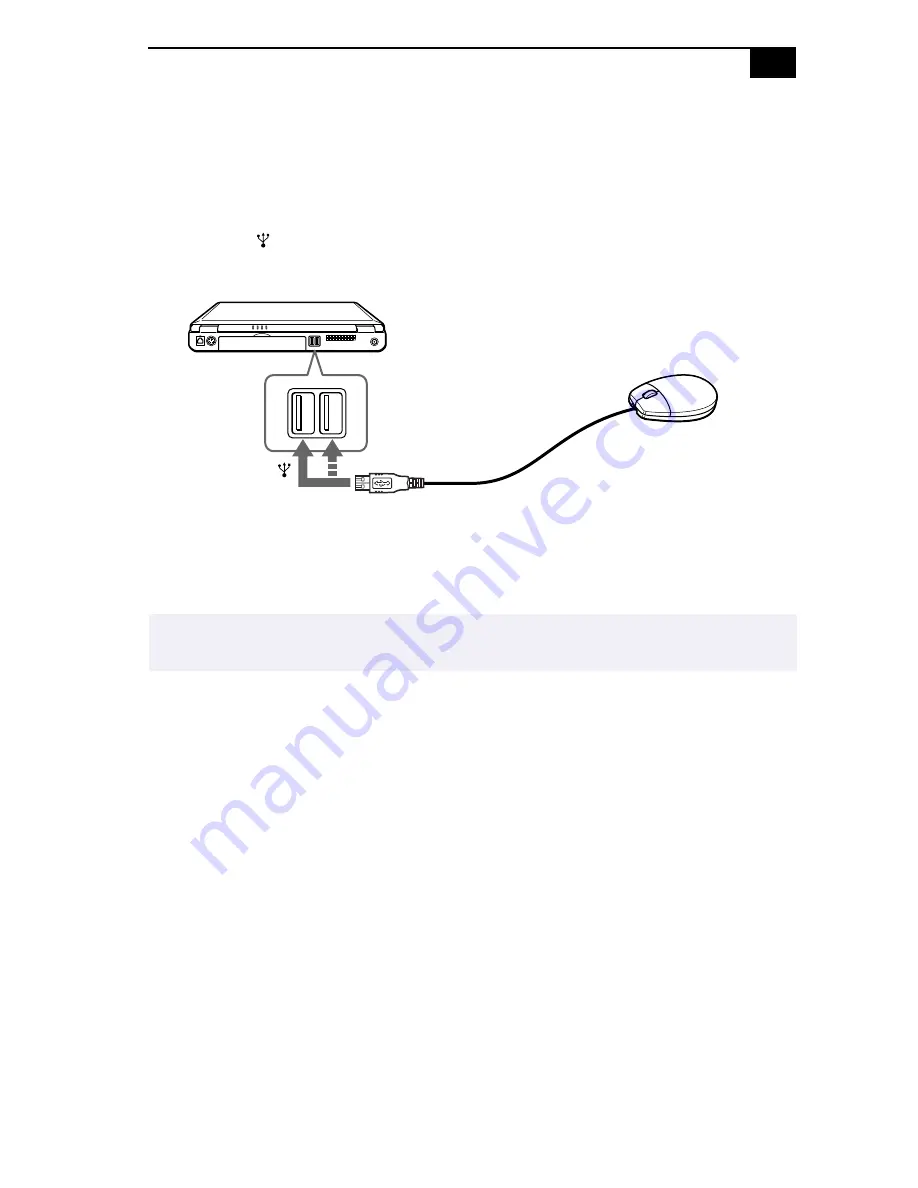
Connecting a Universal Serial Bus (USB) Device
You can connect a USB device to your computer.
To connect a USB device
❑
Use the symbol to locate the USB connector. Plug one end of the
USB cable into this port and the other end into the USB device.
You can use the optional Sony USB mouse PCGA-UMS1 with this
computer. The USB mouse software driver is preinstalled in the
computer. Therefore you only need to plug the USB mouse into the USB
connector.
✍
See the manual that came with your USB device for more information on installation and
use.
to
USB device
USB
USB connecting cable
(not supplied)
Summary of Contents for VAIO PCG-F370
Page 1: ......
Page 2: ...VAIO Notebook Computer User Guide PCG F370 PCG F390 ...


