


Getting Started
Getting Started
15
Selecting a
language
If you prefer an on-screen language
other than English, use the on-screen
display to select another language.
Before you start…
• Turn on the VCR and the TV.
• Set the TV to the video channel.
>
/
.
OK
MENU
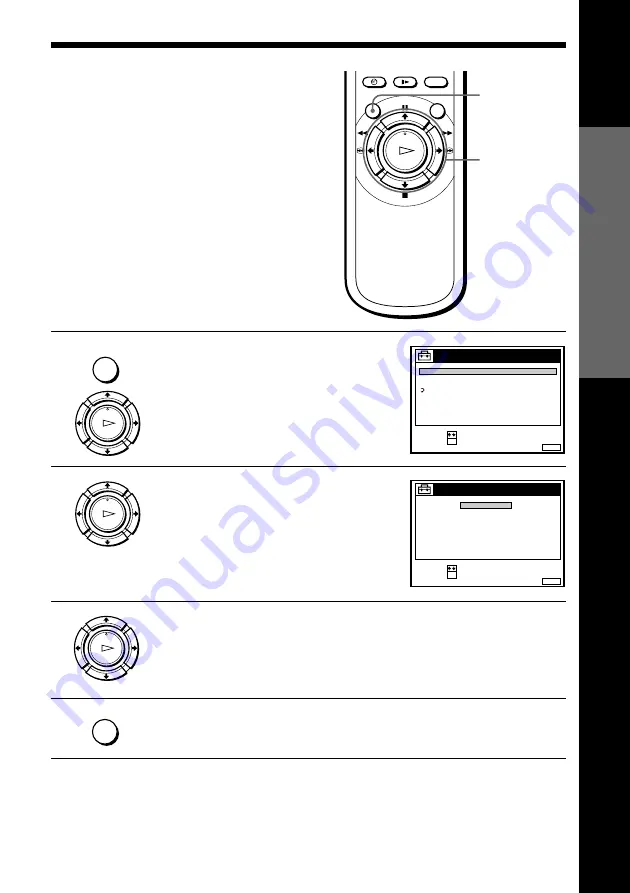
1
Press MENU, then press
>
/
.
to
highlight SETTINGS and press OK.
2
Press
>
/
.
to highlight LANGUAGE,
then press OK.
3
Press
>
/
.
to highlight the desired language, then press OK.
4
Press MENU to exit the menu.
Tip
• If you want to return to the previous menu, highlight RETURN and press OK.
Note
• The menu disappears automatically if you don’t proceed for more than a few
minutes.
MENU
OK
PLAY
OK
PLAY
OK
PLAY
SET
:
SELECT :
OK
MENU
EXIT
:
SETTINGS
RETURN
TUNER
CLOCK
LANGUAGE
SET
:
SELECT :
OK
MENU
EXIT
:
LANGUAGE
DEUTSCH
FRANÇAIS
ITALIANO
ESPAÑOL
PORTUGUÊS
NEDERLANDS
EΛΛHNIKA
ENGLISH
MENU


