1-3
Getting Started
12
• TV Direct Rec
You can easily record what you are watching on the TV (other than tapes being
played on this VCR). For details, see “Recording what you are watching on the TV
(TV Direct Rec)” on page 41.
• One Touch Play
With One Touch Play, you can start playback automatically without turning on the
TV. For details, see “Starting playback automatically with one button (One Touch
Play)” on page 36.
• One Touch Menu
You can turn on the VCR and TV, set the TV to the video channel, and display the
VCR’s on-screen display automatically by pressing MENU on the remote
commander.
• One Touch Timer
You can turn on the VCR and TV, set the TV to the video channel, and display the
timer recording menu (the TIMER METHOD menu, the TIMER menu, or the
VIDEO PLUS+ menu) automatically by pressing
TIMER on the remote
commander.
You can set which timer recording menu is displayed using TIMER OPTIONS in the
OPTIONS-2 menu (see page 63).
*
1
“MEGALOGIC” is a registered trademark of Grundig Corporation.
*
2
“EASYLINK” is a trademark of Philips Corporation.
*
3
“Q-Link” is a trademark of Panasonic Corporation.
*
4
“EURO VIEW LINK” is a trademark of Toshiba Corporation.
Note
• Not all the TVs respond to the functions above.
Step 3 : Connecting the VCR (continued)
Getting Started
13
Getting
Started
Step 4
Setting up the VCR with the Auto Set
Up function
Before using the VCR for the first time, set up the VCR using the Auto
Set Up function. With this function, you can set TV channels, guide
channels for the VIDEO Plus+ system, the RF channel, and VCR clock
automatically.
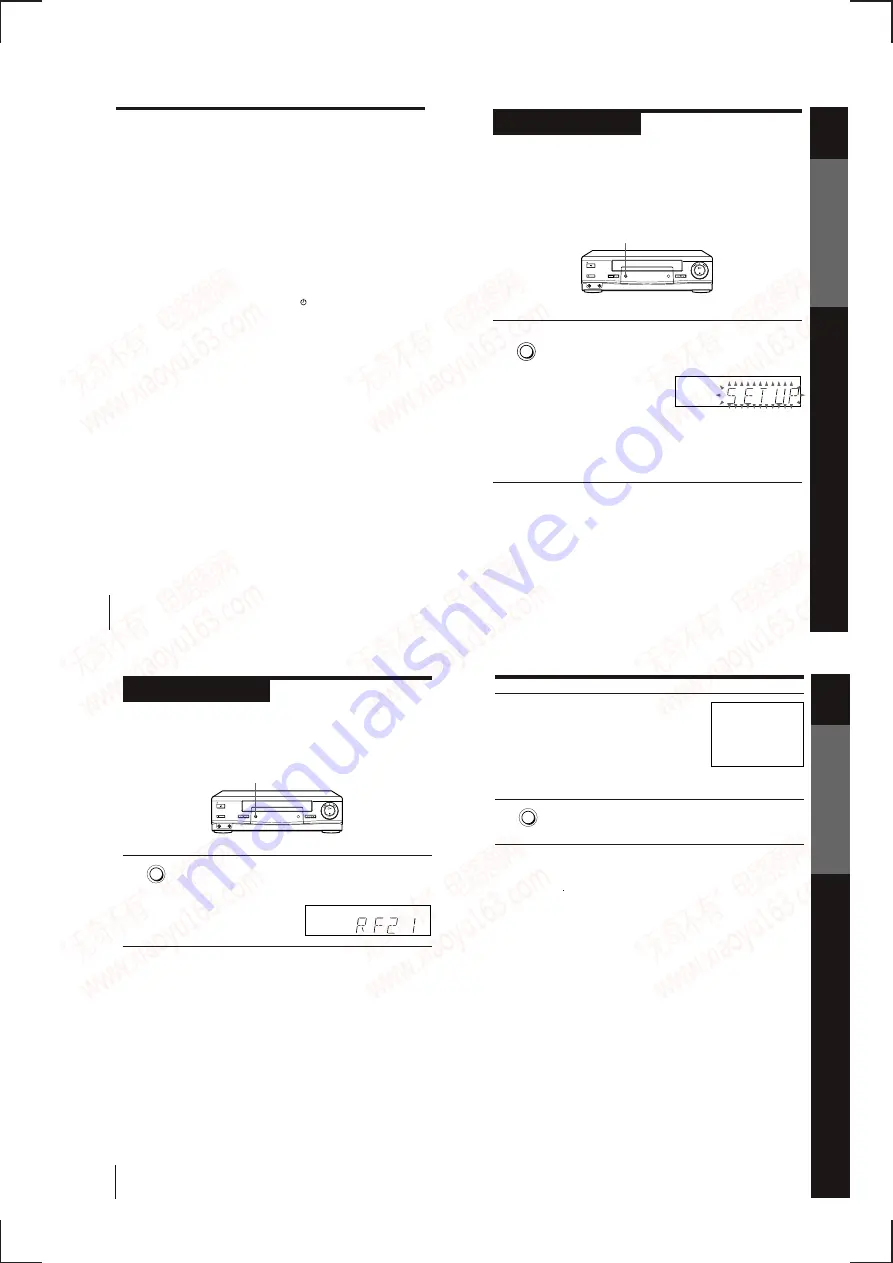
AUTO SET UP
Hold down AUTO SET UP on the VCR for more than three seconds.
The VCR automatically turns on and VCR starts searching for all of
the receivable channels and presets them in the appropriate order
for your local area.
If you use the SMARTLINK connection, the Preset Download
function starts and the SMARTLINK indicator flashes in the display
window during download.
After the search is complete, the current time appears in the display
window for any stations that transmit a time signal. If the time does
not appear, set the clock manually. See page 27.
To cancel the Auto Set Up function
Press AUTO SET UP.
Note
• Do not cancel the Auto Set Up function. If you do, repeat the step above.
AUTO SET UP
Getting Started
14
Step
5
Tuning your TV to the VCR
If you have connected the VCR to your TV using the EURO-AV cable,
skip this step.
The factory-preset RF channel appears in the display window.
The VCR signal is output through this channel to the TV.
Turn on your TV and select a programme position for the VCR
picture.
This programme position will now be referred to as the video
channel.
RF CHANNEL
Getting Started
15
Getting Started
3
Tune the TV to the same channel as that
shown in the display window so that
the picture on the right appears clearly
on the TV screen.
Refer to your TV manual for tuning
instructions.
If the picture does not appear clearly,
see “To obtain a clear picture from the
VCR” below.
4
Press RF CHANNEL.
You have now tuned your TV to the VCR. Whenever you want to
play a tape, set the TV to the video channel.
To check to see if the TV tuning is correct
Set the TV to the video channel and press P/– on the VCR. If the
TV screen changes to a different programme each time you press
P/–, the TV tuning is correct.
To obtain a clear picture from the VCR
If the screen does not appear clearly in step 3 above, press P/–,
so that another RF channel appears. Then tune the TV to the new RF channel
until a clear picture appears.
RF CHANNEL
SONY VIDEO CASSETTE RECORDER
www. xiaoyu163. com
QQ 376315150
9
9
2
8
9
4
2
9
8
TEL 13942296513
9
9
2
8
9
4
2
9
8
0
5
1
5
1
3
6
7
3
Q
Q
TEL 13942296513 QQ 376315150 892498299
TEL 13942296513 QQ 376315150 892498299


