1-11
45
Recording TV programs using the timer
B
a
si
c
Op
er
a
tio
ns
To use the VCR after setting the timer
To use the VCR before timer recording begins, just press
?
/
1
. The
indicator
disappears from the display window and the VCR switches on. Remember to press
?
/
1
to reset the VCR to the timer recording standby mode after using the VCR.
You can also do the following tasks while the VCR is recording:
• Reset the counter (page 33).
• Display tape information on the TV screen. (page 36).
• Check the timer settings (page 51).
• Watch another TV program (page 37).
Tips
• To set the channel, you can also use the CH+/– or number buttons.
• To show the PROG./VERIF. menu, you can also use the MENU button. Press MENU, then
press
M
/
m
to highlight PROG./VERIF. and press OK.
• To set the tape speed, you can also use the SP/EP button.
• When you are recording a program in the SP mode and the remaining tape becomes shorter
than the recording time, the tape speed is automatically changed to the EP mode. Note that
some noise will appear on the picture when the tape speed is changed. If you want to keep
the tape speed, set VEL. AUTO. CINTA to NO in the OPCIONES menu (page 63).
• To check, change or cancel the program setting, see “Checking/changing/canceling timer
settings” (page 51).
• If you want to return to the previous menu and continue with other operations after setting the
timer, press
m
to highlight VOLVER, then press OK.
The display returns to the MENU screen.
If you are finished using the VCR, turn off the power before timer recording starts.
46
Playing/searching at various speeds
Additional Operations
Playing/searching at various speeds
To resume normal playback
Press
H
PLAY.
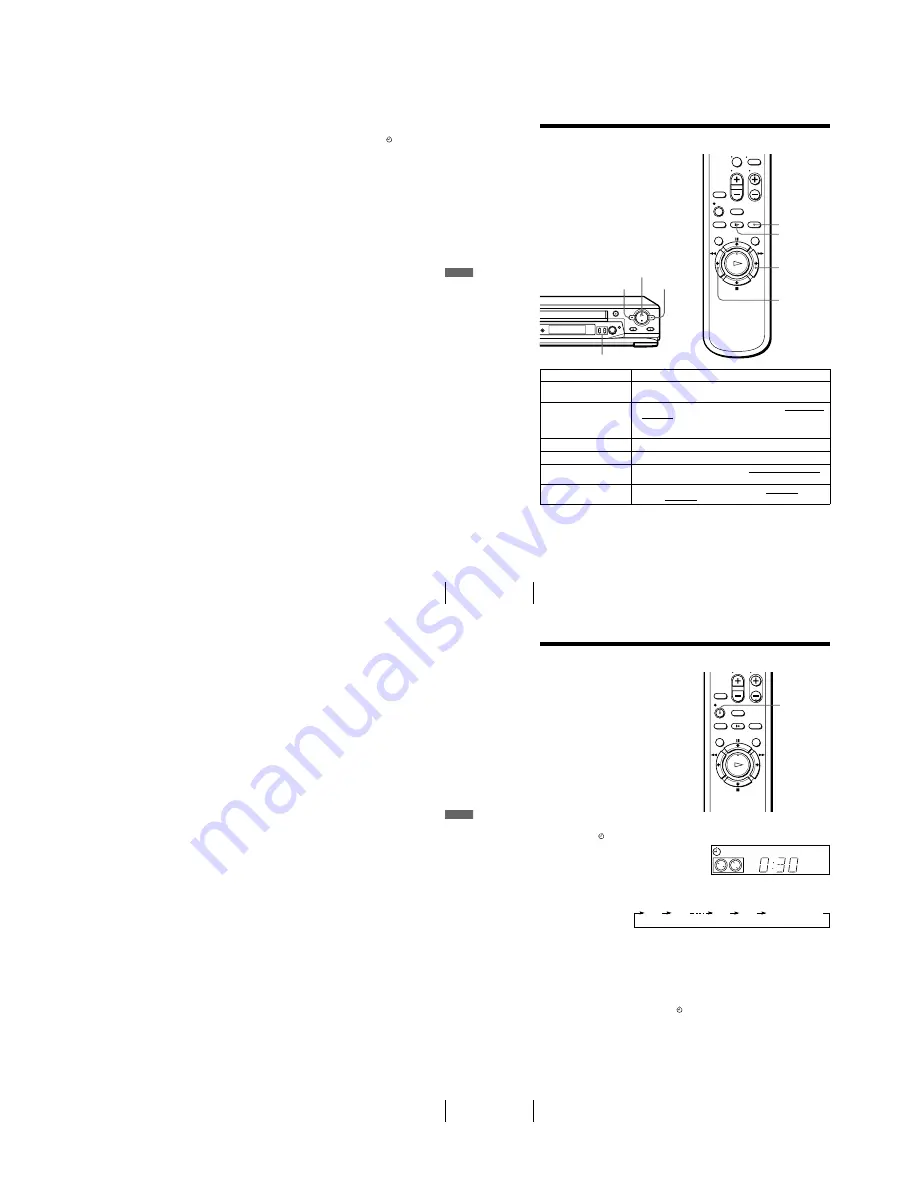
Playback options
Operation
View the picture during fast-
forward or rewind
During fast-forward, hold down
M
FF. During rewind, hold down
m
REW.
Play at high speed
• During playback, briefly press
M
FF or
m
REW on the remote
commander. The tape continues to play at high speed.
• During playback, hold down
M
FF or
m
REW. When you
release the button, normal playback resumes.
Play at twice the normal speed
During playback, press ×2.
Play in slow motion
During playback or pause, press
y
SLOW.
Play frame by frame
During pause, press
M
FF or
m
REW on the remote commander.
Hold down the button to play one frame each second.
Rewind and start play
While the tape is stopped, hold down
m
REW on the VCR and press
H
PLAY on the VCR.
0
y
SLOW
x2
M
FF
m
REW
H
PLAY
m
REW
M
FF
TR/–
47
Playing/searching at various speeds
A
d
ditio
nal Op
er
atio
ns
Tip
• Adjust the picture using the TR/– buttons if:
– Streaks appear while playing in slow motion.
– The picture shakes during pause.
To set tracking to the center position, press both buttons (+/–) at the same time.
Notes
• The sound is muted during these operations.
• Tapes recorded in the LP mode on other VCRs can be played back on this VCR but the
picture quality cannot be guaranteed.
• The picture may show noise when playing at high speed in reverse.
48
Setting the recording duration time
Setting the recording duration time
To extend the duration
Press
z
REC repeatedly to set a new duration time.
To cancel the duration
Press
z
REC repeatedly until the
indicator disappears and the VCR returns to
normal recording mode.
To stop while recording
Press
x
STOP.
Note
• You cannot display the current tape time in the display window when setting the recording
duration time.
After you have started recording, you can
have the VCR stop recording automatically
after a specified duration.
1
While recording, press
z
REC.
The
indicator appears in the display window.
2
Press
z
REC repeatedly to set the duration time.
Each press advances the time in increments of 30 minutes.
The tape counter decreases minute by minute to 0:00, then the VCR stops
recording and turns off automatically.
z
REC
SP
VIDEO APC
0:30
1:00
5:30
6:00
Normal recording
Summary of Contents for SLV-LX80S
Page 28: ...SLV LX80S 3 1 3 2 SECTION 3 BLOCK DIAGRAMS 3 1 OVERALL BLOCK DIAGRAM ...
Page 30: ...SLV LX80S 3 3 SERVO SYSTEM CONTROL BLOCK DIAGRAM 90 89 87 95 79 80 39 36 43 3 5 3 6 ...
Page 31: ...SLV LX80S 3 4 TUNER BLOCK DIAGRAM 3 7 3 8 ...
Page 33: ...SLV LX80S 3 6 POWER BLOCK DIAGRAM CHILEAN MEXICAN 3 11 3 12E ...


