


62
Chapter 5: Using the Custom Setup Menu
3
Select one of the following:
Changing the Default
Data Service
Use the Default Data Services screen to select a default data service for
all stations that provide data services.
To change the data service for all stations:
1
Select DEFAULT from the Data Services screen.
2
Select a default data service and then select OK.
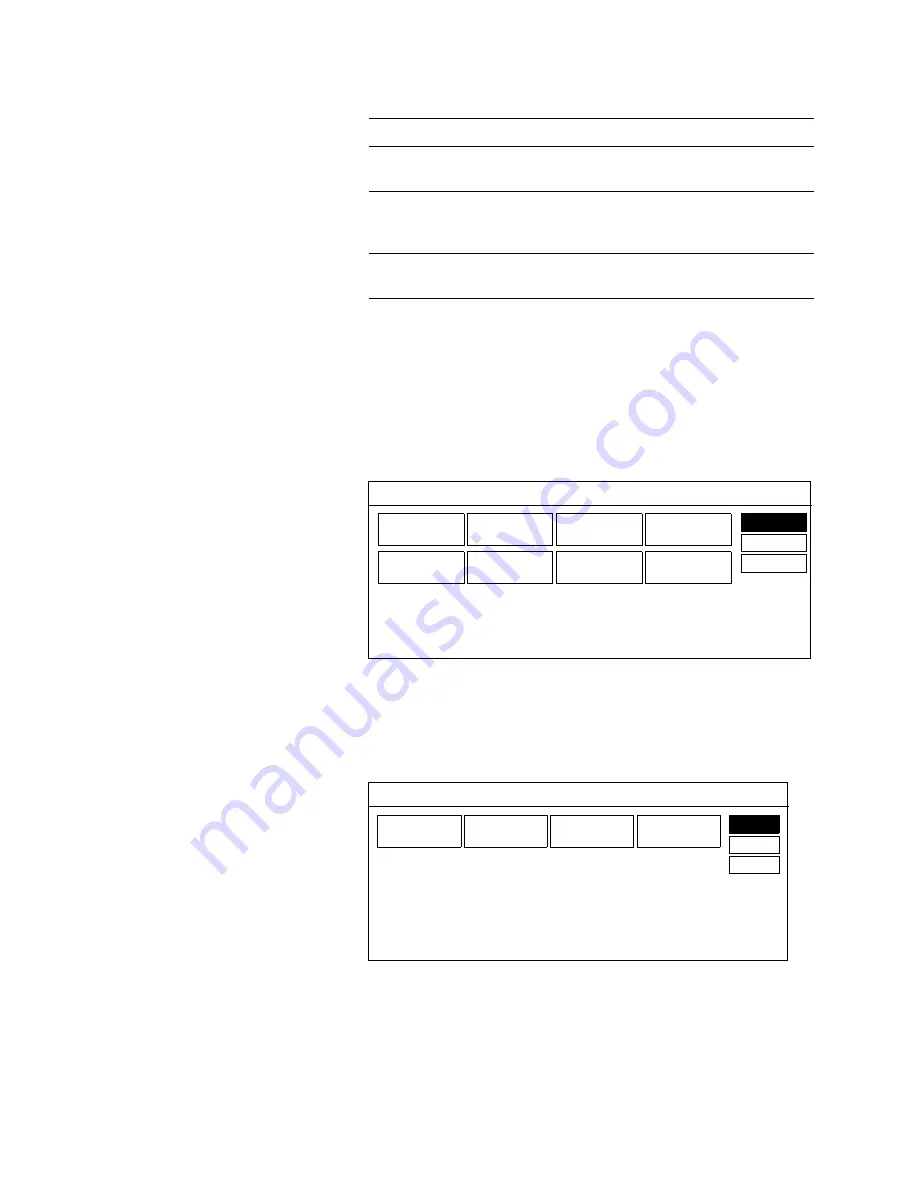
Setting the Baud Rate
To set the baud rate for the DSS receiver’s data ports:
1
Select BAUD from the Data Services screen.
2
Select a baud rate for the data port and then select OK.
To Do This ...
Do This ...
Change the data service for the
current station only
Select the data service and then
select OK.
Change the data service for all
stations
Select DEFAULT (then see
“Changing the Default Data
Service” below).
Change the baud rate for the DSS
receiver’s wide band data port
Select BAUD (then see “Setting
the Baud Rate” below).
Selecting CANCEL returns you to the
previous screen, without saving your
selections.
The titles of the data services may be
different, based on the service being
provided.
DATA 8
DATA 1
DATA 2
DATA 3
DATA 4
DATA 5
DATA 6
DATA 7
DEFAULT DATA SERVICES
OK
'
CANCEL
HELP
2400
4800
9600
19200
SET BAUD RATE
OK
CANCEL
HELP
'
Selecting CANCEL returns you to the
previous screen, without saving your
selections.
The baud rates displayed may be
different, depending on which data port is
being used.


